I think the vignette tools that exist in Adobe Camera Raw and many other products/filters are a little restrictive and inflexible, they usually result in an elliptical or rectangular shape in the centre of the image, and offer little ability for adjustment later if required.
Here’s my usual method for creating a subtle but effective vignette.
Please note that I use the Vignette button in the Lumenzia panel for doing this, which does it in a single click, the below are the manual steps to do it in Photoshop, without Lumenzia.
I will use one of my bird images as an example.
First use the Lasso tool to create a rough selection containing your subject (in my case the bird) – see Figure 1.
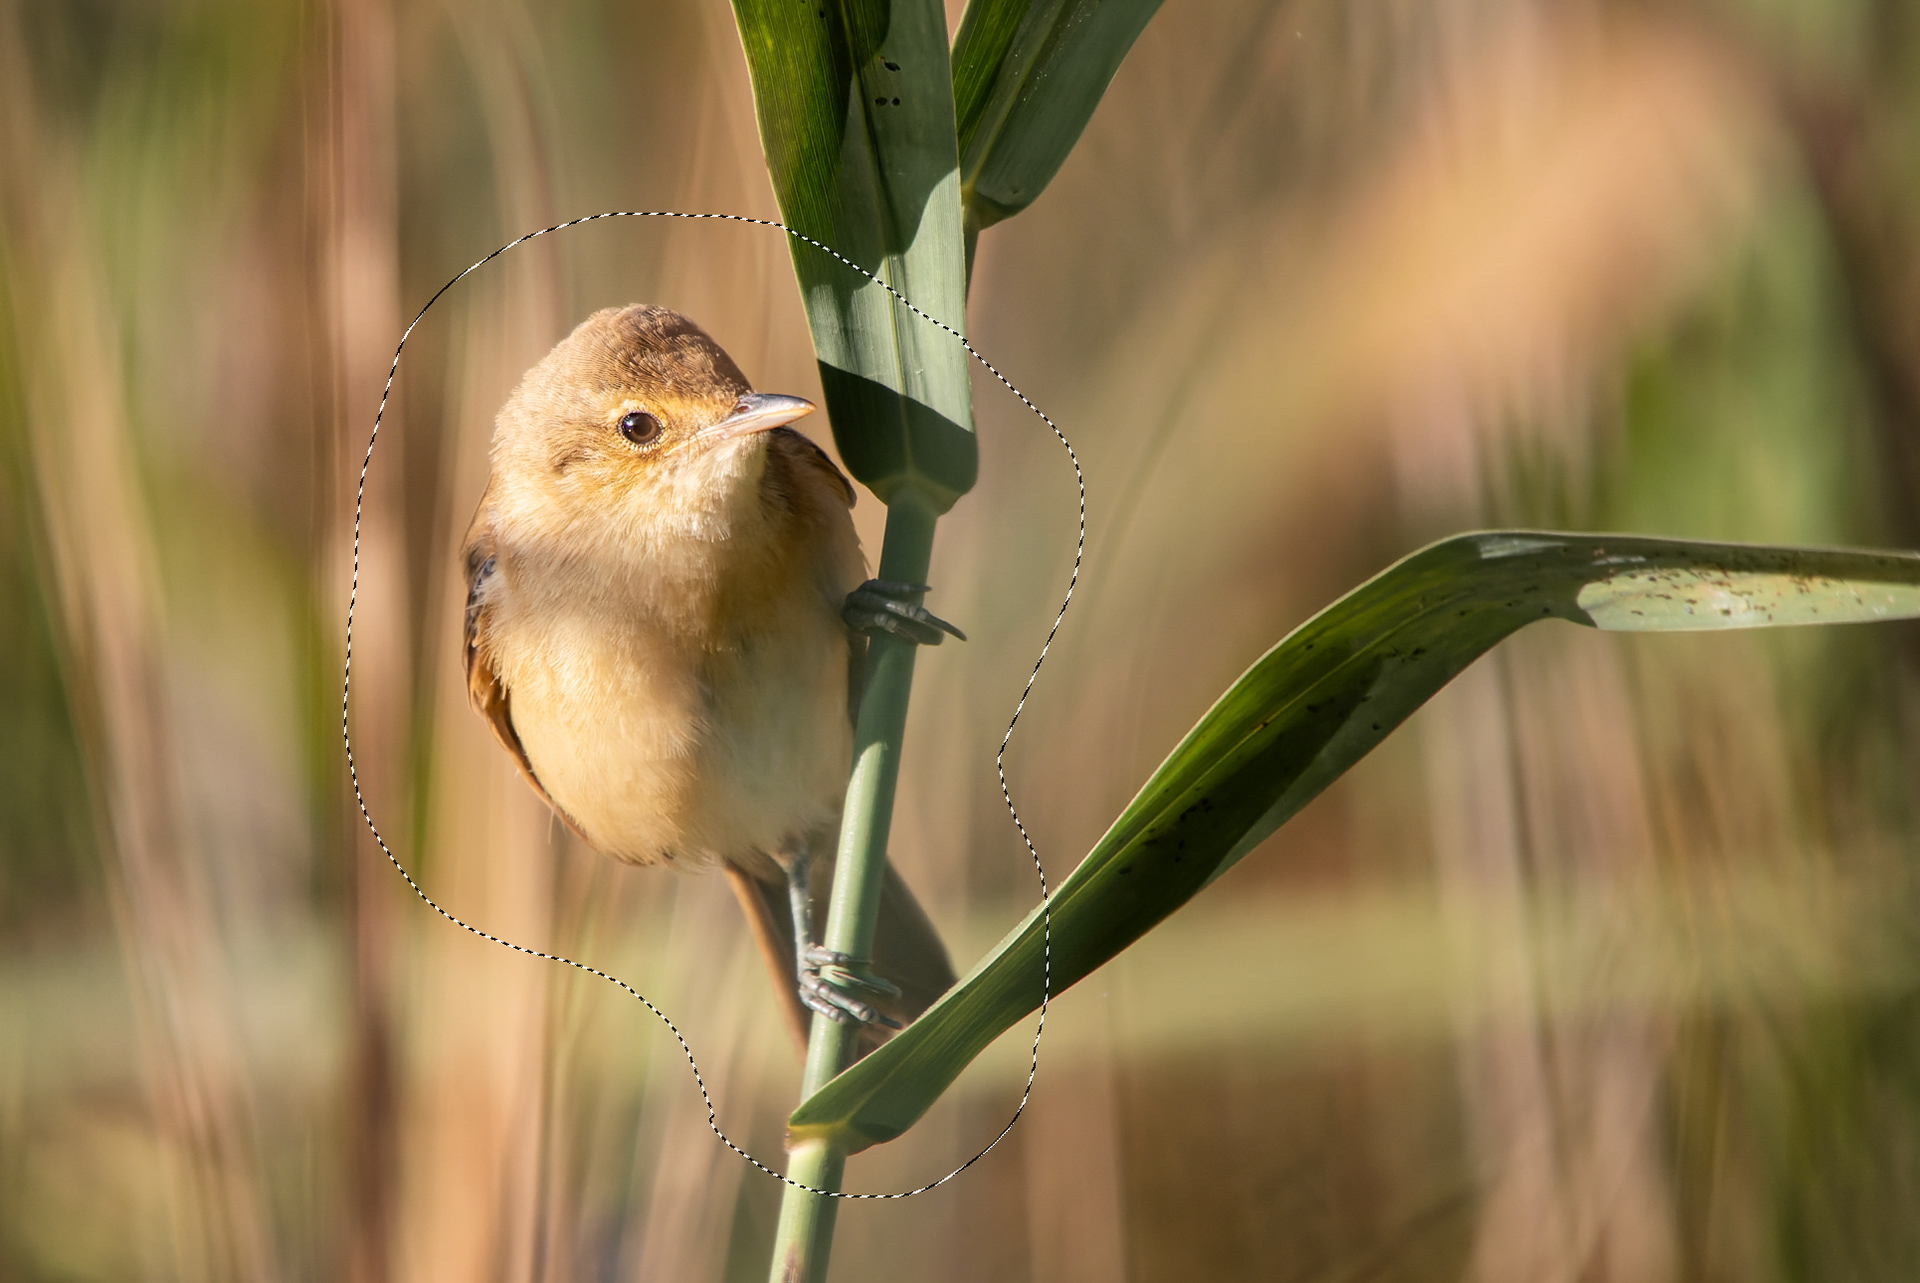
Fig 1 - Make a rough selection with the Lasso tool
Invert the selection using the Select / Inverse command.
Add a curves adjustment layer – Photoshop will automatically create a mask on the curves layer which will have harsh edges, click on the mask and in the Properties panel slide the Feather slider a long way to the right to feather the edge of the mask.
See Figure 2, where the mask icon has been [Alt/Opt] clicked to show the feathered mask.
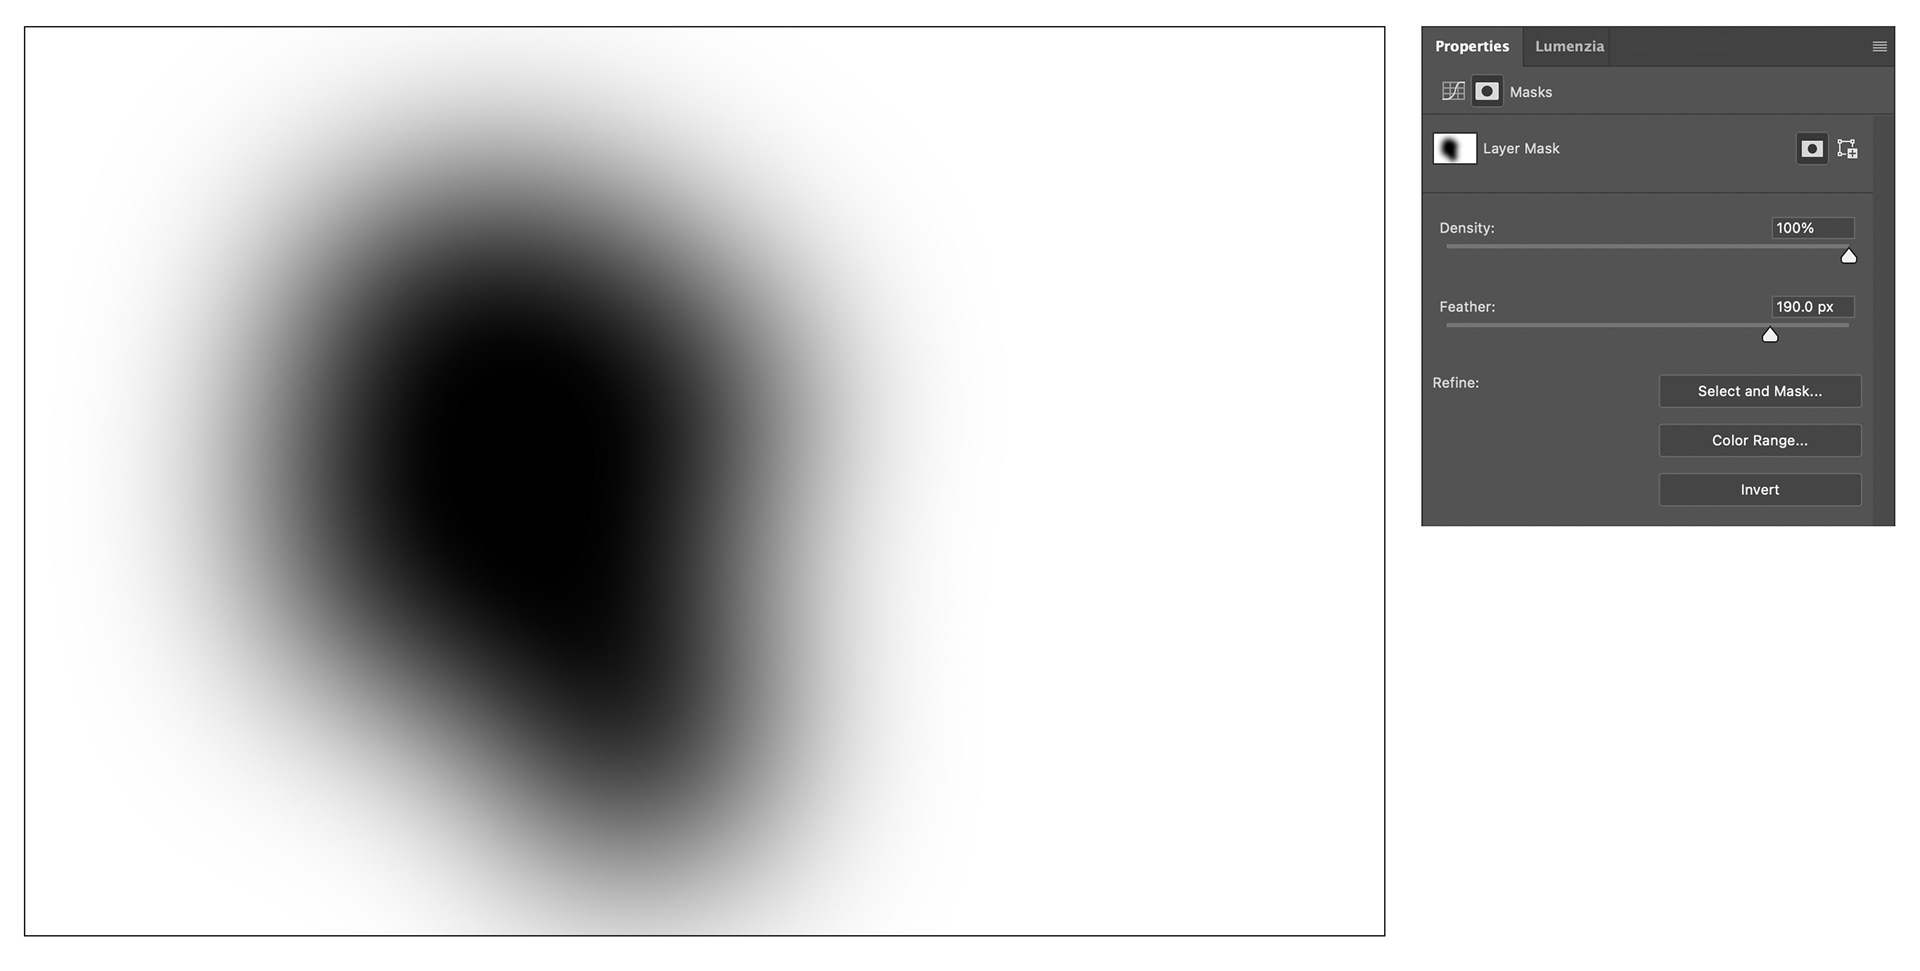
Fig 2 - The feathered mask
Now click on the adjustment layer icon so that the Curve properties are displayed in the Properties panel and drag the curve down to darken the outside of your image (see Figure 3).

Fig 3 - The Curves adjustment layer
If you find that the darkening of the image has caused a shift in colours – which is often the case – you can change the blend mode of the Curves adjustment layer from Normal to Luminosity.
If you have parts of the vignetted area that are already dark, and the vignette makes them too dark, you can protect these from the vignette using the Blend If sliders on the Curves layer – see Figure 4.
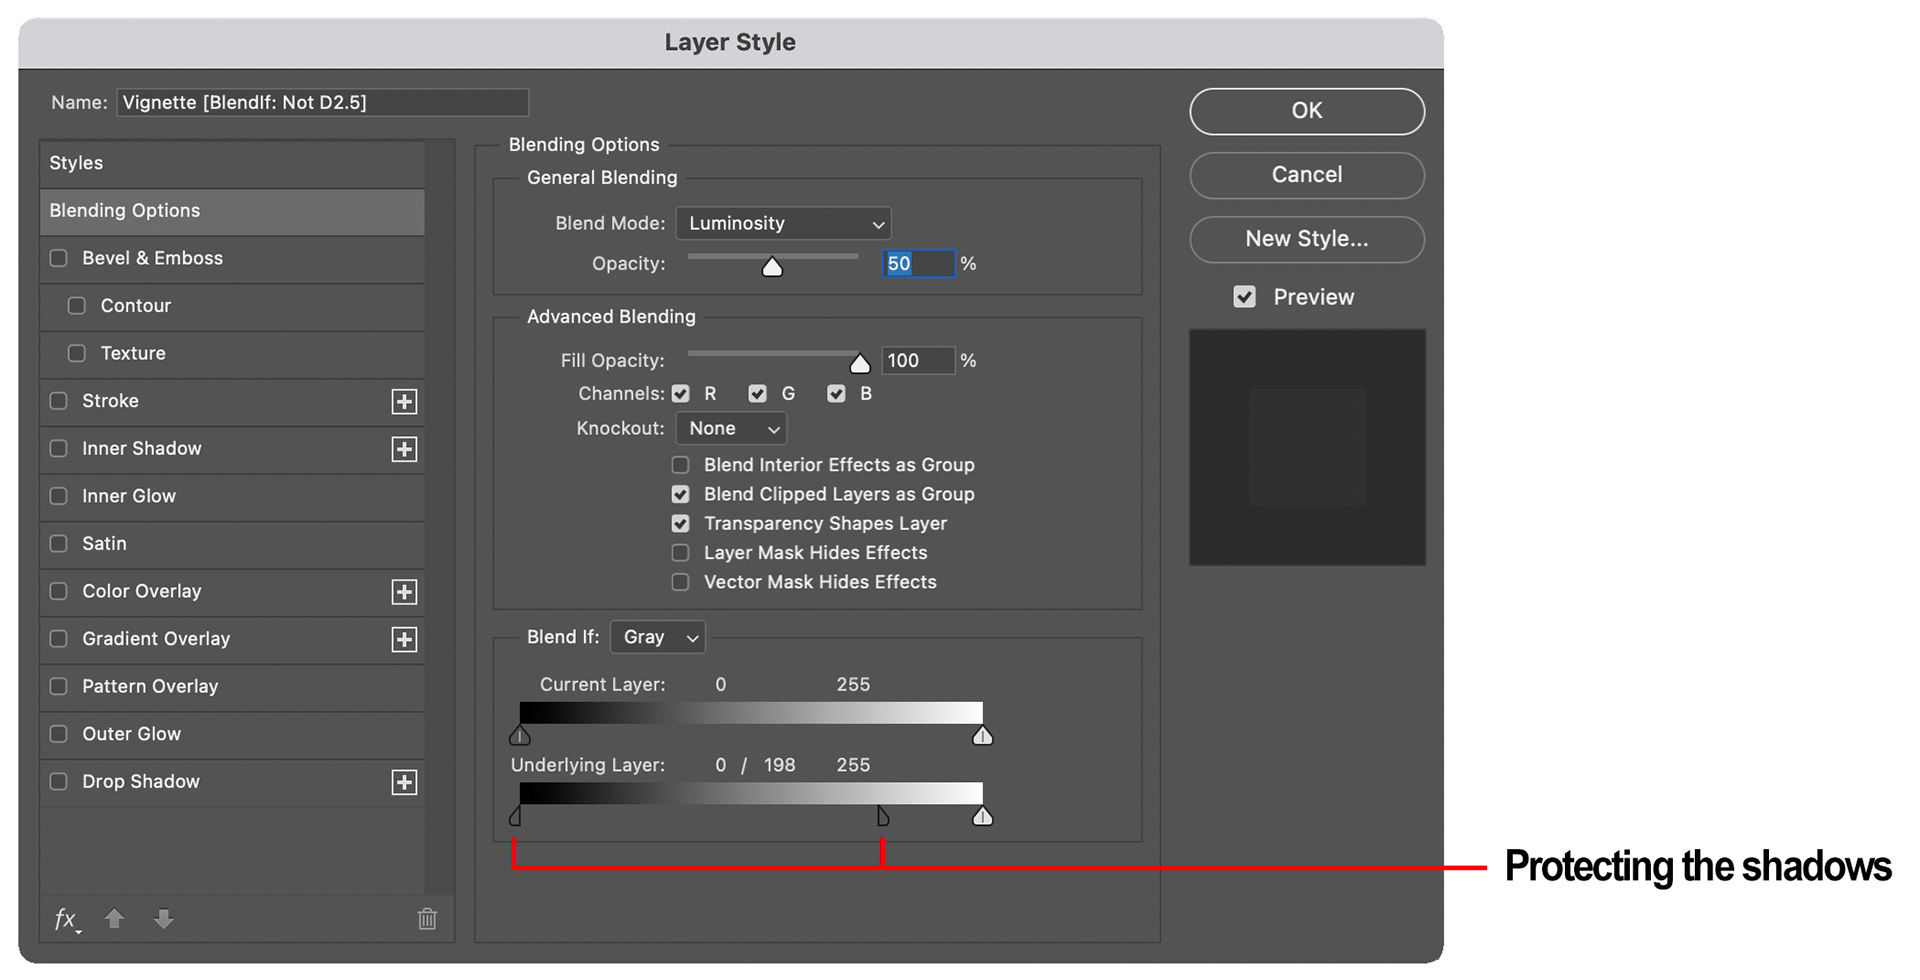
Fig 4 - Blend If sliders protect the shadows
Adjust the curve, layer opacity and blend if sliders until you are happy with your vignette.
Figure 5 shows the “Before and After” of the example used for this article.
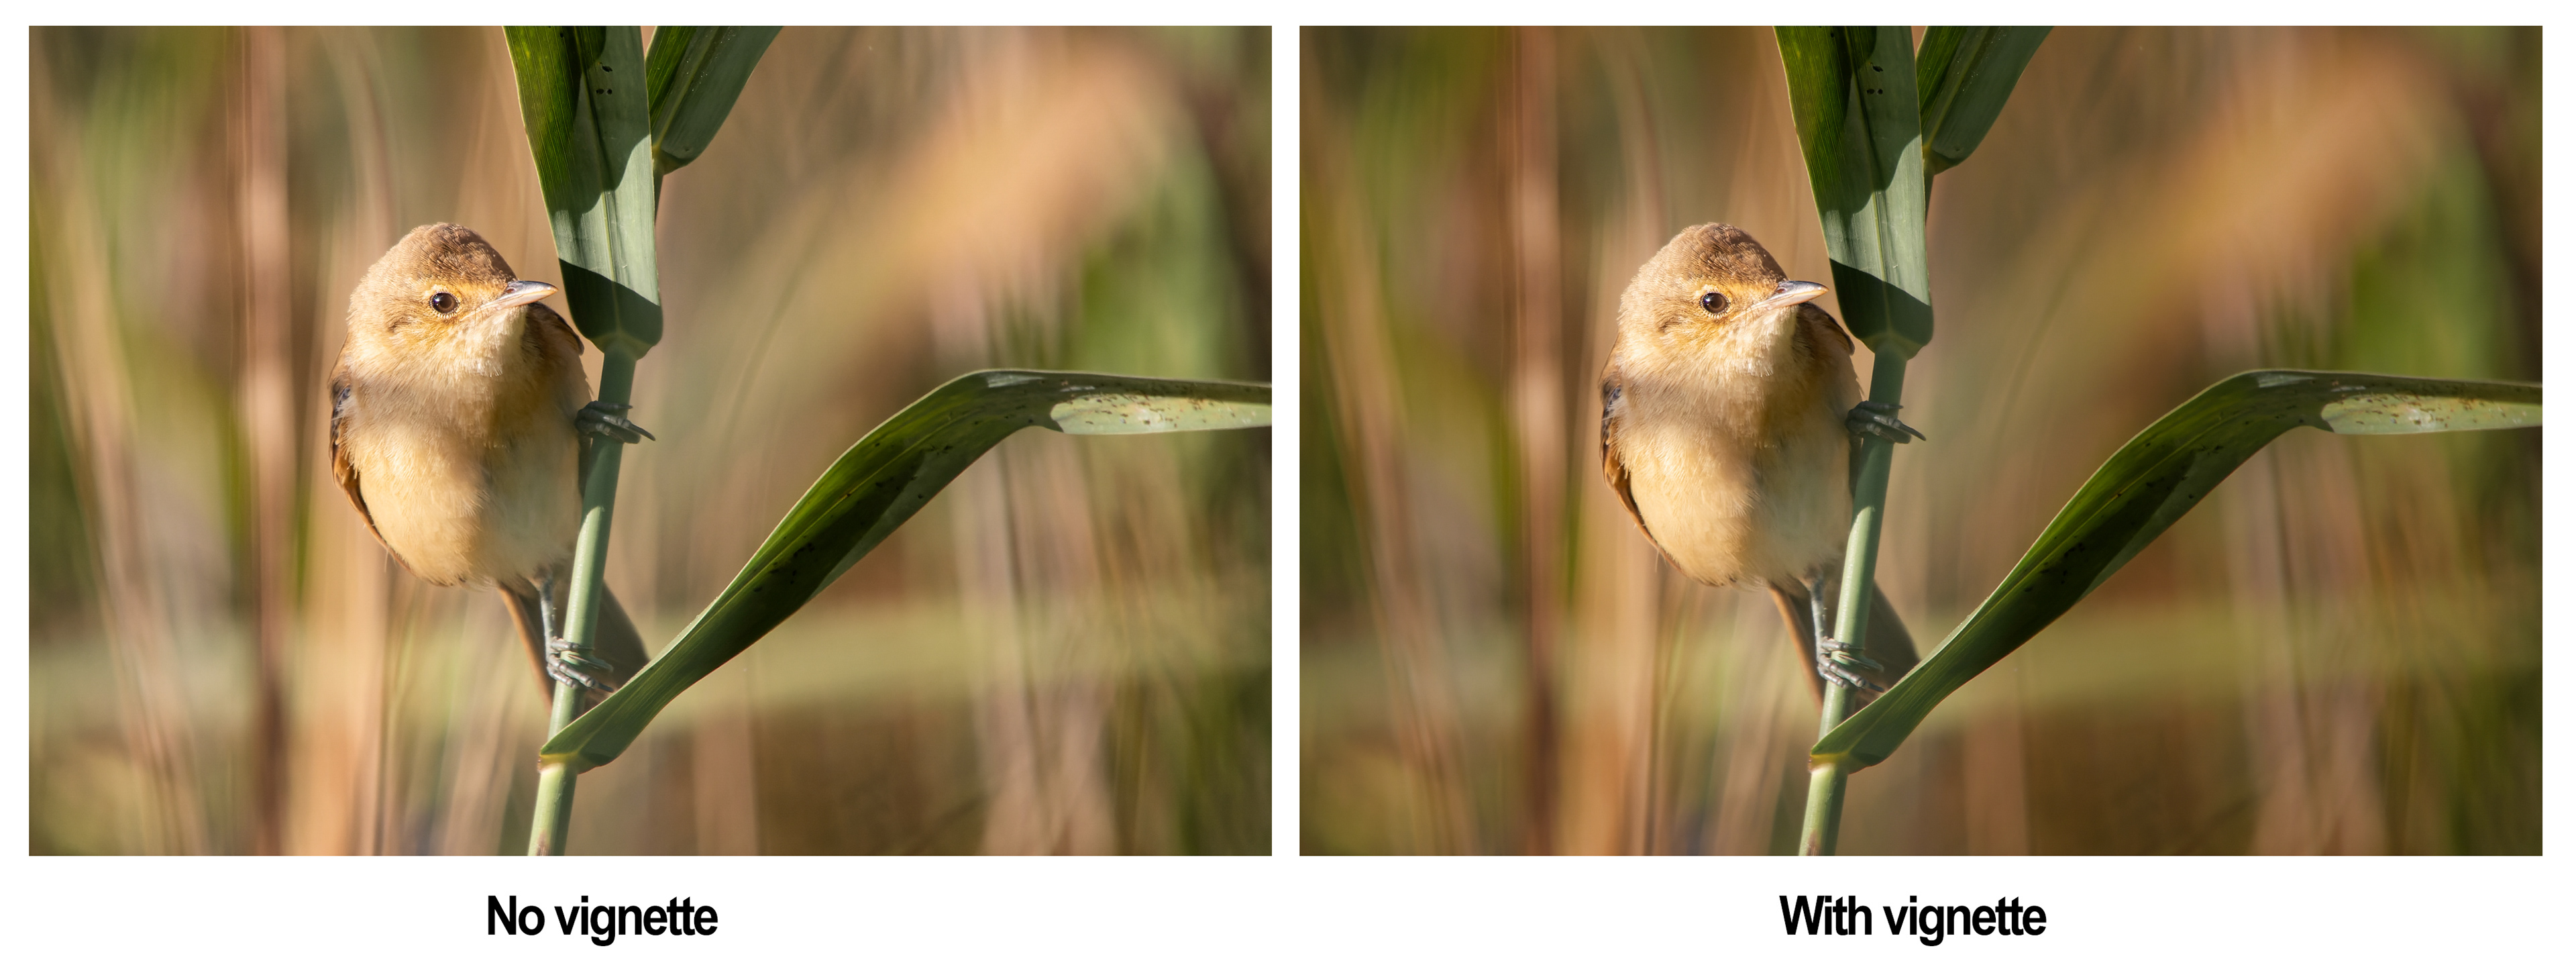
Fig 5 – Before and after applying the vignette
As I mentioned at the start of the article, using the Lumenzia panel I can select the area of the photo and then create the vignette with a single click (choosing to hold the Shift key to protect the shadows, and/or the Cmd key to choose Luminosity blend mode). For me, this feature alone makes the Lumenzia panel well worth it’s cost as I use it on nearly every photo I process.
Remember, a good vignette is one that nobody recognises as a vignette.
This article was first published in the April 2023 issue of Artists Down Under magazine.