Color Lookup Tables are essentially colour arrays or matrices that are used to map the colours in a video or still image, to a different set of colours, to modify the look and feel of the image. They are a quick and easy way in Photoshop to modify the image, and I love using them at the end of my workflow for providing a great way to unify an image that contains multiple elements. They are often also referred to as LUTs (“look up tables”).
Photoshop provides an adjustment layer called Color Lookup that allows you to easily incorporate modifications using Color Lookup tables in your workflow.
The Properties panel for a Color Lookup adjustment layer is shown in Figure 1.
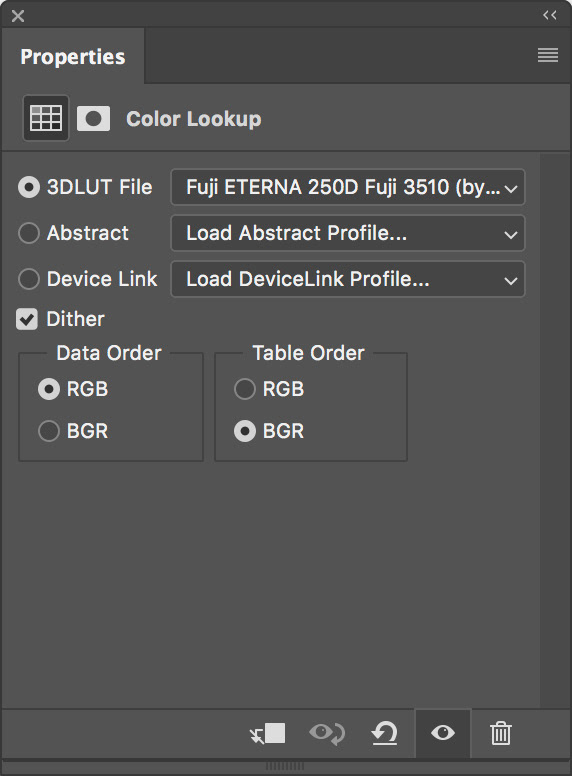
Fig 1 - Color Lookup properties panel
You will notice there are three choices 3D LUT File, Abstract and Device Link. The majority of the Photoshop provided presets are found if you select the 3D LUT File option, but there are also some under Abstract.
When you click either option you will see the drop-down menus shown in Figure 2 and Figure 3.
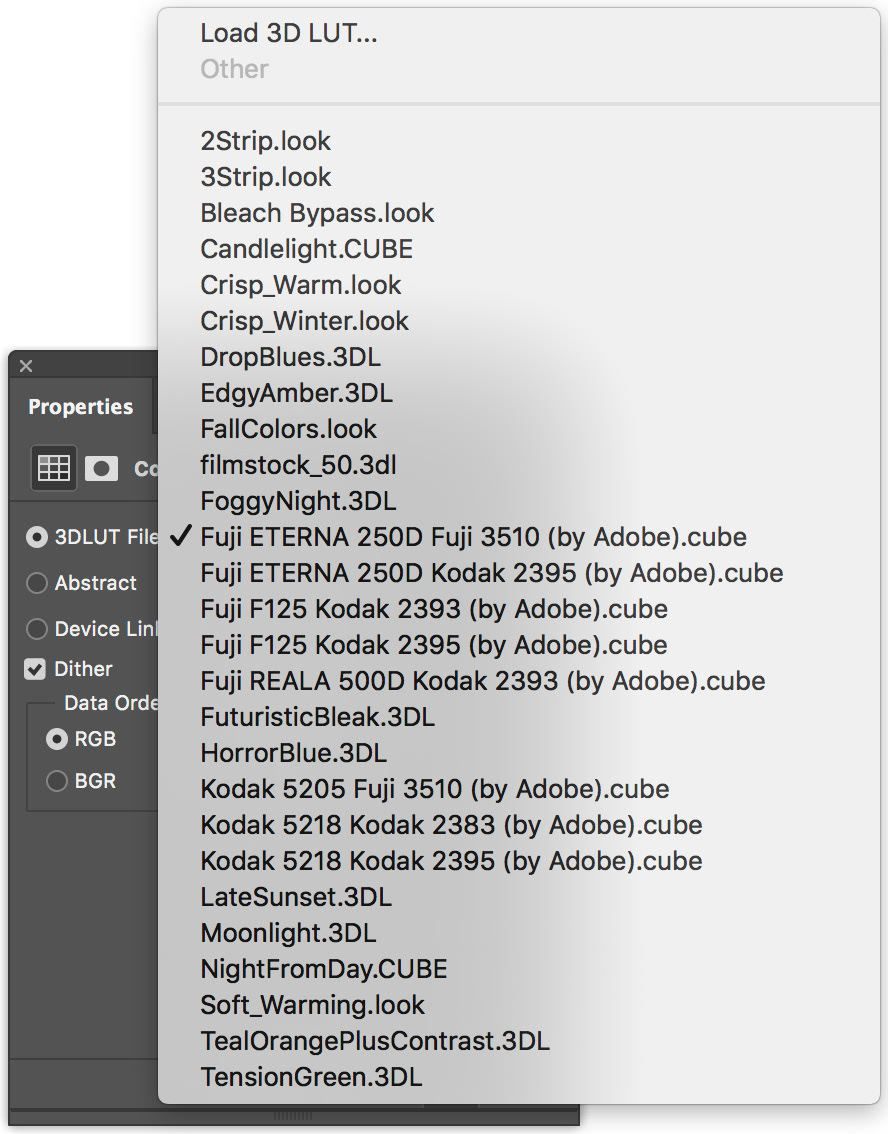
Fig 2 - 3DLUT drop-down menu
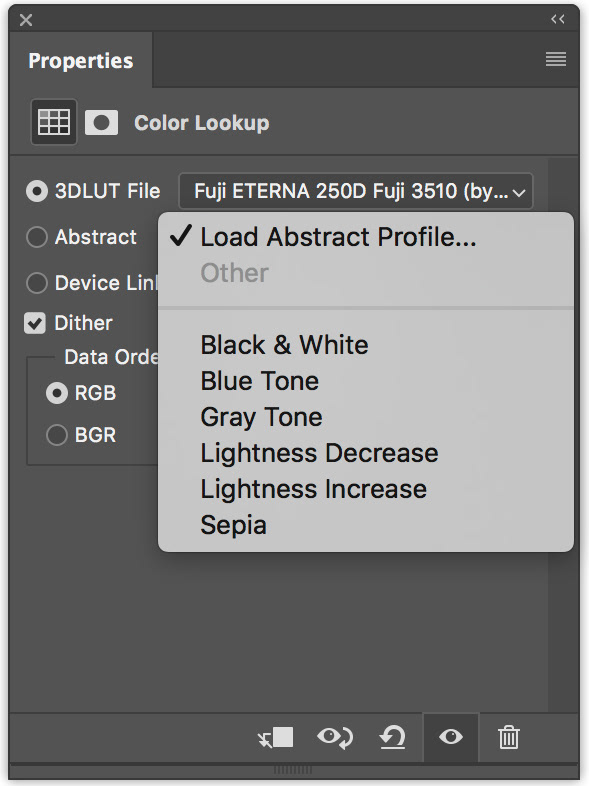
Fig 3 - Abstract drop-down menu
Clicking the Load option that is the first option on both of these allows you to access color lookup tables that can be found on your hard disk. These could be ones you have saved yourself (more on that in a minute), or ones you have obtained from other sources.
The available presets are then found below in the second section of the drop-down menu. Simply load one of your LUTs using the load option, or click one of the presets to see the effect of the color remapping on your image.
Like all adjustment layers you can modify the effect using opacity, blend modes or blend-if. Make sure you try both Luminosity and Color blend modes with Color Lookup adjustment layers, which allow you to isolate either the brightness or color of the adjustments.
In Photoshop CC 2014, Adobe added the capability to easily create and save your own Color Lookup tables. You can make changes to an image using any number of Photoshop Adjustment and Fill layers, then save the effect of these layers as a Color Lookup table.
Proceed as follows;
1.
The base image must be set as a Background Layer. If it is not, select it then use the Layer / New / Background from Layer menu command to convert it into a Background Layer.
The base image must be set as a Background Layer. If it is not, select it then use the Layer / New / Background from Layer menu command to convert it into a Background Layer.
2.
Make adjustments to the image using any number of adjustment layers. You can use most of the adjustment layers effectively here as well as the Solid Color Fill layer to make adjustments to your image. You can use different Blend Modes on the adjustment layers, as well as using Opacity and the Blend If sliders to modify the effect. Do not use layer masking this can lead to unpredictable results. Only use adjustment layers, do not use other filters like Topaz or Nik, or use any other pixel-based layers.
Make adjustments to the image using any number of adjustment layers. You can use most of the adjustment layers effectively here as well as the Solid Color Fill layer to make adjustments to your image. You can use different Blend Modes on the adjustment layers, as well as using Opacity and the Blend If sliders to modify the effect. Do not use layer masking this can lead to unpredictable results. Only use adjustment layers, do not use other filters like Topaz or Nik, or use any other pixel-based layers.
3.
When you have the result as you like it, you can save the combined effects of the adjustment layers in a Color Lookup table using the File / Export / Color Lookup Tables menu command. Figure 4 shows the dialog box that is displayed.
When you have the result as you like it, you can save the combined effects of the adjustment layers in a Color Lookup table using the File / Export / Color Lookup Tables menu command. Figure 4 shows the dialog box that is displayed.

Fig 4 – Export Color Lookup Tables dialog
4.
You can enter a description, and a copyright statement (this will be captured within the LUT).
You can enter a description, and a copyright statement (this will be captured within the LUT).
Ticking Use lowercase file extensions is a good idea to ensure compatibility across different systems if you intend to distribute the LUT.
For Quality I recommend either Medium or High, but not Maximum (there are some known issues with large LUT tables which the Maximum option will create).
I have never had any issues with using the CUBE format, so recommend choosing this.
Hit OK and you will be prompted for a filename to use to save the LUT. Do not change the file extension, Photoshop will take care of this.
5.
Now you have saved the LUT, you can use it in other Photoshop images using the above-mentioned Load option on the 3D LUT drop-down menu to apply the same adjustments to that image.
Now you have saved the LUT, you can use it in other Photoshop images using the above-mentioned Load option on the 3D LUT drop-down menu to apply the same adjustments to that image.
If you would like to have your saved LUT appear as a preset rather than having to load it each time you can copy the LUT file into the Presets\3DLUTs folder that you’ll find under the Photoshop folder on your hard disk.
LUTs, when saved in standard formats can also be used in other software packages from Adobe and other manufacturers.
You will find LUTs available at various places on the internet, one good source is the ON1 web site where you can find about 90 free LUTs in various categories at this URL.
If you download the above LUTs, it is the CUBE files that you will find in the “For other programs” folder of the download that you need for Photoshop.
If you are not already using the Color Lookup adjustment layer as an option in your workflow, have a play with it, I’m sure it will then become a regularly used feature.
This article was first published in the November 2018 issue of Artists Down Under magazine.