With the release of Photoshop CC 22.0 (October 2020) Adobe released the Depth-Aware Haze beta neural filter.
This is one of a number of new filters (some in production and some in beta) that can be accessed using the Filter / Neural Filters menu command. After choosing this menu command, click the Beta Filters icon in the left navigator, and then click the Depth-aware Haze switch (see Figure 1).
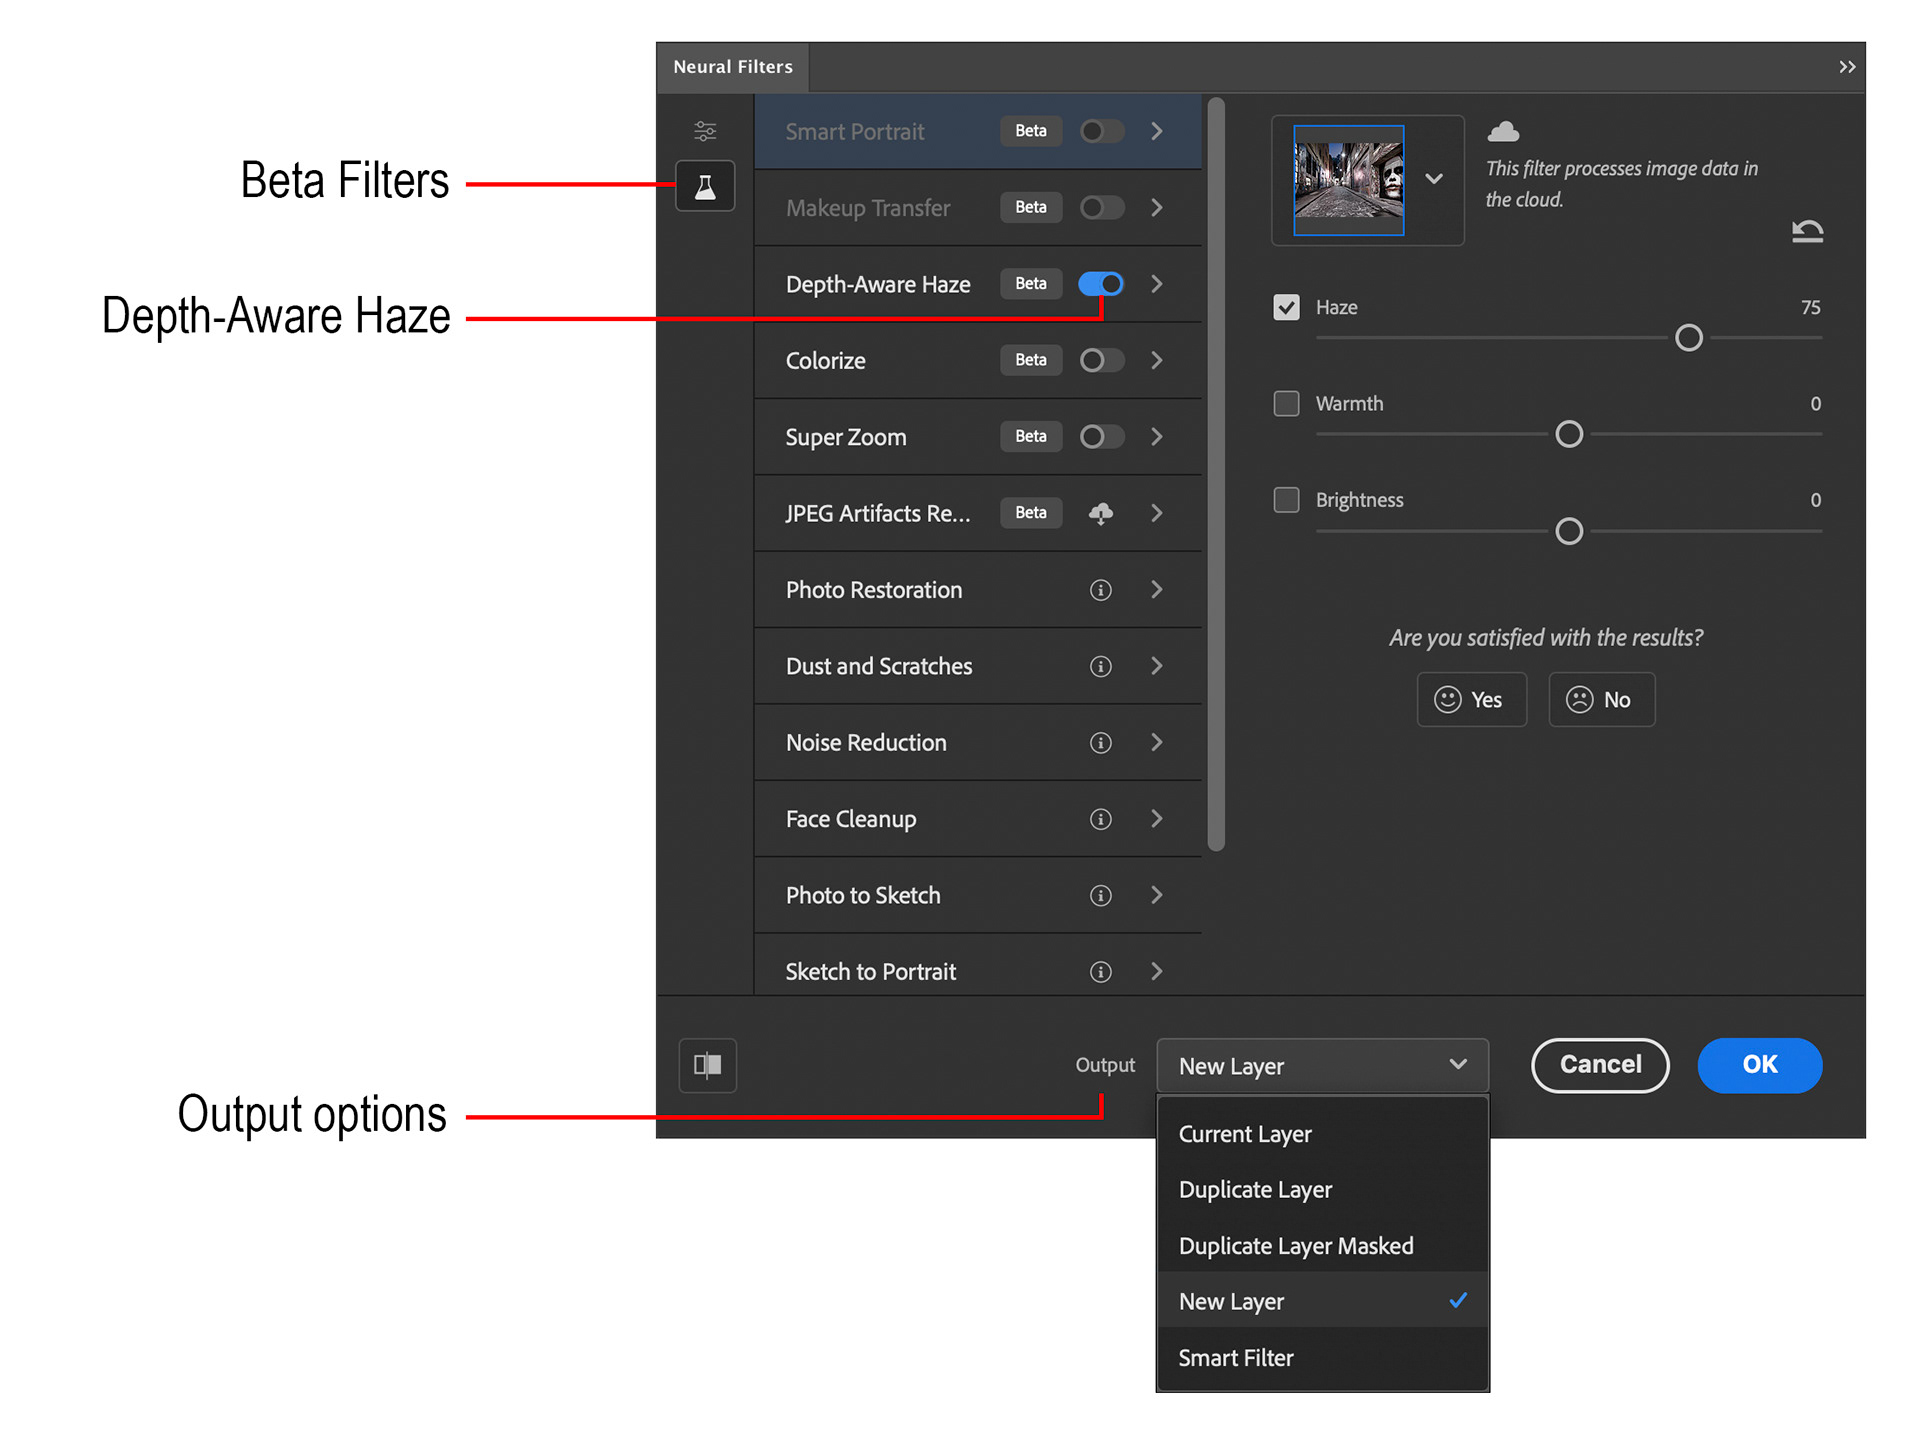
Fig 1 - Neural Filters dialog with Depth-Aware Haze chosen
Like many of these new filters the image is uploaded to the cloud, where Adobe’s artificial intelligence engine will analyse the image and apply the filter. This activity could take a few seconds to complete.
The controls for this filter are simple. The main one is Haze which simply controls the amount of Haze applied (0 = none up to 100 = maximum amount). Adjust this slider to your taste.
The Warmth and Brightness sliders adjust the warmth and brightness of the haze. Personally, I do not like the colour adjustments made by the warmth slider, and think I will do my colour grading later, but try these sliders out to see if you like the effect.
The Output drop-down list gives you a number of options as to how the filter is applied, obviously one of the Duplicate, New Layer options or the Smart Filter option will provide you with the most flexible and non-destructive workflow.
So, if you like to add some haze to your artistic images you may find this new filter a quick way to do so.
I have found it produced a good result on most of the images I have tried it on. See Figures 2 and 3 for a couple of before and after examples.
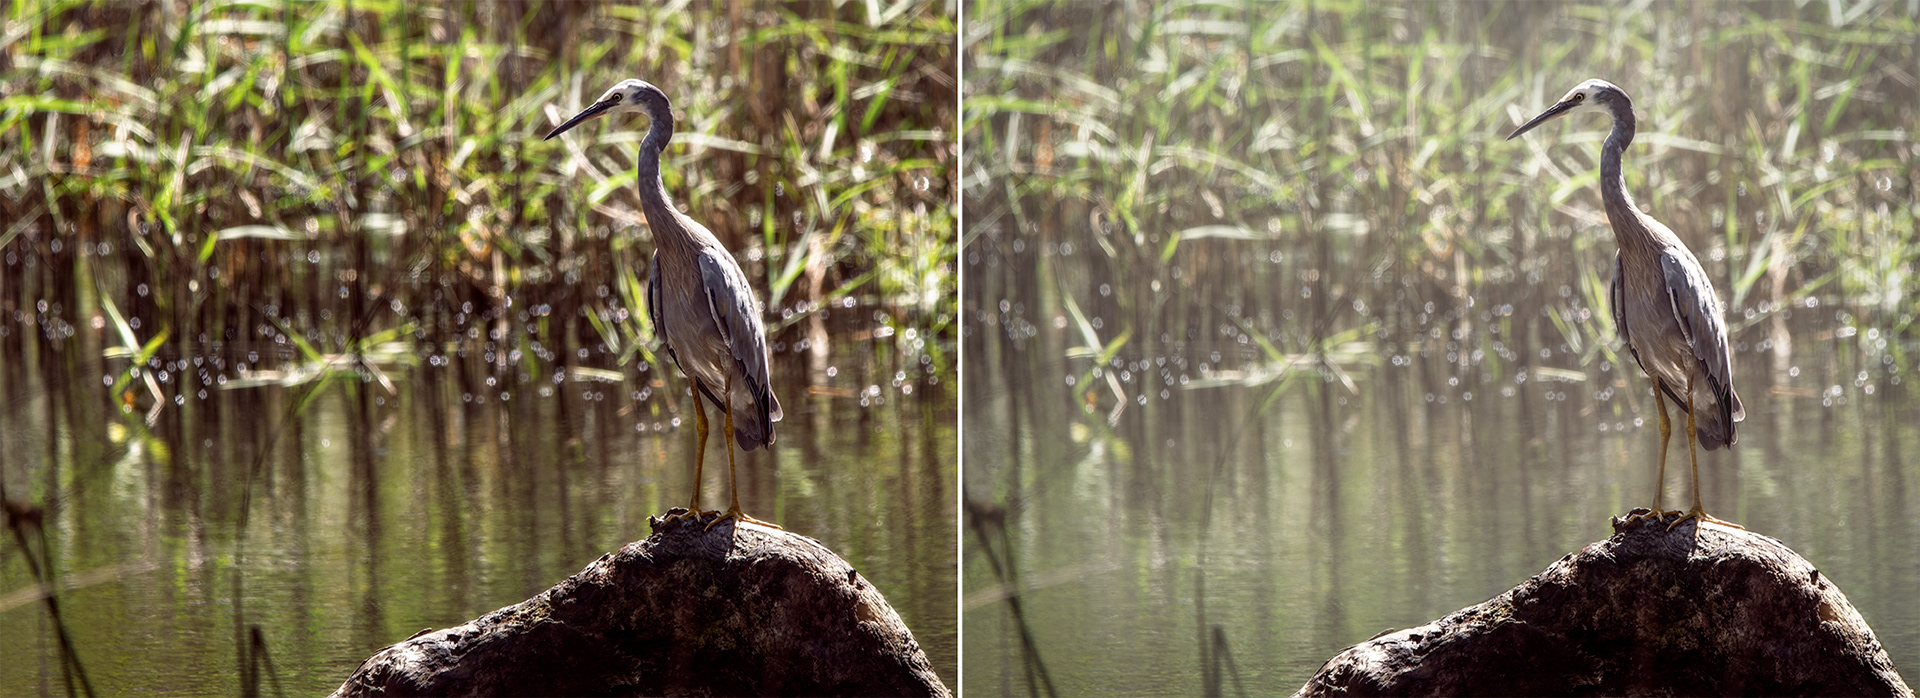
Fig 2 - Before and After Example 1

Fig 3 - Before and After Example 2
This article was first published in the March 2021 issue of Artists Down Under magazine.