If you’re like me, you are often frustrated with the effort required, and the end result, when trying to use Photoshop Select and Mask to select intricate things like hair and fur.
If you pick your images judiciously you can get away without ever going into the Select and Mask nightmare interface.
If you pick a model or animal photo that has lighter coloured hair or fur on a fairly dark background, and composite this onto another darker background, or choose a model or animal with darker coloured hair or fur on a fairly light background, and composite this onto another lighter background, then you will be able to use Blend modes rather than selection in many cases.
Take this example of mine a Western Lowland Gorilla shot at Melbourne Zoo, which I have composited onto a stock background image of bamboo (Figure 1).
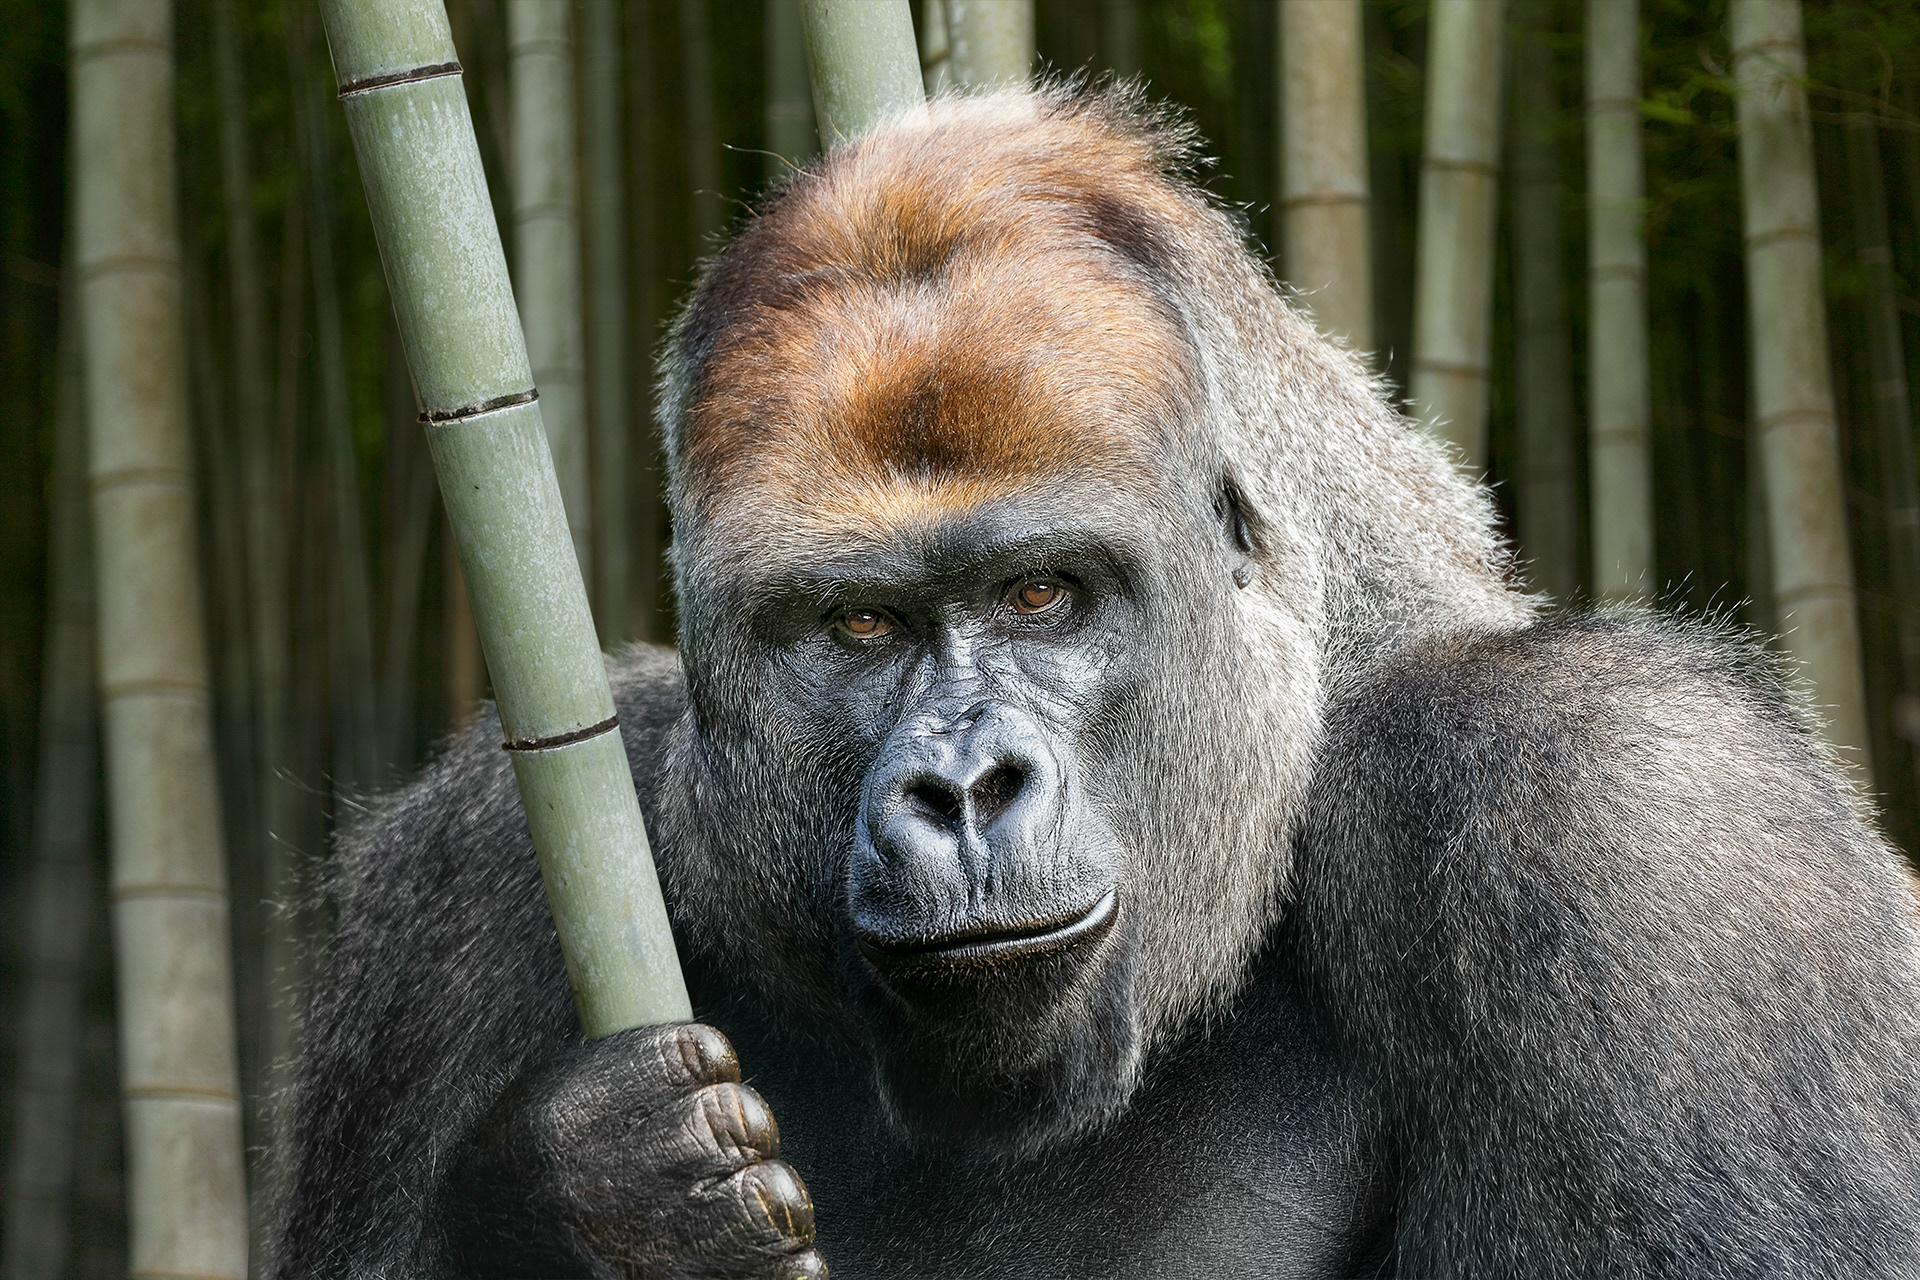
Figure 1 - Final composite
The Gorilla’s outer fur is lighter in colour and he was shot on a dark background, which I did make darker before bringing into this composition.
My first step is to bring the Gorilla in as a layer on top of my background. Then change the Blend Mode of the Gorilla layer to Screen. Lighten would work too in this case, so try both Screen and Lighten, both of which will get rid of the black background. In this case I liked the Screen result best.
If you look at Figure 2, you’ll notice that the extremities of the hair blend quite nicely, but the Screen blend doesn’t look great for most of the Gorilla’s body. We’ll fix that in the next step.
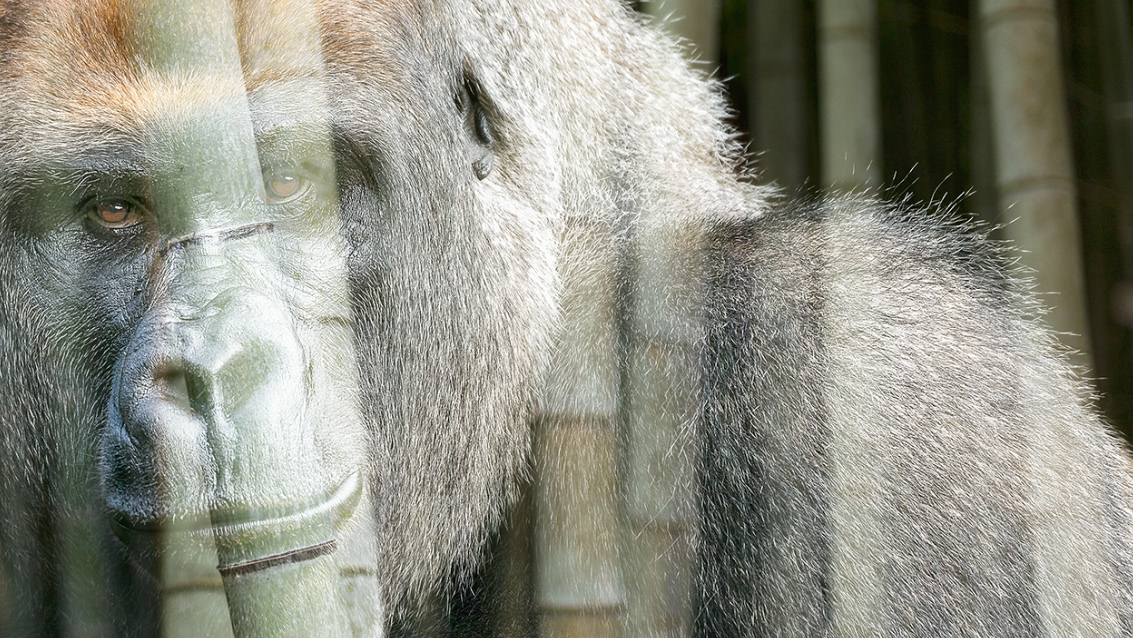
Figure 2 - Gorilla in Screen blend mode
Now duplicate the Gorilla layer, and change the Blend Mode to Normal. Now add a black Layer Mask to this layer, and then paint in the inner part of the Gorilla’s body with white using a soft brush, making sure to avoid the hair/fur extremities.
Looking at the close-up in Figure 3, you’ll see we have a nice result, and all with no selections.
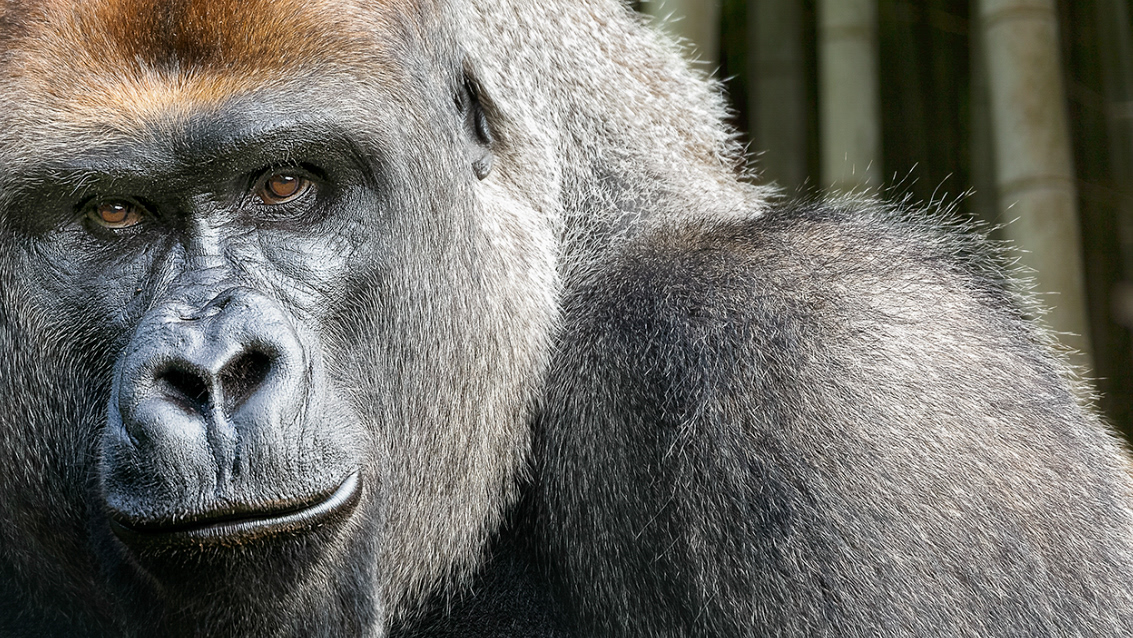
Figure 3 - Close-up of finished result
Figure 4 shows the Layer Panel for this simple composite.
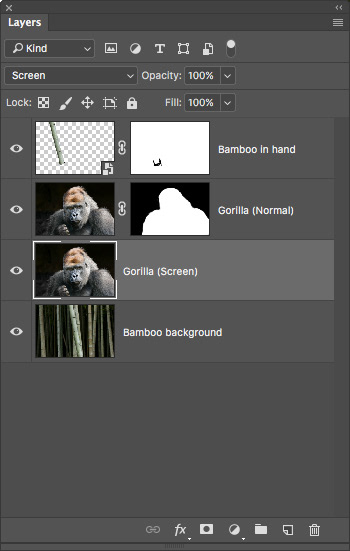
Figure 4 - Layer panel
The process is exactly the same if you have darker coloured hair or fur on a lighter background except you will want to use Darken or Multiply blend modes rather than Lighten or Screen.
Obviously the closer to black (or white) your background is on your model (animal) layer, the better. You can use clipped Curves, Levels or Hue Saturation Layers to move the backgrounds to black (or white) for better results.
This article was first published in the January 2018 issue of Artists Down Under magazine.