The Edit Fade command in Photoshop is particularly useful, and not terribly well known.
It is used to adjust (fade) the result of the last operation you performed.
For example, you can adjust (fade) the last brush-stroke you performed, or the last filter you applied, or the last image adjustment you made. It basically allows you to change the opacity of that operation from 100% downwards thereby fading the strength of that operation.
When using the Edit Fade command to adjust a filter or and adjustment it is equivalent to performing that filter or adjustment on a duplicate layer and adjusting the opacity. I have to admit, the duplicate layer method is my preferred way for the above, but I find Edit Fade very useful when re-touching and also when dodging and burning. When performing these functions, using Edit Fade to adjust the last brush stroke can give very precise results. Sometimes it can be a good technique to slightly overdo the brush-stroke and then fade it back to precisely where you want it.
Please note that the Edit Fade command is only available immediately after the operation you want to fade, as soon as you perform another action the opportunity to fade the previous one is lost.
To use this command simply choose Fade from the Edit menu (or use the Shift+Cmd+F (Mac) Shift+Ctrl+F (Windows) keystrokes. If the last operation performed is not “fadeable” the menu option will be greyed out, otherwise the operation to be adjusted will be shown in the menu title (see Figure 1).
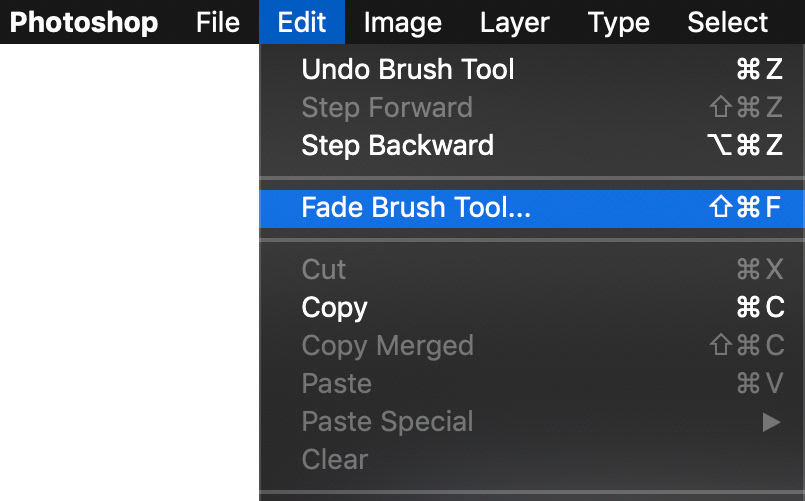
Fig 1 - Edit Fade Menu command
The Fade dialog is shown (see Figure 2). Make sure the Preview check box is ticked so that you can see your adjustment live, then adjust the Opacity slider to the desired amount to get your adjustment just how you want it. Press OK when finished.

Fig 2 - Fade dialog
Another very similar capability is available in Photoshop if you choose to apply adjustments and filters to a SmartObject layer.
If you do this you will know that the Filters and Adjustments appear underneath the SmartObject. You will notice that each Filter or Adjustment has a small icon to the right of it (see Figure 3).
If you do this you will know that the Filters and Adjustments appear underneath the SmartObject. You will notice that each Filter or Adjustment has a small icon to the right of it (see Figure 3).
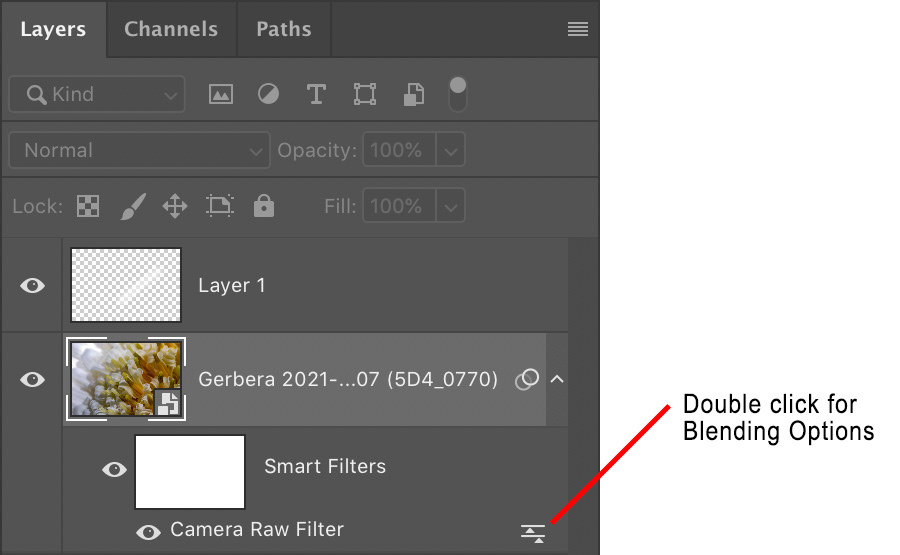
Fig 3 - Layer Panel Filter Blending Options
Double-click this icon to open the Blending Options dialog (see Figure 4).
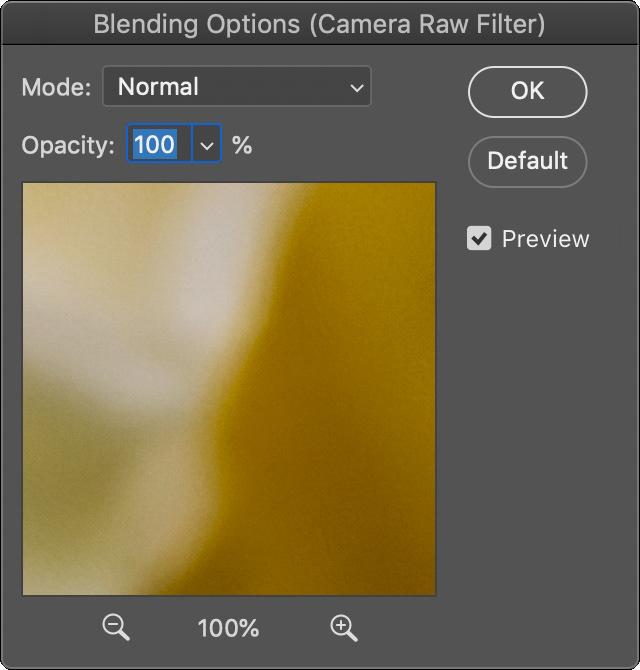
This dialog is almost identical to the Fade dialog. Slide the opacity slider to adjust the effect of the chosen adjustment/filter.
That’s it for this article, but I just want to re-iterate that, for me, the most useful and powerful use of these commands is to use Fade on individual brush strokes whilst re-touching or dodging and burning. It gives you very good levels of control. I imagine it may also work well when using the Mixer Brush (but this is something I don’t really use).
This article was first published in the May 2021 issue of Artists Down Under magazine.