It constantly surprises me how often I find things in Photoshop that I didn’t know were there. This article documents one such I found just last week.
In the Edit Fill dialog there is an option to fill with a custom pattern, first let’s remind ourselves how to create a custom pattern.
Load the image or element you want to use on a transparent background, then create a selection around the object. Choose Edit / Define Pattern. In Figure 1 I have used a skull postage stamp found on Pixabay. Type a name for your pattern and press OK.
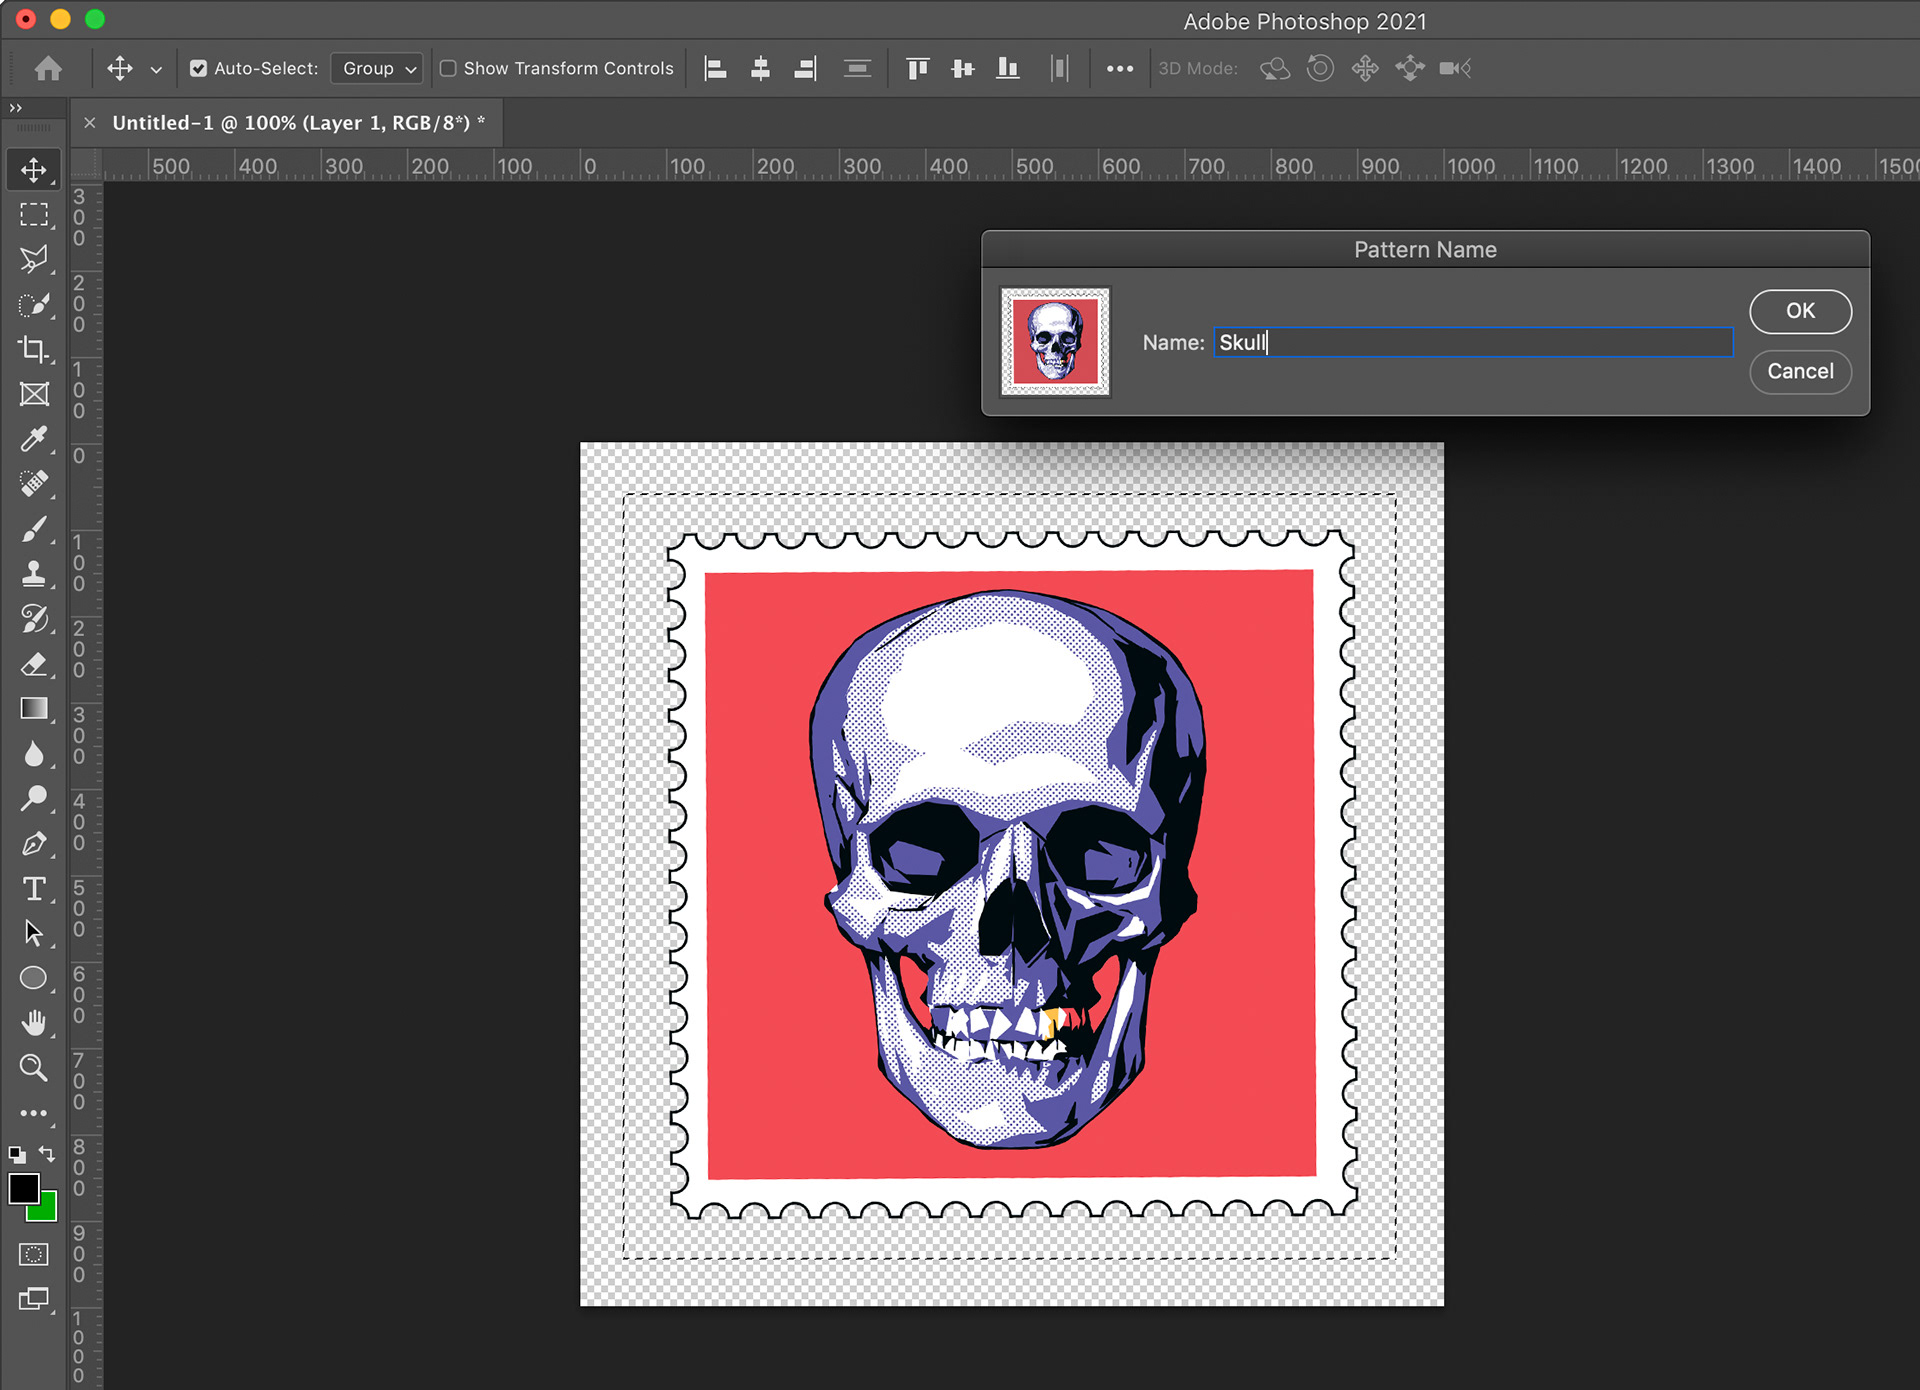
Fig 1 - Define Pattern dialog
Now to use this to fill, create a new document with a transparent background and choose Edit / Fill from the menu. The Edit Fill dialog (shown in Figure 2) is presented.
Choose Pattern from the Contents drop-down list, then choose the custom pattern you just created (or the one you want to use) from the Custom Pattern drop-down list. When Pattern is chosen a check-box labelled Script is activated, which when checked activates another drop-down list to choose from a number of scripts that allow a number of ways to fill your image with the chosen pattern.
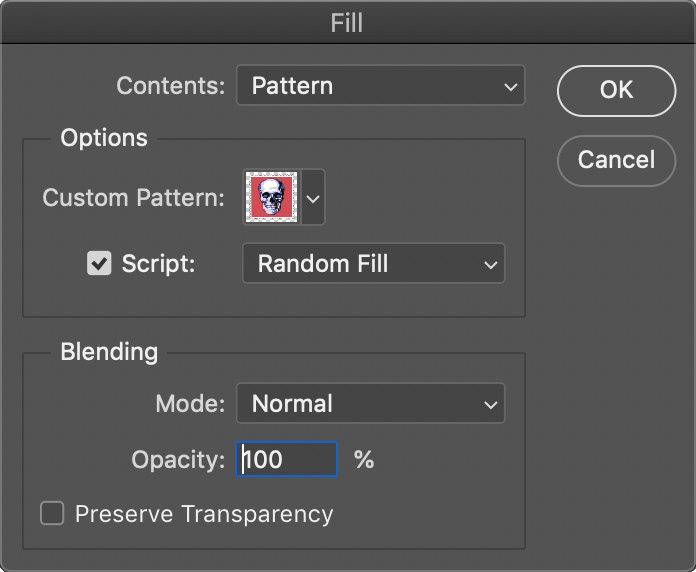
Fig 2 - Edit Fill dialog
Choose Random Fill from the Script drop-down list and the Random Fill dialog will be presented (see Figure 3).
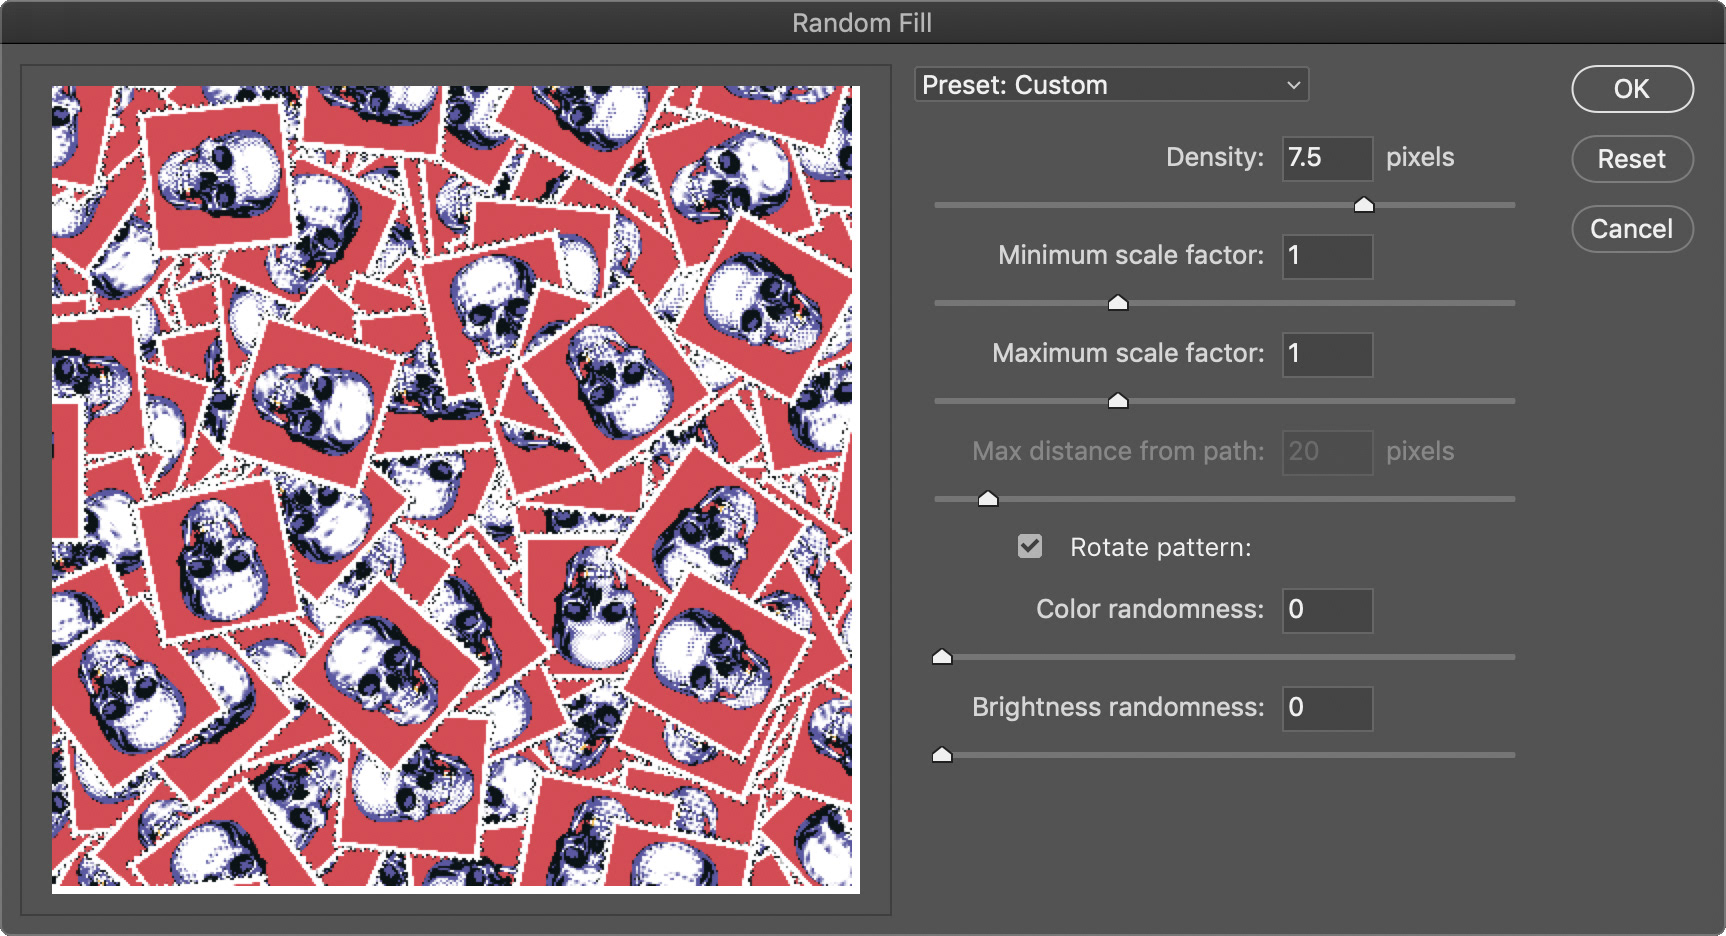
Fig 3 - Random Fill dialog
As its name suggests Random Fill will randomly place copies of your custom pattern to fill the area. The Density slider determines how densely your pattern is used to fill the area.
One word of warning is that the preview screen at the left hand side of the dialog box, in my experience, is not terribly accurate so there will be some trial and error to get the effect you want.
The Minimum scale factor and Maximum scale factor determine how large the copies of your pattern are (relative to its original size). If you leave these two sliders set to the same value all copies of your pattern will be the same size, if the minimum and maximum are different, the size will be varied.
The Rotate pattern check-box determines if your pattern is randomly rotated (or not).
Use the Color randomness and Brightness randomness to change the color and brightness of the various copies of your pattern.
Figure 4 shows the result of the settings shown in Figure 3 with the skull postage stamp pattern.
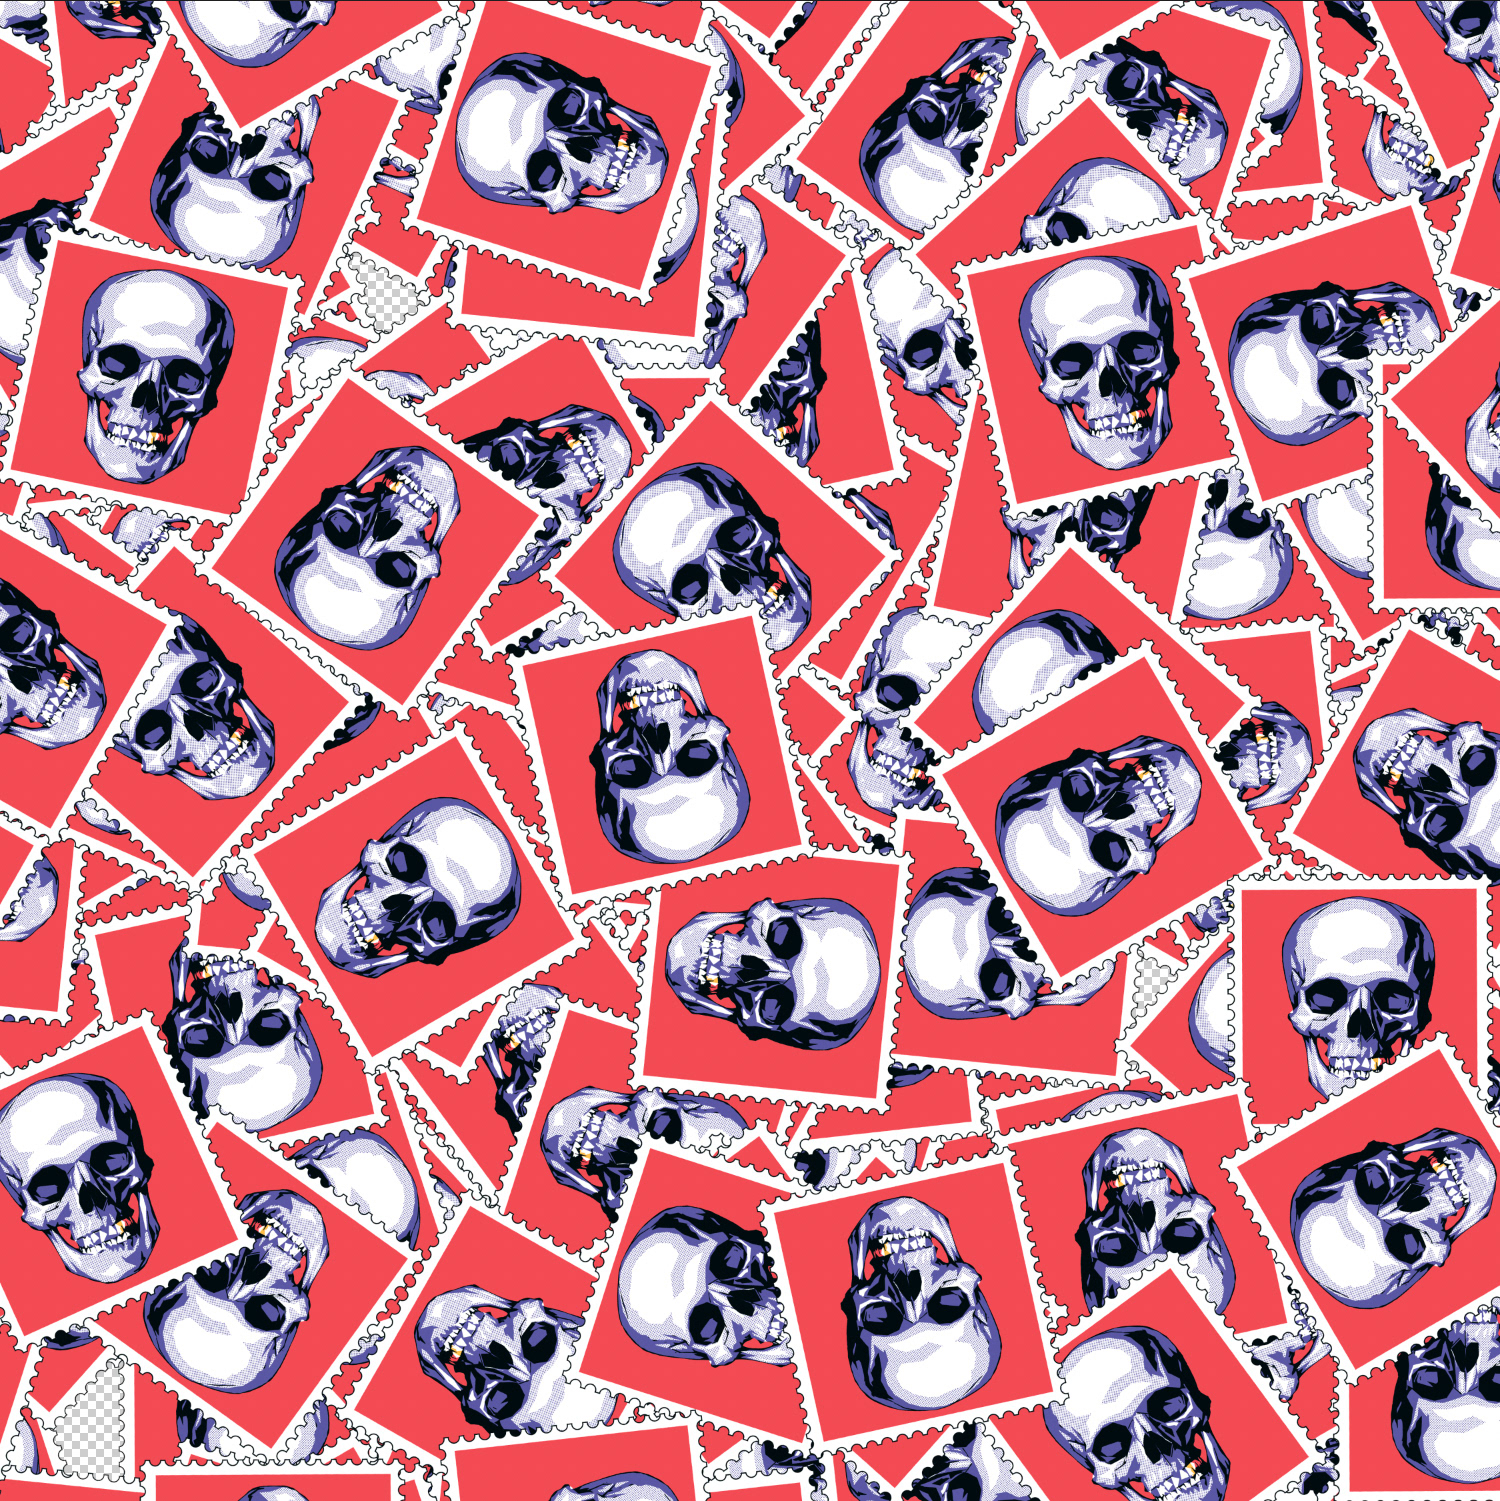
Fig 4 - Resultant image
You can repeat the random fill command to further fill your background, either on the same layer, or on another blank layer. You can also use copies of the original layer maybe rotated or transformed in some way.
Figure 5 shows the results of another example, using a single palm leaf for the pattern, and using the settings in the above dialog to change the size, colour and brightness of the leaf.
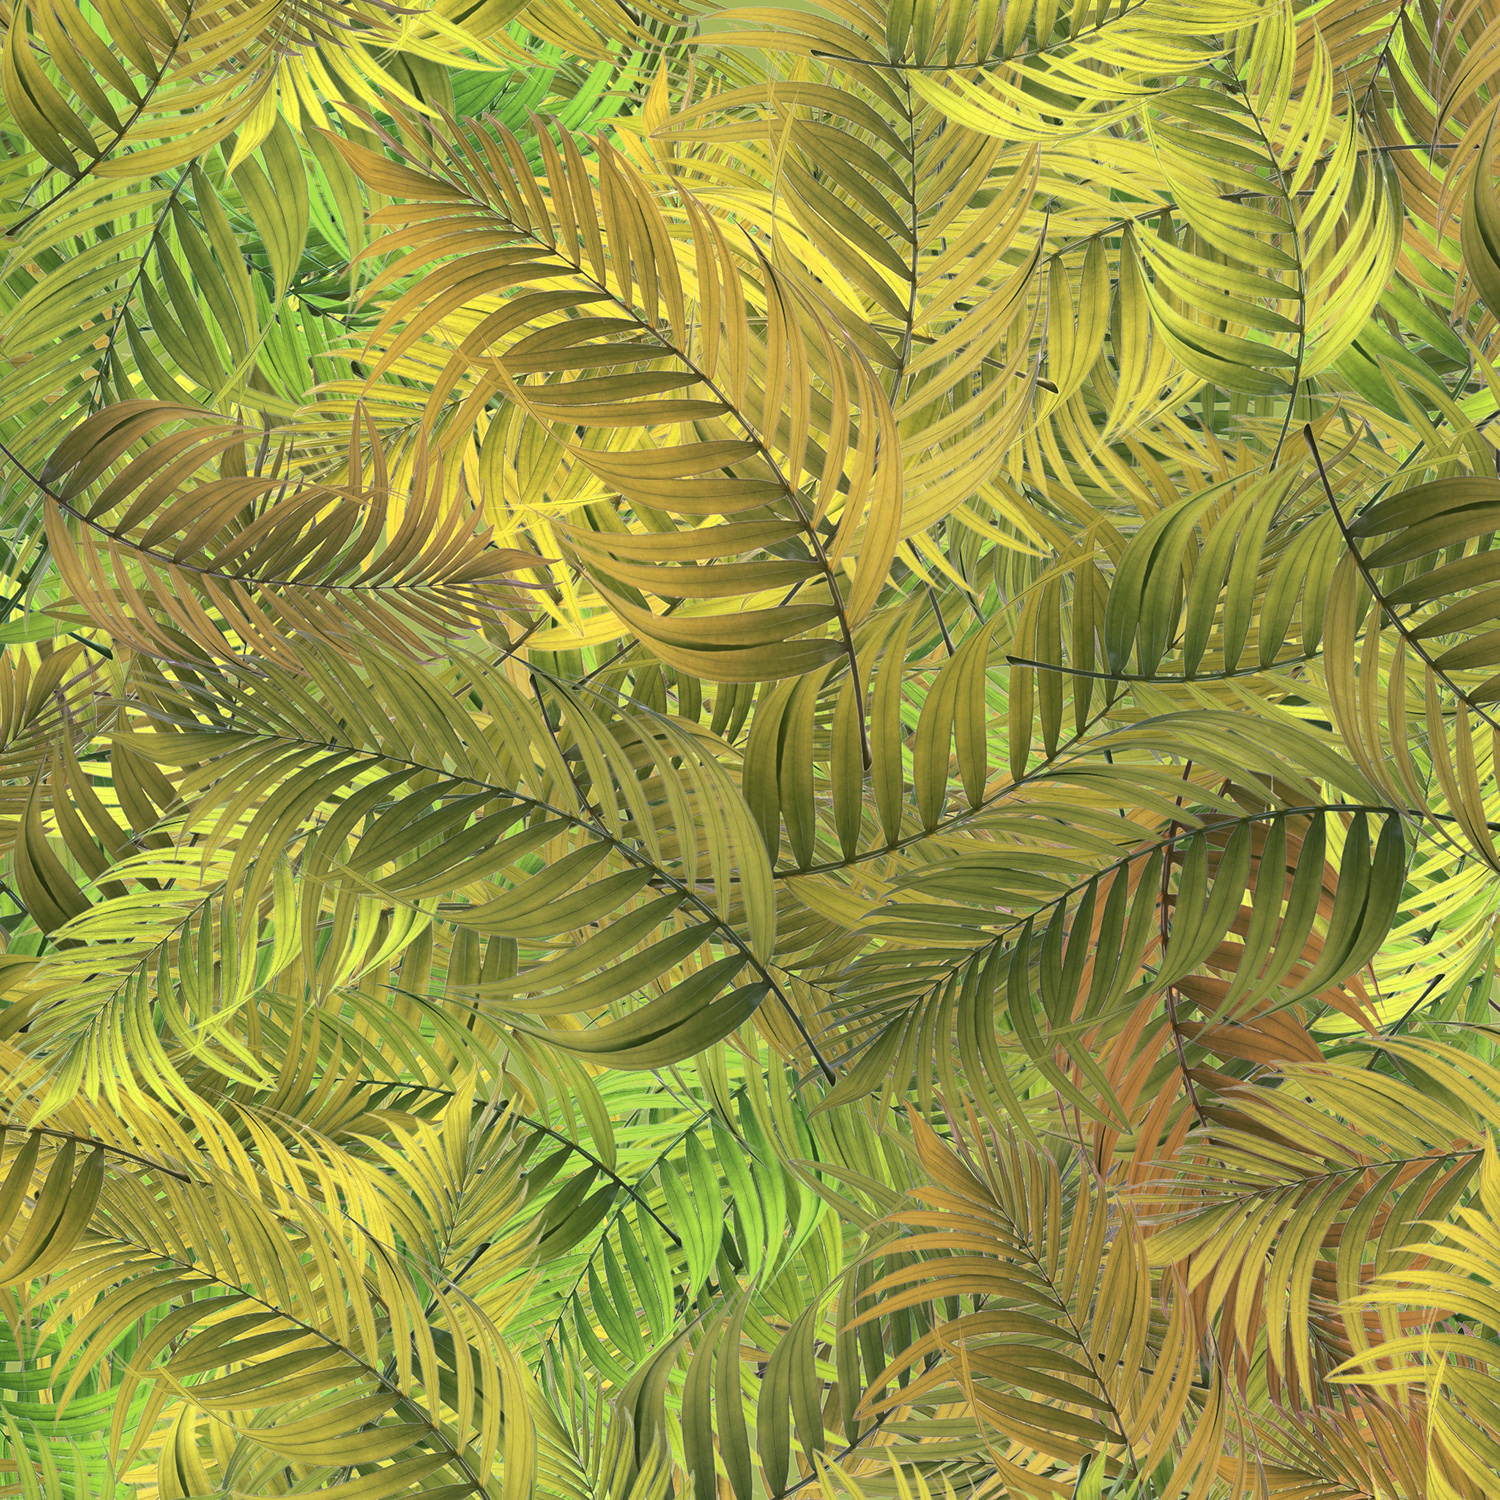
Fig 5 - Palm leaf background
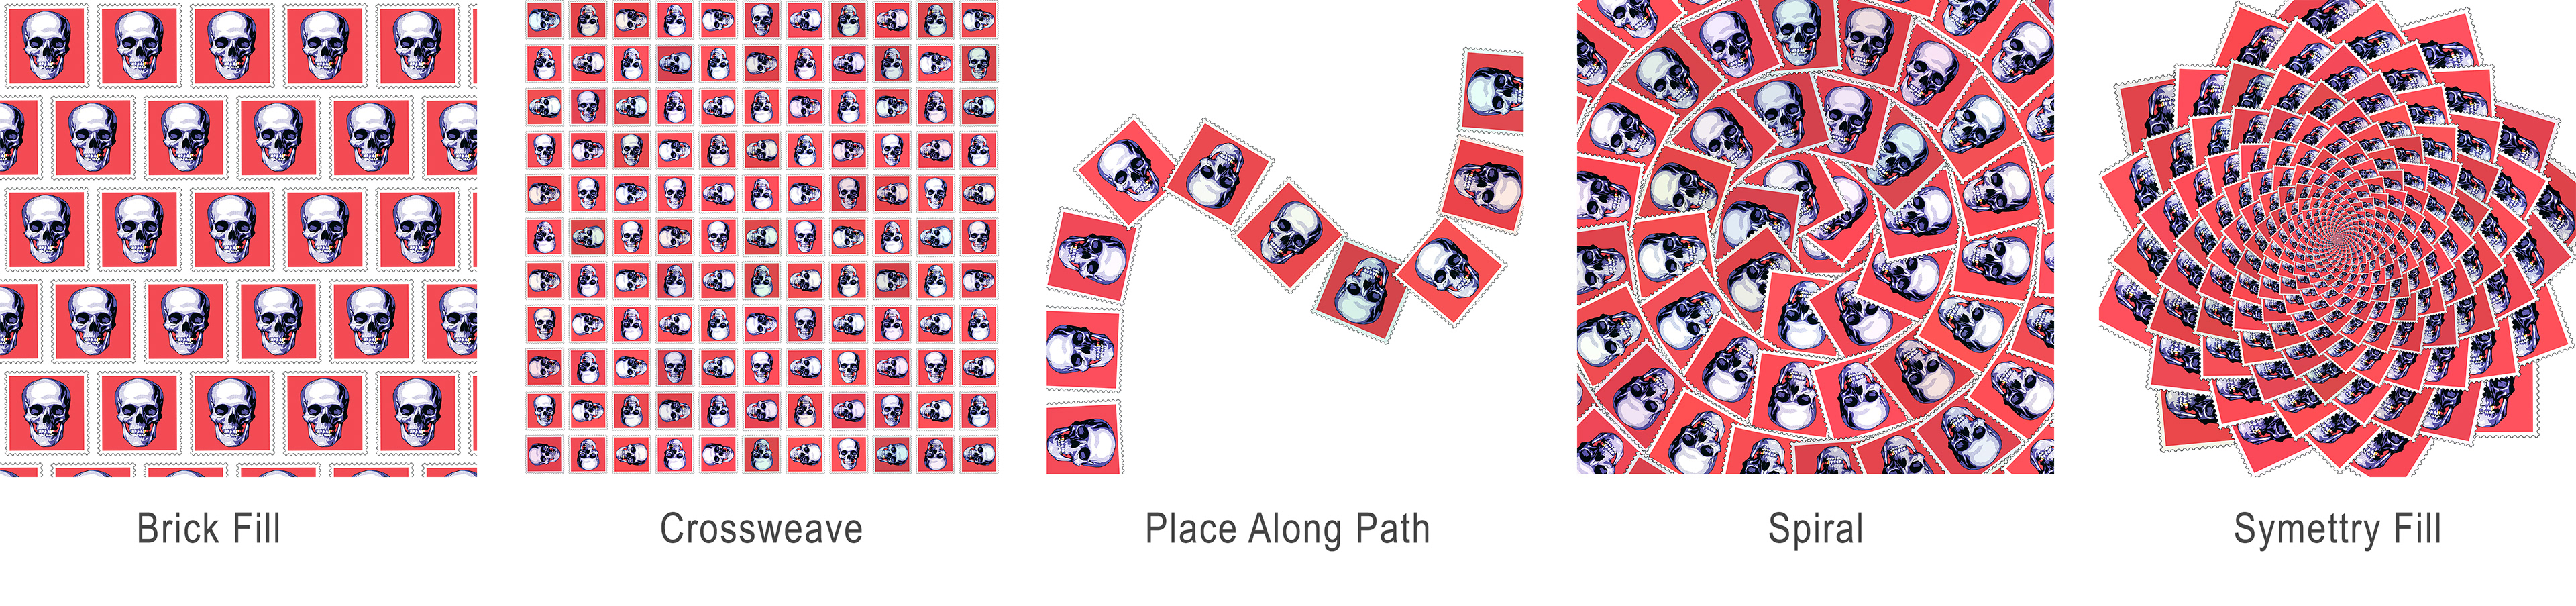
As well as the Random Fill option in the Scripts dialog, there are five other options that create patterned arrangements of your custom pattern, Figure 6 shows examples of these, but each does have its own dialog box with options, so the variation is seemingly endless.
This article was first published in the February 2021 issue of Artists Down Under magazine.