The Spot Healing Brush tool in Photoshop usually does a pretty good job, but there is a fairly easy way to improve the accuracy and performance of it using blend modes.
The tool itself has Blend Modes that you can change via the drop-down list in the Options bar (see Figure 1).

Fig 1 - Healing tool blend modes
Using the Spot Healing Brush tool in Lighten mode will only target dark objects (eg dark hairs on a subjects face, or dark skin blemishes).
Using the Spot Healing Brush tool in Darken mode will only target light objects (eg light hairs on a subjects face, or highlights on skin).
Both of these methods provide you with a much more targeted replacement than using the tool in Normal mode, making it much less likely that the tool will replace unwanted areas around the blemish.
When you have the Spot Healing Brush active, you can use the following shortcut keys to select the tool blend modes.
[Shift+Opt+G] (Mac) or [Shift+Alt+G] (Windows) – Lighten blend mode
[Shift+Opt+K] (Mac) or [Shift+Alt+K] (Windows) – Darken blend mode
[Shift+Opt+N] (Mac) or [Shift+Alt+N] (Windows) – Normal blend mode
It is always advisable to utilise a blank layer in Photoshop to perform this sort of image correction. Not only does this make the operation non-destructive, but it also gives you the option of reducing the repair layers opacity slightly which can often make the changes look more natural (especially with skin retouching).
If you don’t like to change the tool’s blend mode, another option is to keep the tool blend mode at Normal, but to change the blend mode of the blank layer you create to do the correction to Lighten or Darken.
Figure 2 shows a layer structure I will often create for retouching, with a layer named Lighten which has the blend mode set to Lighten, and a layer named Darken which has the blend mode set to Darken. Then, remove the dark blemishes on the Lighten layer and the light blemishes on the Darken layer.
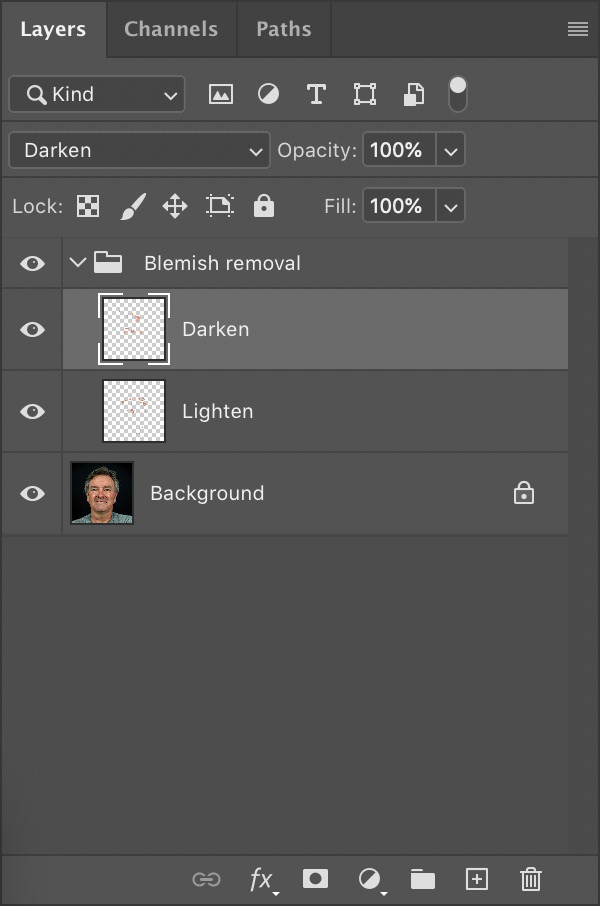
Fig 2 - Using Layers with Darken and Lighten Blend Modes
Next time you’re using the Spot Healing Brush try using Lighten and Darken blend mode – I think you will appreciate the difference.
This article was first published in the October 2020 issue of Artists Down Under magazine.