Layering multiple photographic exposures in Photoshop to create a single composition can be quite simple and effective.
The technique I want to describe today is often attributed to Catalan photographer Pep Ventosa and is called “In the Round”. It involves picking a subject (in the two examples I’ll use today, I’ve chosen a tree and a fountain), then walking around the subject (360 degrees if that is possible) taking photos of it all the way round, then blending the photographs together.
How many exposures you take as you walk around your subject is up to you, it also depends on the subject. In the first example of the tree, I actually took over fifty photos, but chose to only use twenty of them, in the second example of the fountain I took only five.
The more images you use, the more “impressionist” or painterly your image will look, you see the tree looks much more painterly, while the fountain takes on more of the look of a traditional multiple exposure.
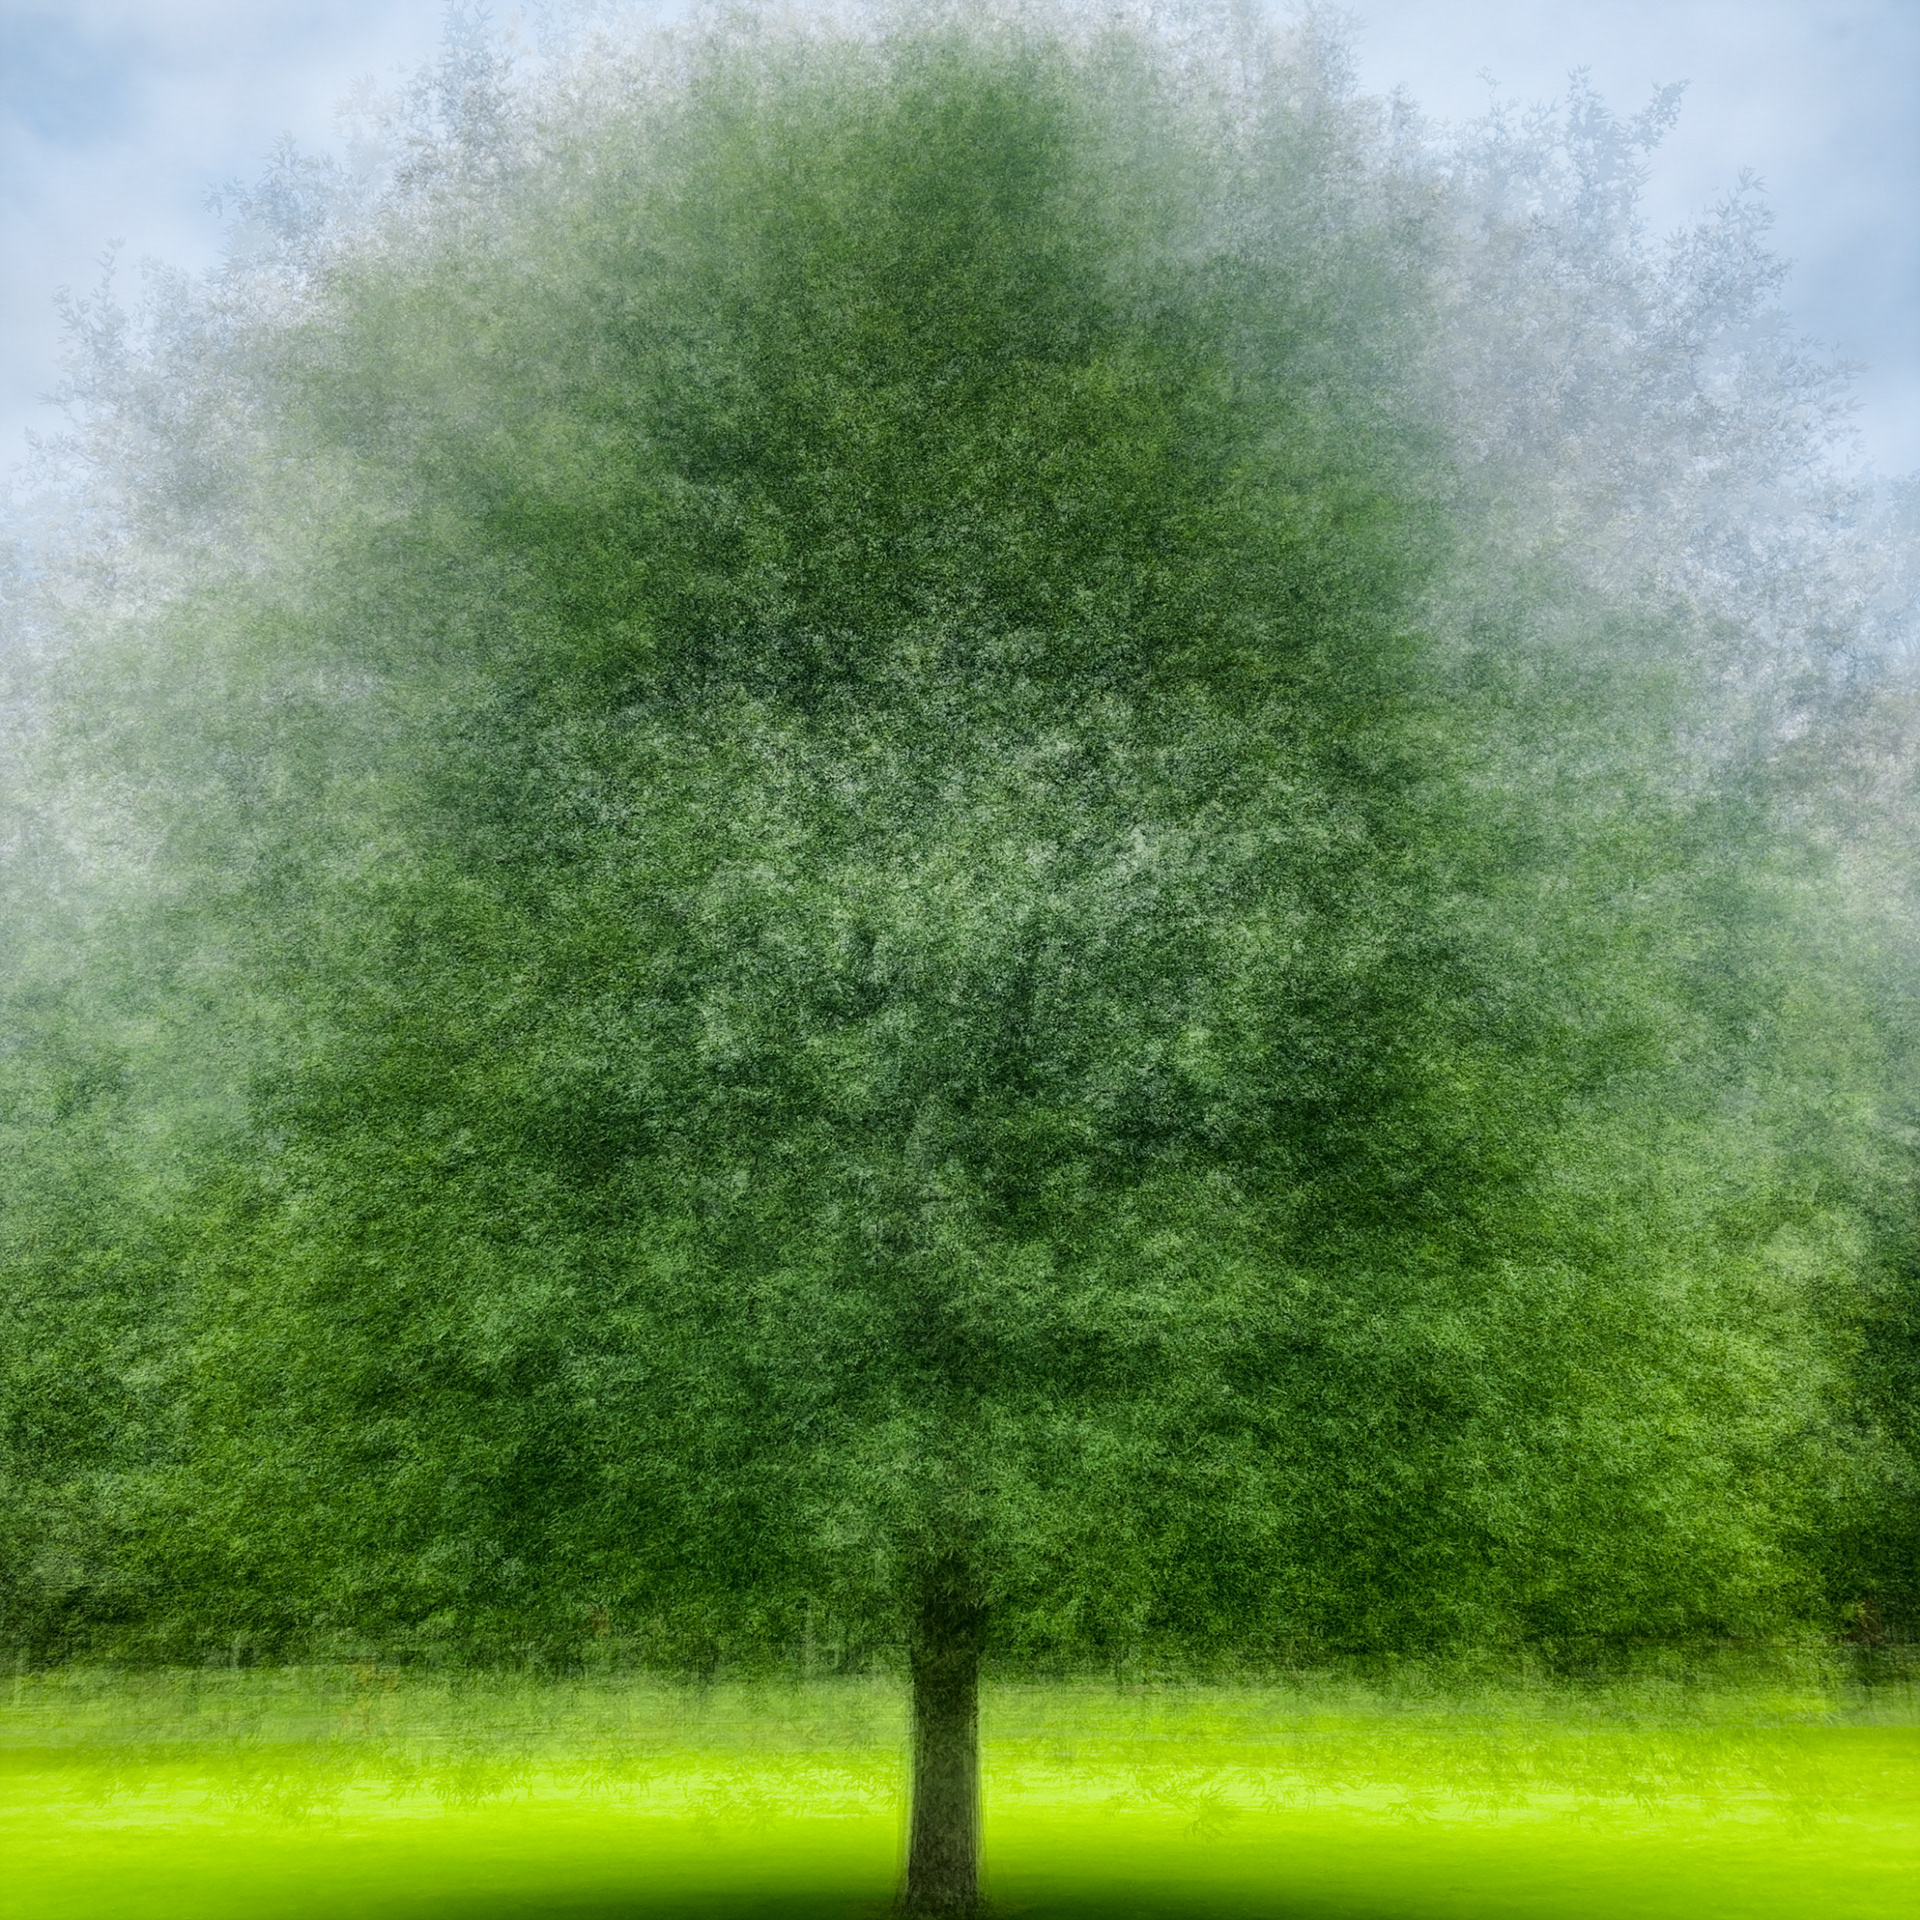
Figure 1 - Fitzroy Gardens Tree - Pep Ventosa
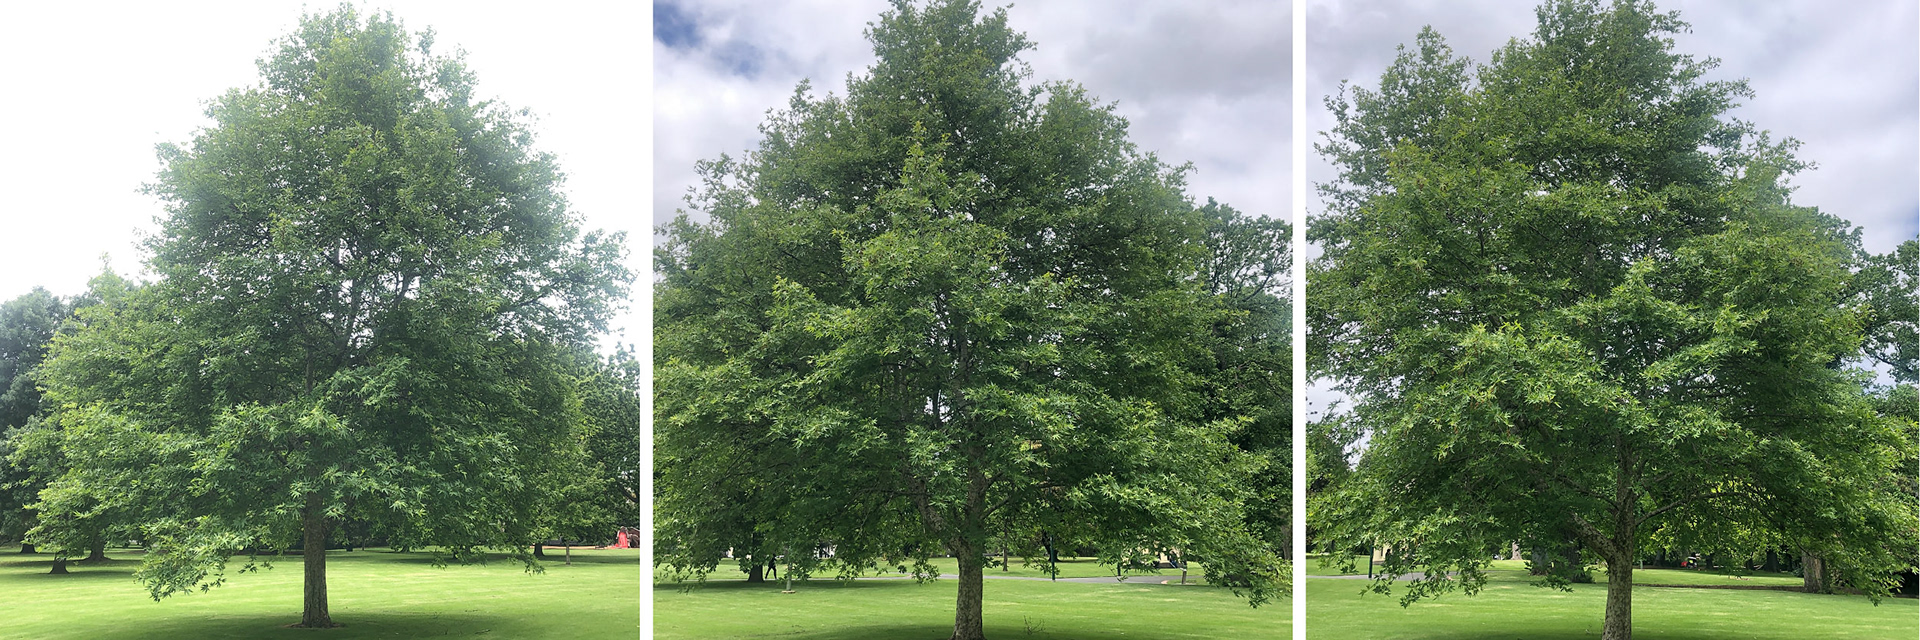
Figure 2 - Fitzroy Gardens Tree - 3 of the 20 images used
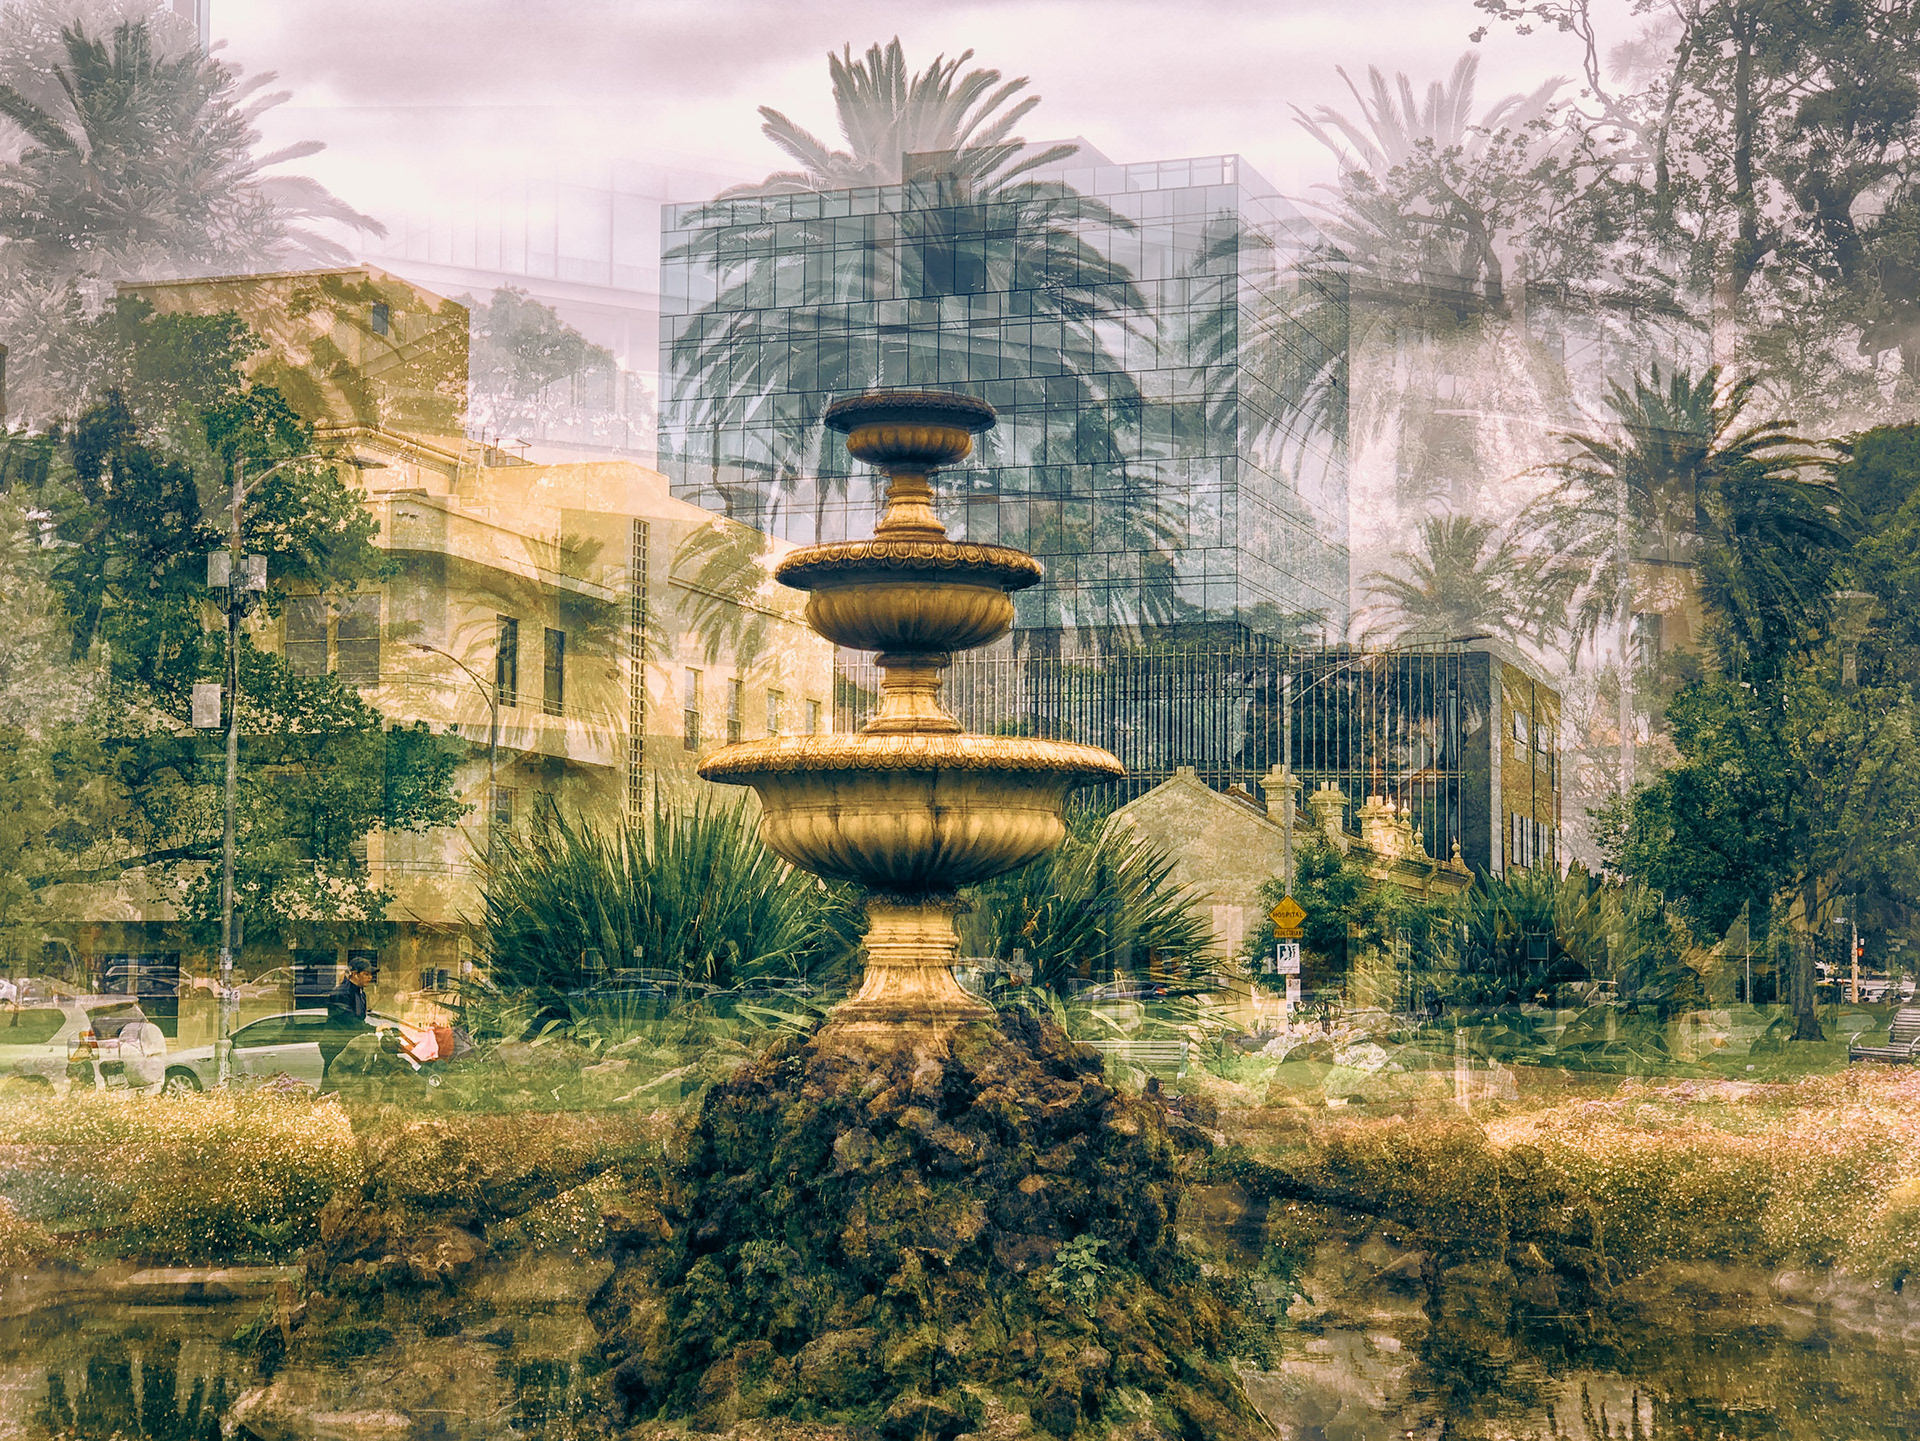
Figure 3 - Fitzroy Gardens Fountain - Pep Ventosa
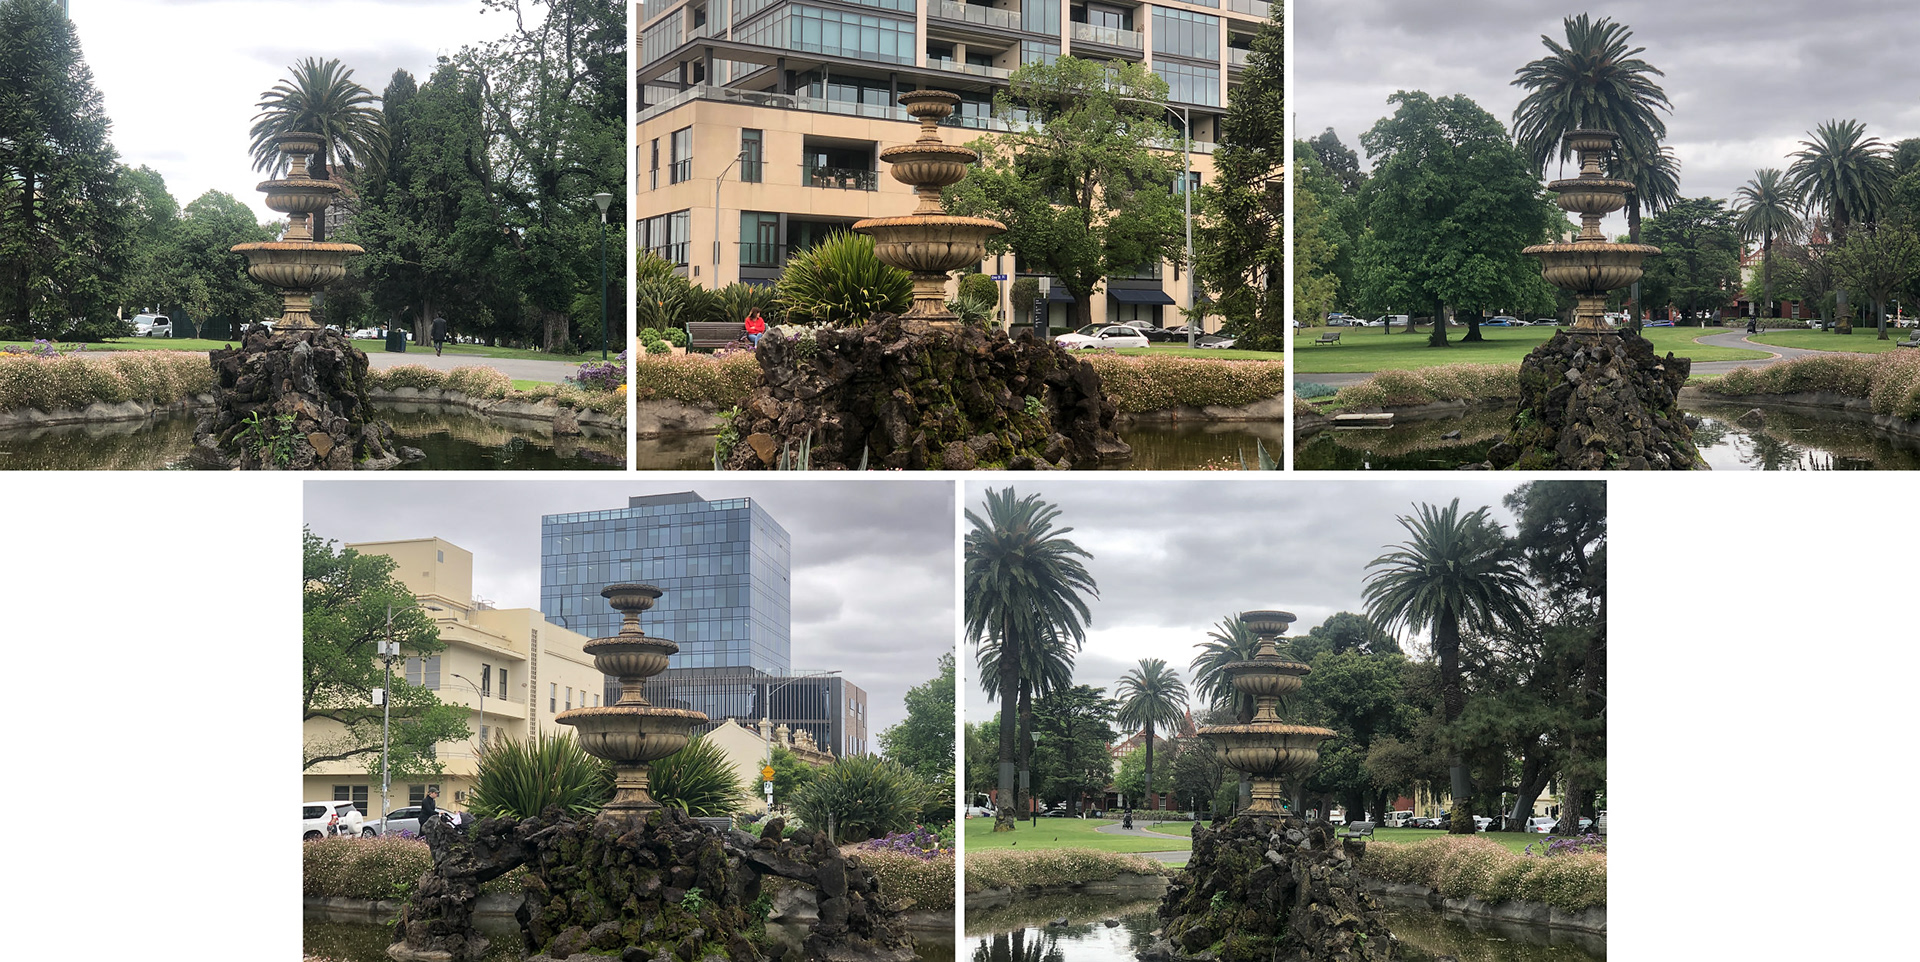
Figure 4 - Fitzroy Gardens Fountain - the 5 images used
You can achieve this effect “in-camera” if your camera has a multiple exposure mode, but this article discusses doing the blending in Photoshop.
One advantage of this technique (as with any multiple exposures) is that the processing loses a lot of the precise detail and sharpness of the image, so you don’t need pristine images. You don’t even need to use a camera, both of the examples I’m showing here were taken using my iPhone.
When taking the photos do your best to position your subject (eg the tree trunk) in the same place in each photo, but you will obviously be able to align them in Photoshop later too.
The easiest way to load multiple files into layers in Photoshop is to use the File / Scripts / Load Files into Stack command (see Figure 5). Use the browse button to find your files and check the “Attempt to Automatically Align Source Images” checkbox if you want Photoshop to try to align the images. You may need to manually adjust the alignment of some of the layers using the Move tool as sometimes the layers are quite different for “In the Round” sets of images and Photoshop does not always do a perfect job.

Figure 5 - File Scripts Load Files into Stack
Now that you have your images as layers in your Photoshop file you want to blend them together, and there are many different options. Many of the layer blend modes could be used, such as Lighten, Darken, Multiply, Screen, Overlay or Soft Light but the best starting place I have found just leaves them all at Normal blend mode and uses the layer opacity to blend them in.
Let’s call it the “Inverse Layer Opacity” method. The opacity of the bottom layer should already be set to 100%, then as you count up from the bottom layer set the layer opacity to the inverse of the layer number, so the second layer is set to 50% (1 divided by 2), the third layer is set to 33% (1 divided by 3), the fourth layer is set to 25% (1 divided by 4), the fifth layer is set to 20% (1 divided by 5) all the way up to the twentieth layer (in my example) which is set to 5% (1 divided by 20).
This will give an effective blend of the images, but you can alter the layer opacities to suit your images, for example if you have certain images that have elements in them you want to emphasise or de-emphasise. You can also use layer masks to include or exclude elements of certain layers. If you have significantly moved some layers for alignment for example you might need to use a soft black brush on the mask to get rid of any noticeable harsh image edges. Changing the order of the layers is worth trying too, which may require a revision of the opacities.
Don’t be disheartened if you think your blended image looks a bit muddy, or like its lacking contrast – it’s often the case, but there are a hundred ways to fix this in Photoshop. Two of my favourite ways of improving the detail and contrast in the images are two of the presets in Nik Color Efex Pro, Detail Extractor and Pro Contrast (using the Dynamic Contrast slider). If you don’t have Nik then use the contrast, highlights, shadows, texture, clarity or dehaze sliders in the Adobe Camera Raw filter or a Curves adjustment layer, or a self-blend layer set to Soft Light blend mode.
The ”In the Round” method is fun to try, and the “Inverse Layer Opacity” blending method works well as a starting place for any multiple exposure project.
You can see more examples of Pep Ventosa’s work on his website - https://www.pepventosa.com/
This article was first published in the May 2023 issue of Artists Down Under magazine.