There are a number of great updates in the Photoshop 2020 version released in November 2019. One of my favourites, that is not the one getting most of the fanfare is described in this article.
Photoshop 2020 adds three new preset panels for Gradients, Patterns and Shapes. Using these panels, you can easily access Gradients, Patterns and Shapes as well as organising them into folders. You can organise the items by dragging and dropping them and create/delete folders using the icon at the bottom of the panels. Folders can be moved around as well by dragging and dropping and folders can be nested within other folders.
You can use the [Command/Control] and [Shift] keys to select multiple items before dragging and dropping as well.
The organisation capabilities have also been added to the existing Swatches and Styles panels.
Figure 1 shows the new Gradient Panel along with the associated flyout menu. Please note that if after the upgrade you don’t see the old gradients you can bring them back using the Legacy Gradients option in the flyout menu.
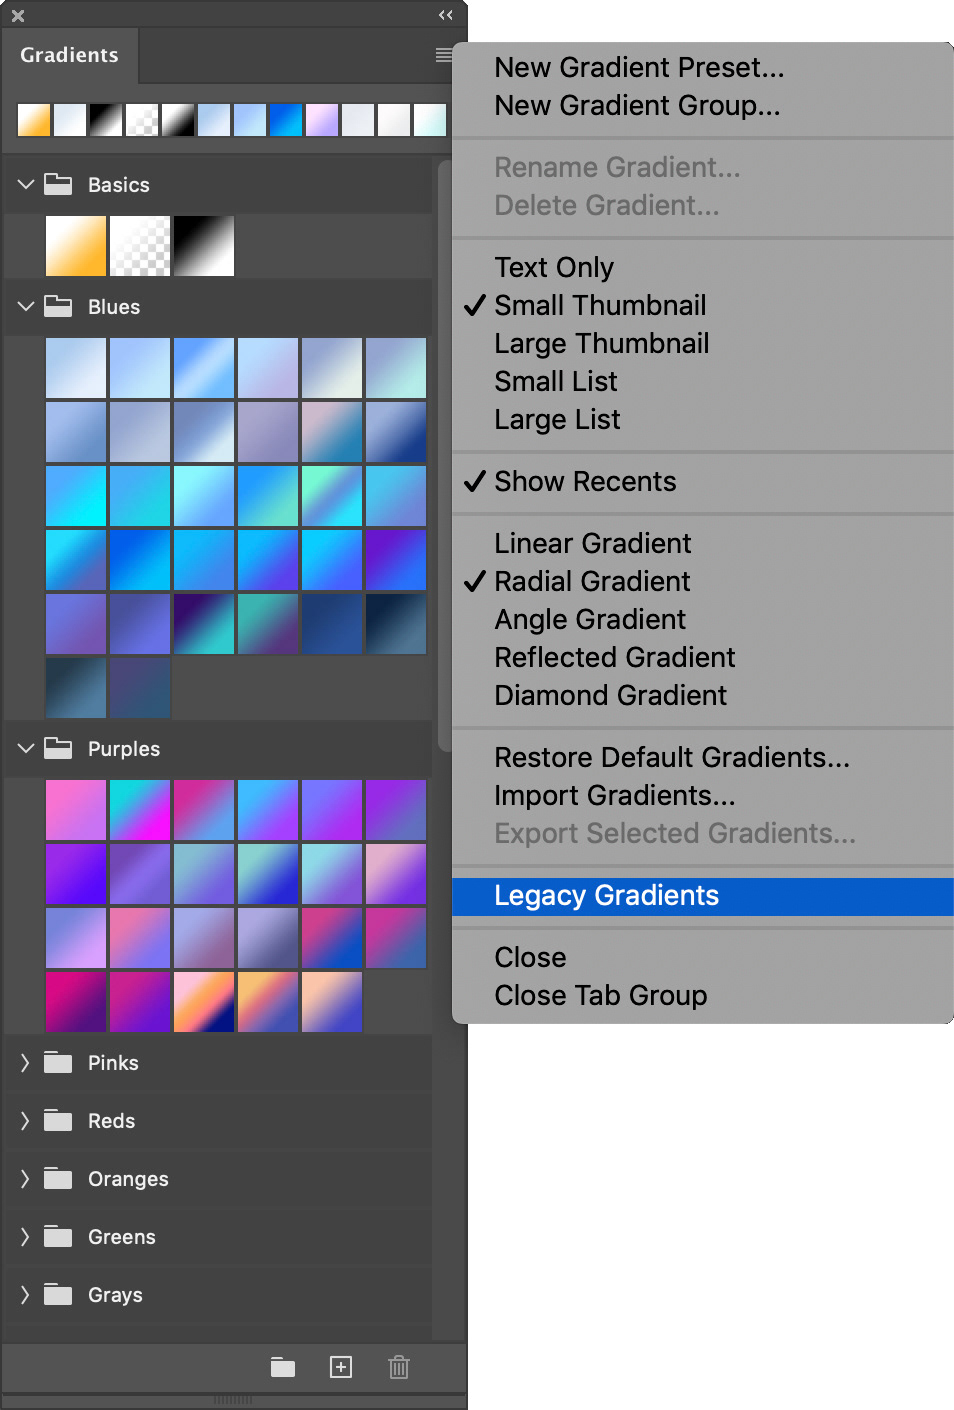
Fig 1 - The New Gradient Panel showing flyout menu
Adobe have also added a lot of new gradients in Photoshop 2020, some of these are shown in Figure 2, as well as the Legacy gradients in their folder.
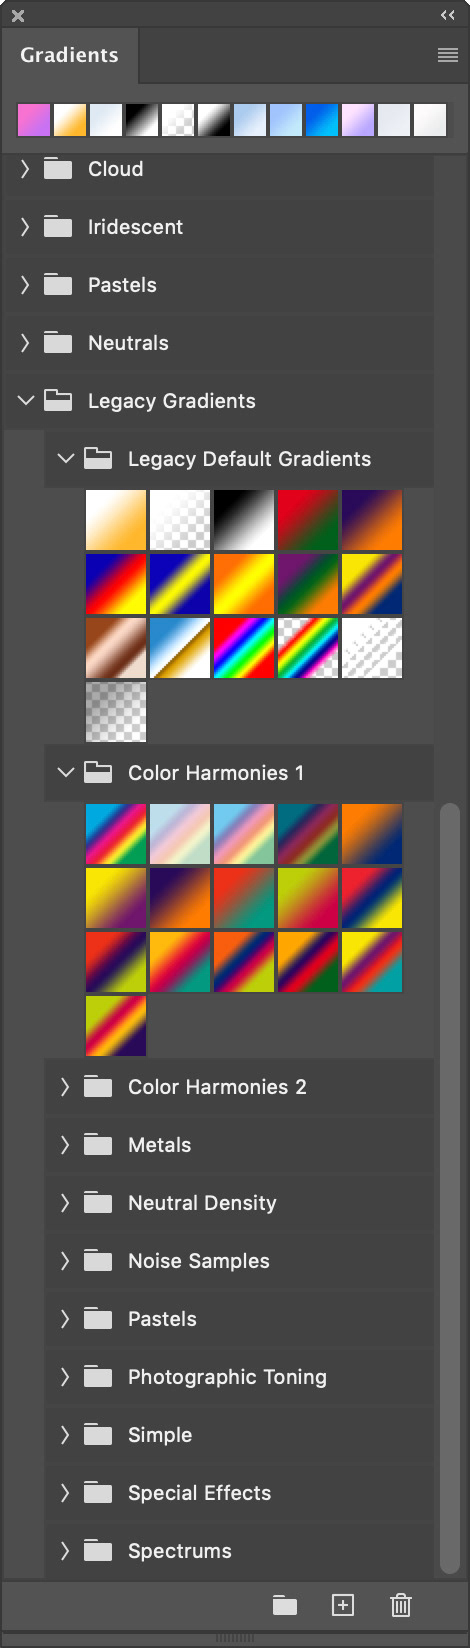
Fig 2 - The new Gradient panel after adding legacy gradients
More patterns and a lot more shapes have been added in Photoshop 2020, again to get access to old patterns and shapes, and the full range of new ones use the “Legacy and more” options in the flyout menus.
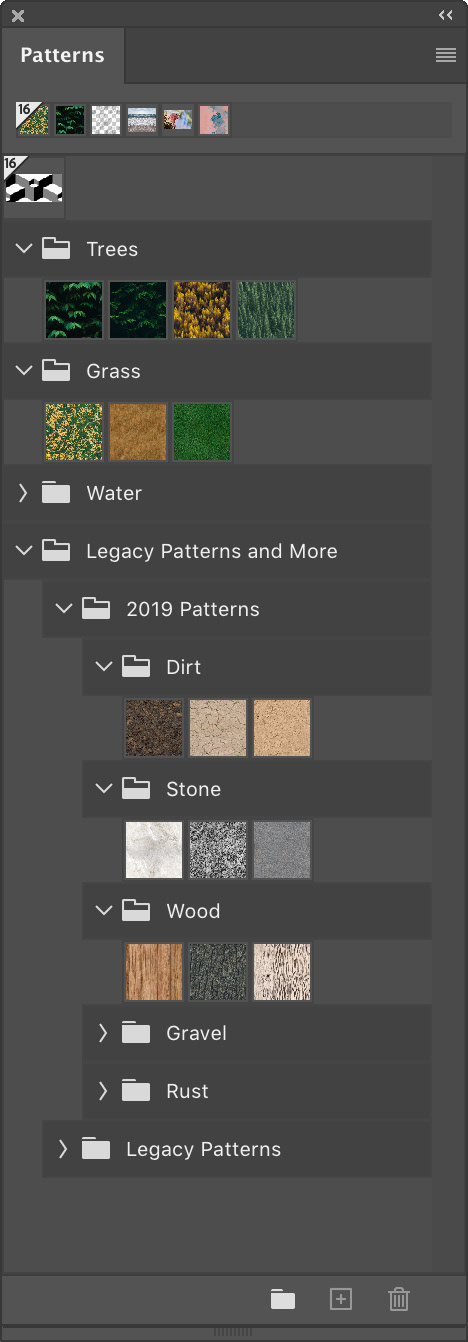
Fig 3 - The new Patterns panel after adding legacy and more patterns
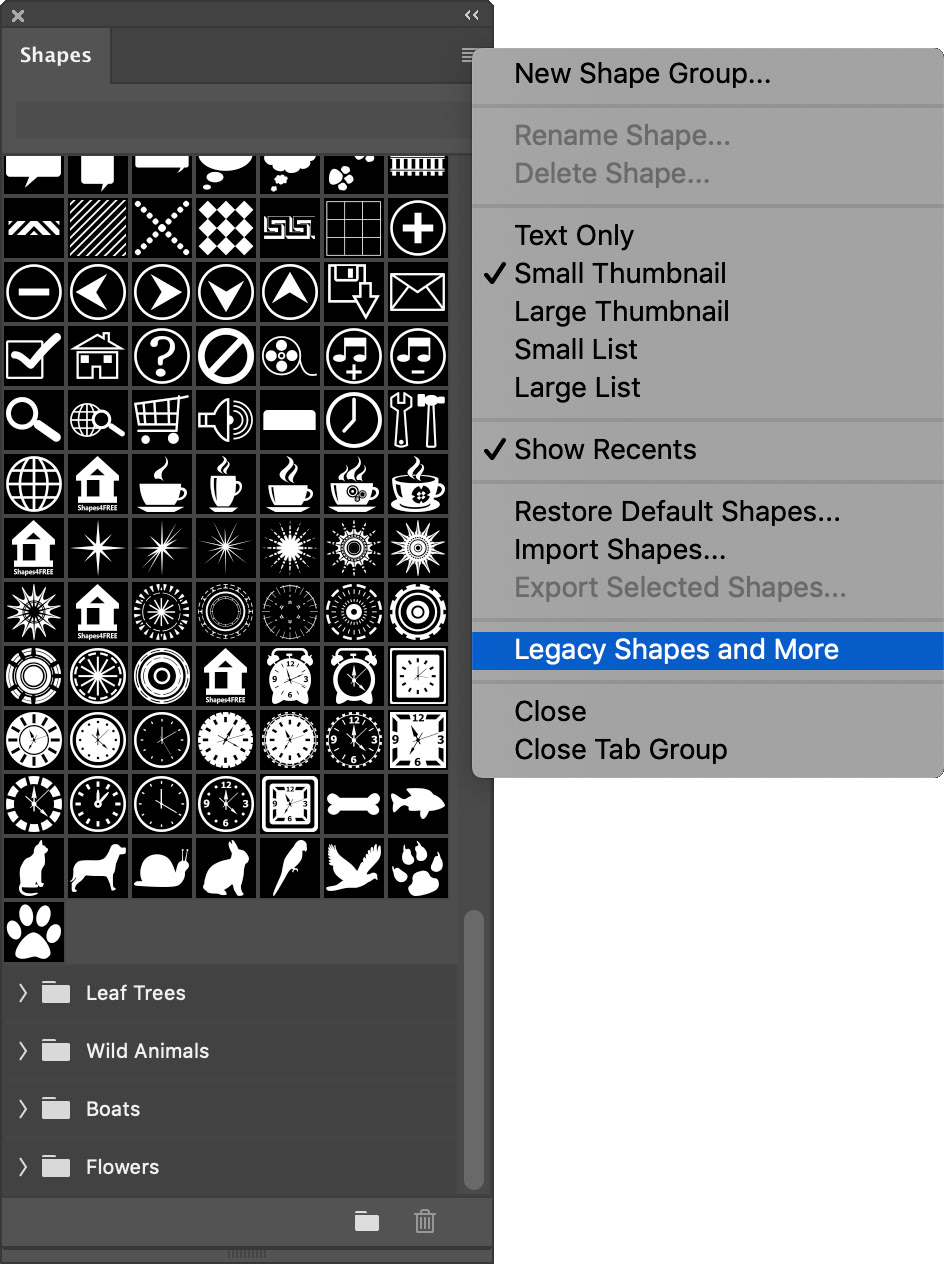
Fig 4 - The new Shape panel showing flyout menu
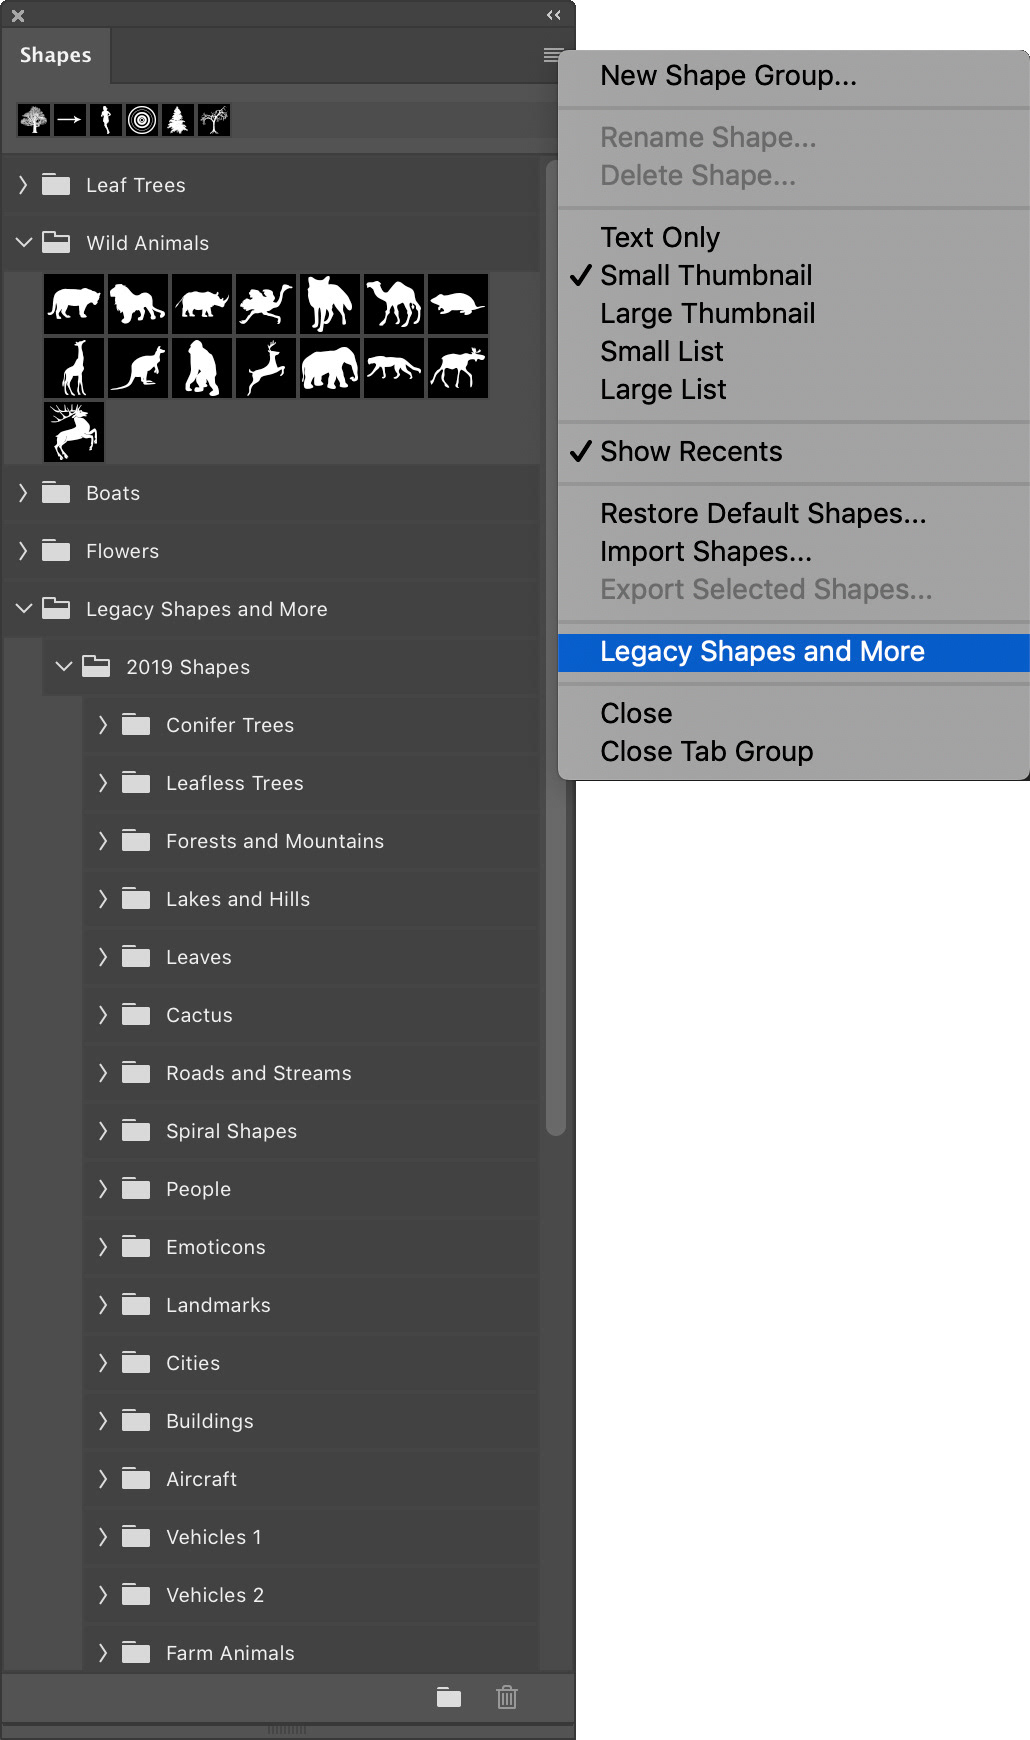
Fig 5 - The new Shape panel after adding Legacy and more shapes
You can right-click one of the Gradients (or Patterns, Shapes, Swatches or Styles) to access a menu to allow you to Restore, Import, Export, Rename, Delete or create a new preset (see Figure 6).
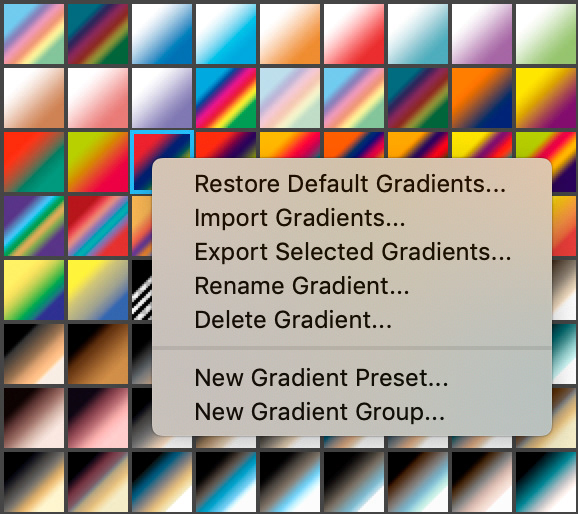
Fig 4 - Stack Mode Median
In addition to organisation capability, these new panels add additional ways to more easily use these presets in your workflow.
The ways you can use these new preset panels varies depending upon the layer type you are trying to apply them to, but in general you can use these new presets by clicking on them in the panel, by dragging and dropping them onto the image area, or by dragging and dropping them onto a layer or layer group in the Layers panel. The way the preset is applied depends upon the attributes of the layer.
For example, if there is a text layer active, clicking on a swatch in the Swatches panel will change the fill colour for the text, however if you click on a gradient in the Gradient panel, or a pattern in the Pattern panel, the gradient or pattern will be applied to the text layer as a layer effect.
With a Gradient Fill layer active clicking a gradient in the Gradient panel will change the gradient which is much quicker than the old way of having to go via the Gradient Editor screen. However please note that clicking a gradient in the Gradient panel will also change the type of gradient to the type selected in the Gradient panel flyout menu (see Figure 1).
Dragging and dropping a Gradient, Pattern or Swatch preset onto a pixel/image layer will cause Photoshop to add a Gradient Fill, Pattern Fill or Solid Colour Fill adjustment layer which will be clipped to the pixel/image layer. Holding down the [Option/Alt] key while dragging and dropping will cause the new adjustment layer to not be clipped.
Check out this eight-minute video from Julieanne Kost for some live examples of use - https://www.youtube.com/watch?v=zBLy7eTe1lE
This article was first published in the January 2020 issue of Artists Down Under magazine.