In the May 2019 update to Adobe Camera Raw (and Lightroom) Adobe have added a new slider called Texture.
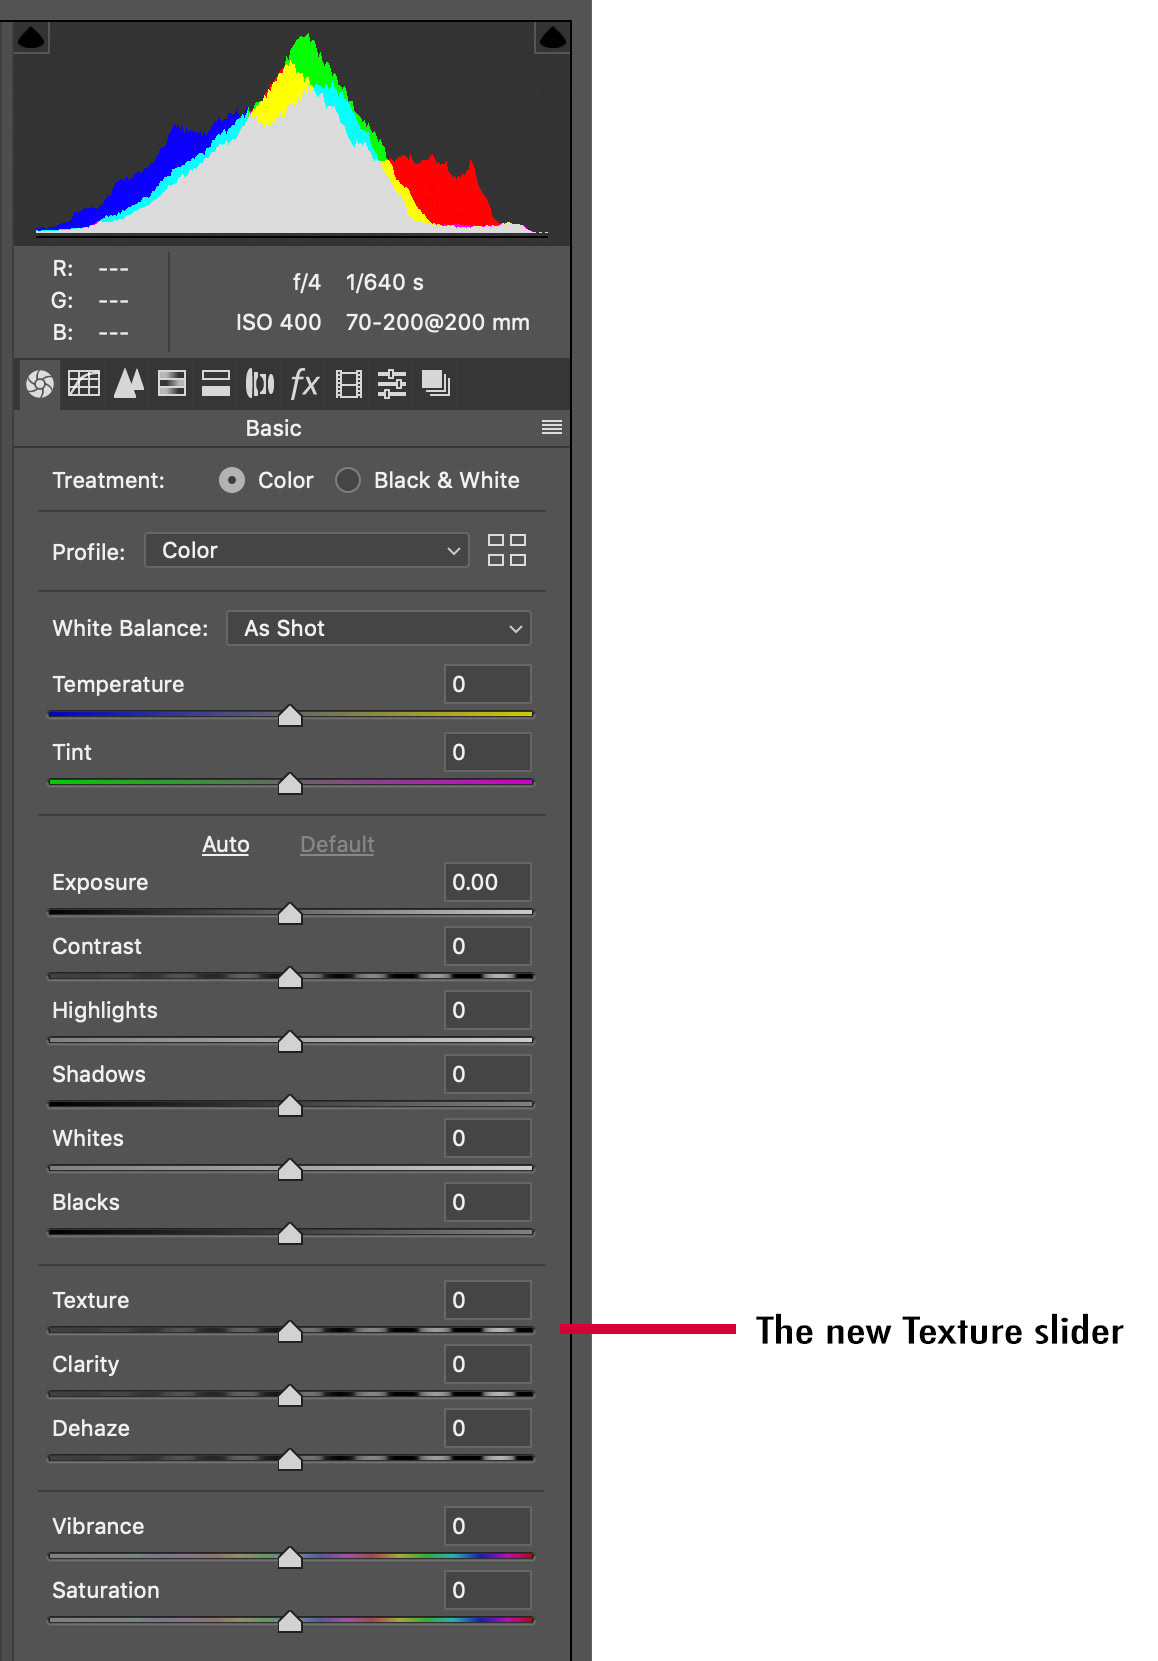
Fig 1 - ACR Texture Slider
The Texture slider started life in the design laboratory as a skin smoothing slider, but the designers decided to allow you to add texture as well as remove it (smoothing) and the Texture slider was born.
Pushing the Texture slider left (negative) does a much better job of skin smoothing than pushing the Clarity slider in the same direction.
Here is what Adobe had to say about the Texture slider on their blog;
“You can now smoothen or accentuate details such as skin, bark, and hair with the new Texture slider. You can adjust the Texture slider negatively to smooth skin and retain fine pore details to ensure natural-looking skin. You can increase the Texture amount to accentuate details such as bark or hair without affecting less detailed areas, like the out of focus areas in a photograph. Adjusting the Texture slider does not change the color or tonality in your photograph. You can apply texture to your photos both as a global adjustment and to specific parts of the photo as a local adjustment. To apply texture, select a photo and switch to the Develop module.”
Like the Clarity slider, the Texture slider is available with the Adjustment Brush, Radial Filter and Graduated Filter for local adjustments as well as on the main Basic tab for global adjustments, however I think it is much more useful as a local adjustment.
If you want to do some basic skin retouching and do not want to bother with fully blown retouching methods in Photoshop, like Frequency Separation, then the Texture slider is well worth a look.
Texture is a more subtle adjustment than Clarity, but they are also different in how they target specific areas of the image.
Clarity is a micro-contrast adjustment that targets the mid-tone areas of your image – so it is targeted based on the tone or luminosity in your image.
Texture is also a micro-contrast adjustment, however it targets the mid-frequency areas of your image. High frequency areas of an image are the areas of strong detail (eg well-defined edges or detail like a tree line against a sky), low frequency areas of an image are those with little or no edge details, very smooth areas like empty sky. The mid-frequency areas are those that are in between the high and low frequency areas.
The only way to find out which is best is to try both, and you will likely find that some images will benefit from local adjustments with both the Texture and Clarity sliders.
For me, this is a very positive addition to the ACR toolbox.
This article was first published in the July 2019 issue of Artists Down Under magazine.