I admit to being a Photoshop junkie. I love just playing around in Photoshop, I think the correct technical term is “futzing”. “Futzing” is defined as “unstructured, playful, often experimental interaction between a human being and a computer, product, or any technology”. I don’t really mind if I don’t always end up with a resulting image I love, it’s fun to play anyway.
I enjoy looking for sources of inspiration, and ways to make that “futzing” more fun, and the chances of a successful result more likely. Today I want to share with you two of my favourite sources of inspiration.
The image shown in Figure 1 is a recent creation I called “Whirlpool”, and is created mainly from ideas and techniques from these two wonderful inspirational sources.
The first inspirational source is Scott Valentine, one of the most well-respected writers on Adobe Photoshop there is. What I love about Scott’s work is how deeply technical he usually is. If you’re someone like me who likes to understand the “nuts and bolts”, and what is going on behind the scenes, you’ll love Scott’s work too.
The snail-shell like shape that you can see in the “Whirlpool” image was created using techniques laid out by Scott in an article called “Gradient Experiments” in the October/November 2017 issue of Photoshop User magazine.
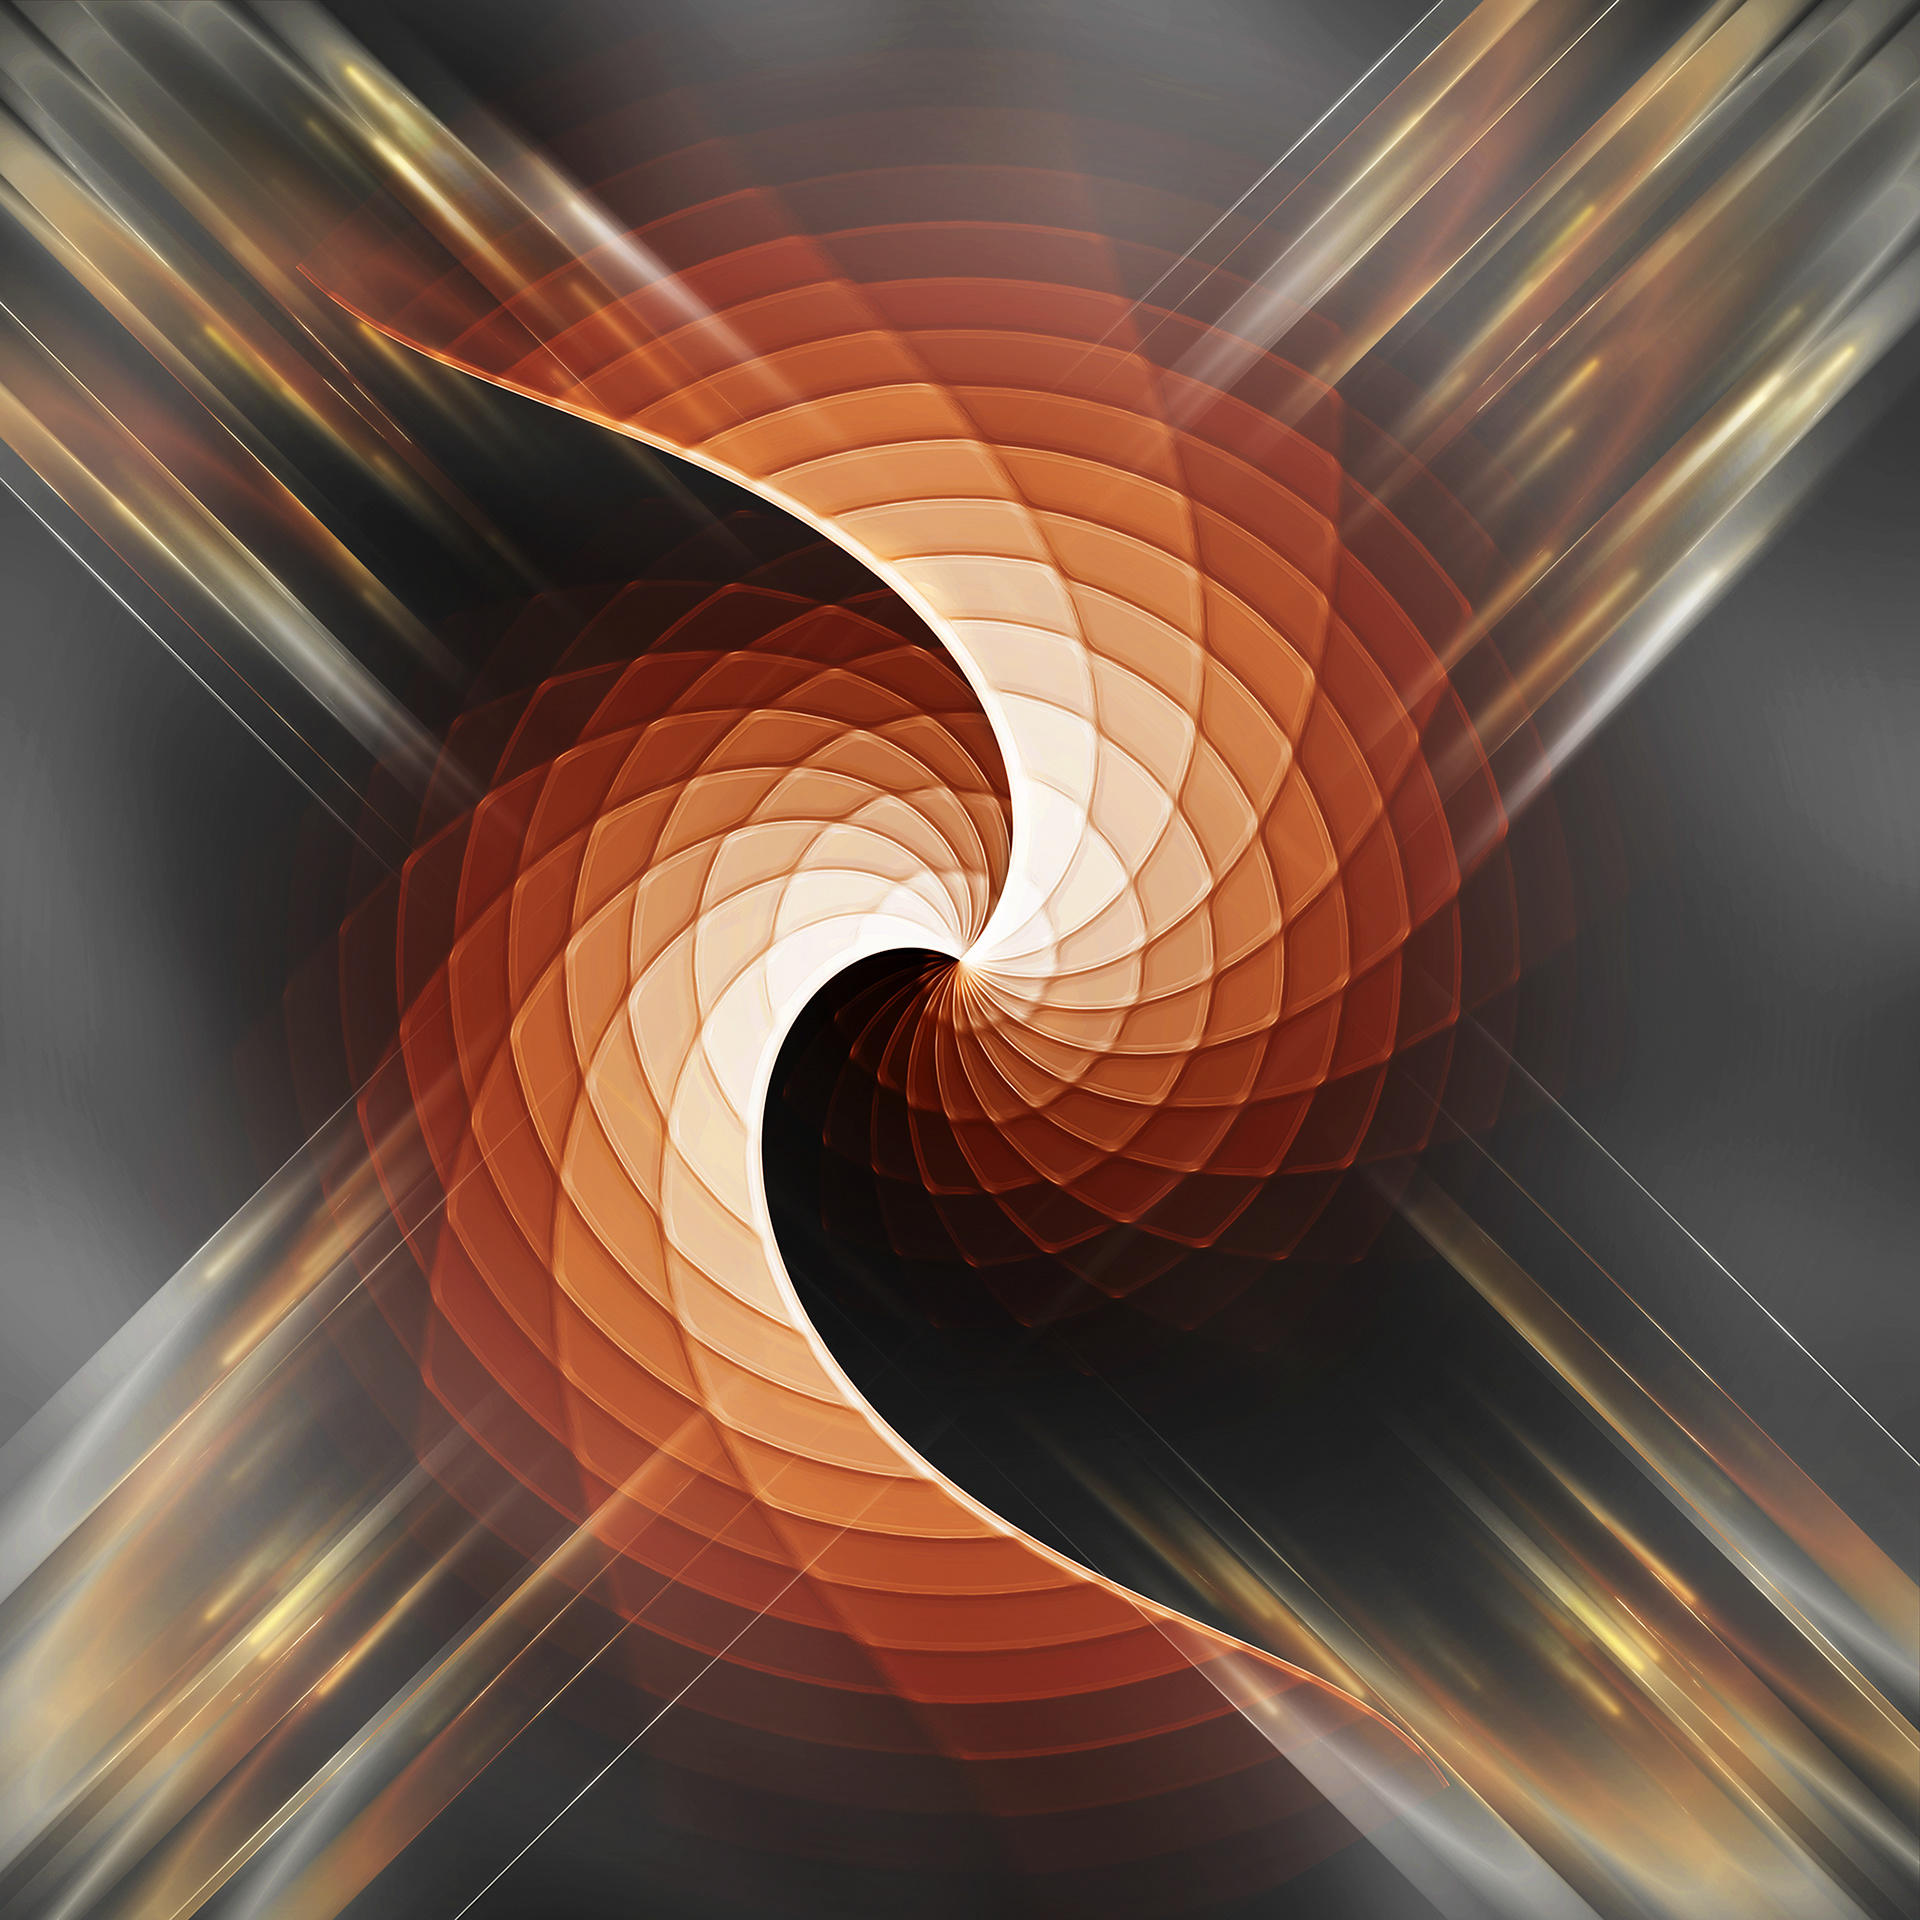
Figure 1 - "Whirlpool"
Rather than repeat the article here, I thought I would lay out the steps (slightly changed from the article) to create the basic snail-shell in the image. Then you can have a play yourself.
Step 1.
Create a new document, 3000x3000 pixels, 300 pixels/inch, RGB & 16-bit.
Create a new document, 3000x3000 pixels, 300 pixels/inch, RGB & 16-bit.
Step 2.
Set the foreground colour to black and the background colour to white.
Set the foreground colour to black and the background colour to white.
Step 3.
Set two guides, one vertical at 50% and one horizontal at 50% to establish a centre point for the document.
Set two guides, one vertical at 50% and one horizontal at 50% to establish a centre point for the document.
Step 4.
Select the Gradient tool and set it to Angle gradient, make sure Reverse is not checked. Create a gradient on the background layer by dragging left-to-right from the centre of the document to the right hand edge of the document.
Select the Gradient tool and set it to Angle gradient, make sure Reverse is not checked. Create a gradient on the background layer by dragging left-to-right from the centre of the document to the right hand edge of the document.
Step 5.
Clip a new Posterize adjustment layer to the background layer and set the Levels to 30.
Clip a new Posterize adjustment layer to the background layer and set the Levels to 30.
Step 6.
Create a new blank layer.
Create a new blank layer.
Step 7.
Select the Gradient tool and set it to Radial gradient, check Reverse. Create a gradient on the new blank layer by dragging left-to-right from the centre of the document to somewhere just outside the right hand edge of the document.
Select the Gradient tool and set it to Radial gradient, check Reverse. Create a gradient on the new blank layer by dragging left-to-right from the centre of the document to somewhere just outside the right hand edge of the document.
Step 8.
Clip a new Posterize adjustment layer to the Radial gradient layer and set the Levels to 30.
Clip a new Posterize adjustment layer to the Radial gradient layer and set the Levels to 30.
Step 9.
Set the Blend Mode of the Radial gradient layer to Linear Burn.
Set the Blend Mode of the Radial gradient layer to Linear Burn.
Step 10.
Create a Stamp Visible layer using “The Move” Shift+Option(Alt)+Command(Ctrl)+E.
Create a Stamp Visible layer using “The Move” Shift+Option(Alt)+Command(Ctrl)+E.
Step 11.
On the new Stamp Visible layer use the Distort/Twirl filter, in the example I set the amount to -90.
On the new Stamp Visible layer use the Distort/Twirl filter, in the example I set the amount to -90.
Figure 2 shows what your Photoshop screen and Layer panel should look like after following the above steps.
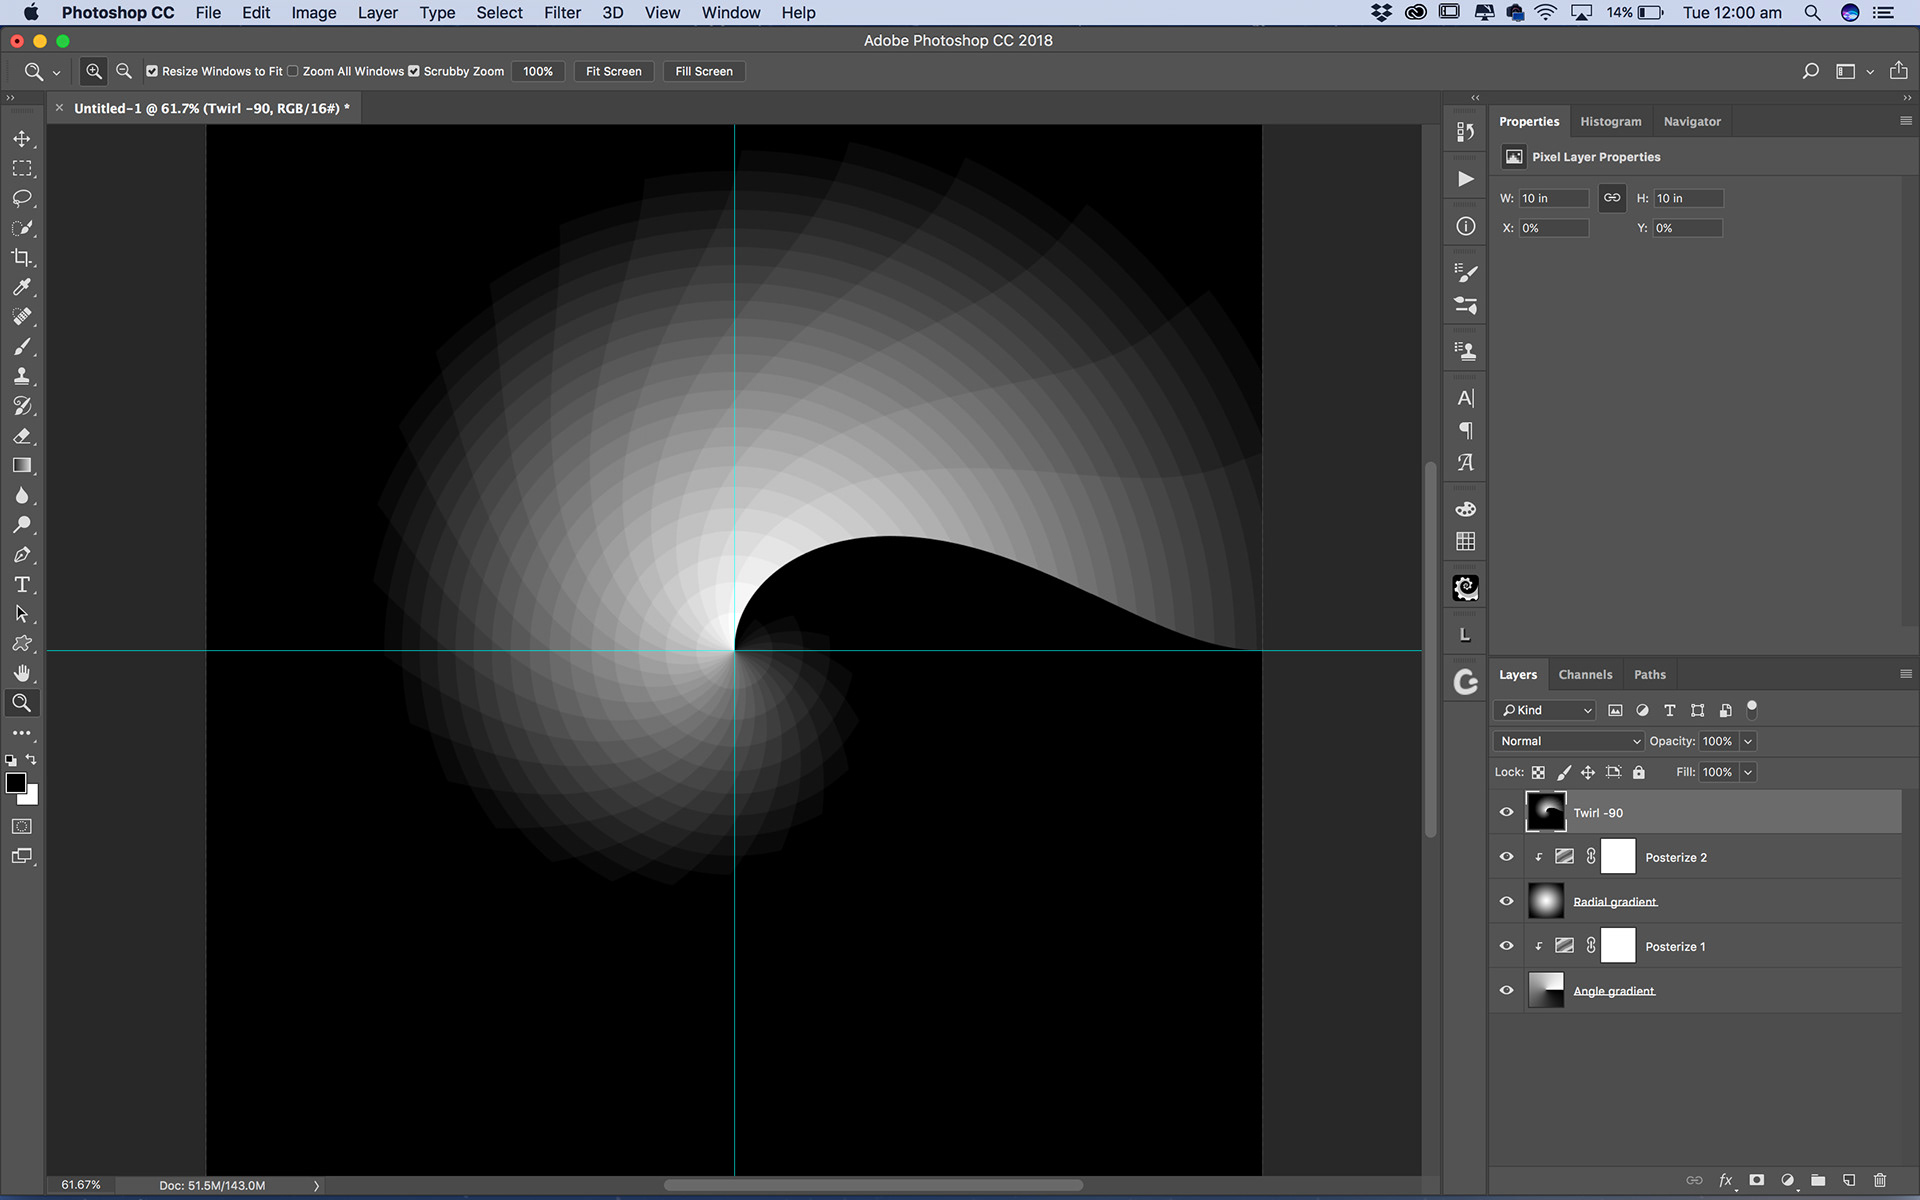
Figure 2 - Photoshop screen after following the steps above
Now obviously there are endless variations to this idea. By using different gradients, different directions for those gradients, different colours, different blend modes, different filters you can create wonderful varieties of elements for your images.
Duplicate the elements (like I did with the snail shell for “Whirlpool”) and blend them in, or blend in different elements for more variations on the theme. Then use other Photoshop adjustment layers and filters to tweak to a pleasing result.
I also want to very highly recommend two of Scott’s Photoshop publications. These are my very favourite Photoshop books. If you love Photoshop, especially the nitty-gritty, nuts-and-bolts of Photoshop, I can guarantee you will love these books. They will give you so many ideas, I cannot recommend them highly enough. Both are available as real books and e-books, there’s even a video version, from Adobe Press and other on-line book sources.

Figure 3 - “The Hidden Power of Blend Modes in Adobe Photoshop”
(ISBN 13: 978-0-321-82376-2)
Figure 4 - “The Hidden Power of Adjustment Layers in Adobe Photoshop”
(ISBN 13: 978-0-321-95771-9)
The second source for inspiration is SevenStyles, an Australian author of Photoshop actions. He has many Photoshop actions for sale on the Graphic River website, they are quite reasonably priced at around US$6-8 each. He records a detailed video for each action that shows how to use the action. His actions cover a very wide range of effects, from flames and explosions, to various dispersion effects and painting styles.
You can find his range of Photoshop actions at this web address; https://graphicriver.net/user/sevenstyles/portfolio
One of the things I love about his actions is the multi-layered result that makes tweaking the effect of the action, or changing it completely, very easy. I don’t believe I have ever just run an action and used the end-result without significant tweaking. The fact that effects are in different layers also enables the inclusion of certain layered effects to be combined between actions, or to be transplanted between compositions.
The diagonal line/light effects in the “Whirling” piece were created in, and extracted from the SevenStyles “Blades” action.
Anyway, enough from me, time for you to go investigate some of Scott Valentines and SevenStyles work, and inspire yourself to some new Photoshop creations.
This article was first published in the December 2017 issue of Artists Down Under magazine.