One of the new features introduced in Photoshop CC 2018 was Symmetry Painting. It is classed by Adobe as a Technology Preview, which means it is something they are trying out and if you want to play with it you have to go into your Photoshop preferences and turn it on. It was moved to a base feature in Photoshop CC 2019, so you only need to perform the following steps if you have not done the CC 2019 update.
To turn on Symmetry Painting in CC 2018 versions, follow these steps;
Step 1
Choose Photoshop CC / Preferences / Technology Previews
Choose Photoshop CC / Preferences / Technology Previews
Step 2
Make sure the Enable Paint Symmetry check box is ticked
Make sure the Enable Paint Symmetry check box is ticked
Step 3
Press OK
Press OK
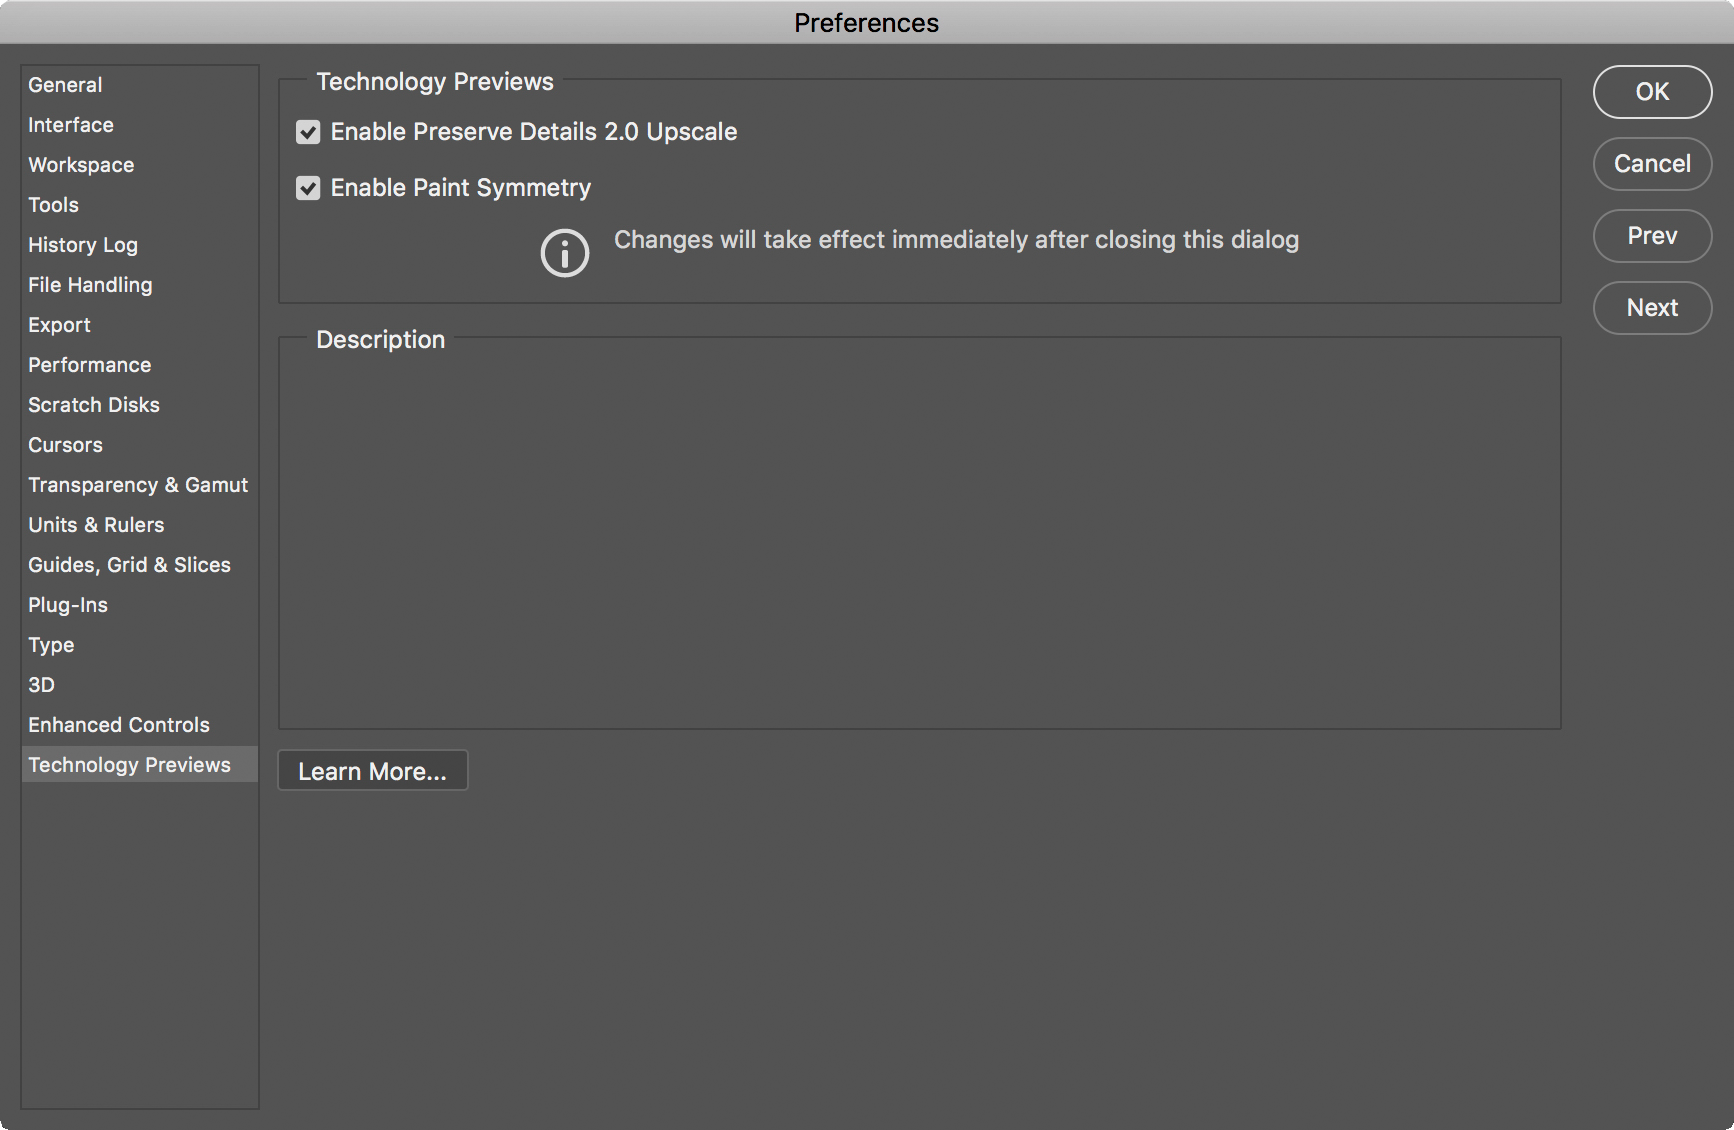
Figure 1 - Technology Preview Preferences
Once the option is enabled, you will notice a new little icon that looks like a butterfly in the Options Bar for the Brush tool. Clicking the icon reveals the Symmetry Painting menu.
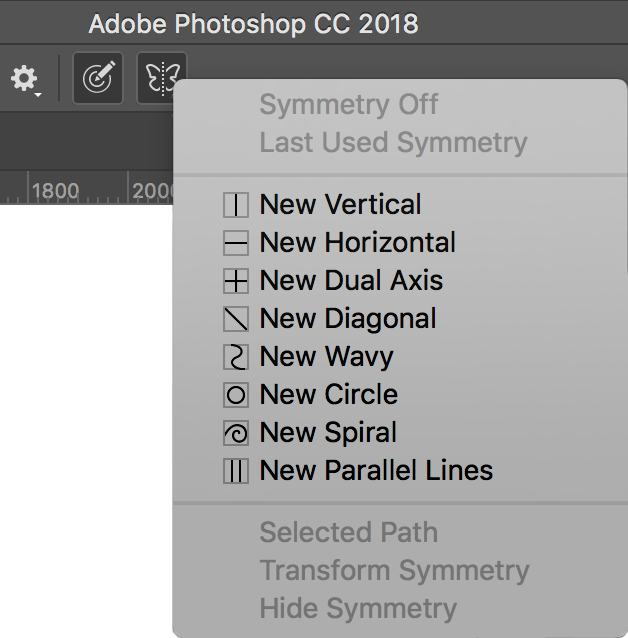
Figure 2 - Symmetry Painting menu
Select one of the eight Symmetry Painting modes from the drop-down menu and Photoshop will create a path and the transform handles will be active. You can either press Enter (or click the tick mark in the Options Bar) to accept the path, or you can use the normal methods to transform the path (resize, rotate, warp, distort etc.).
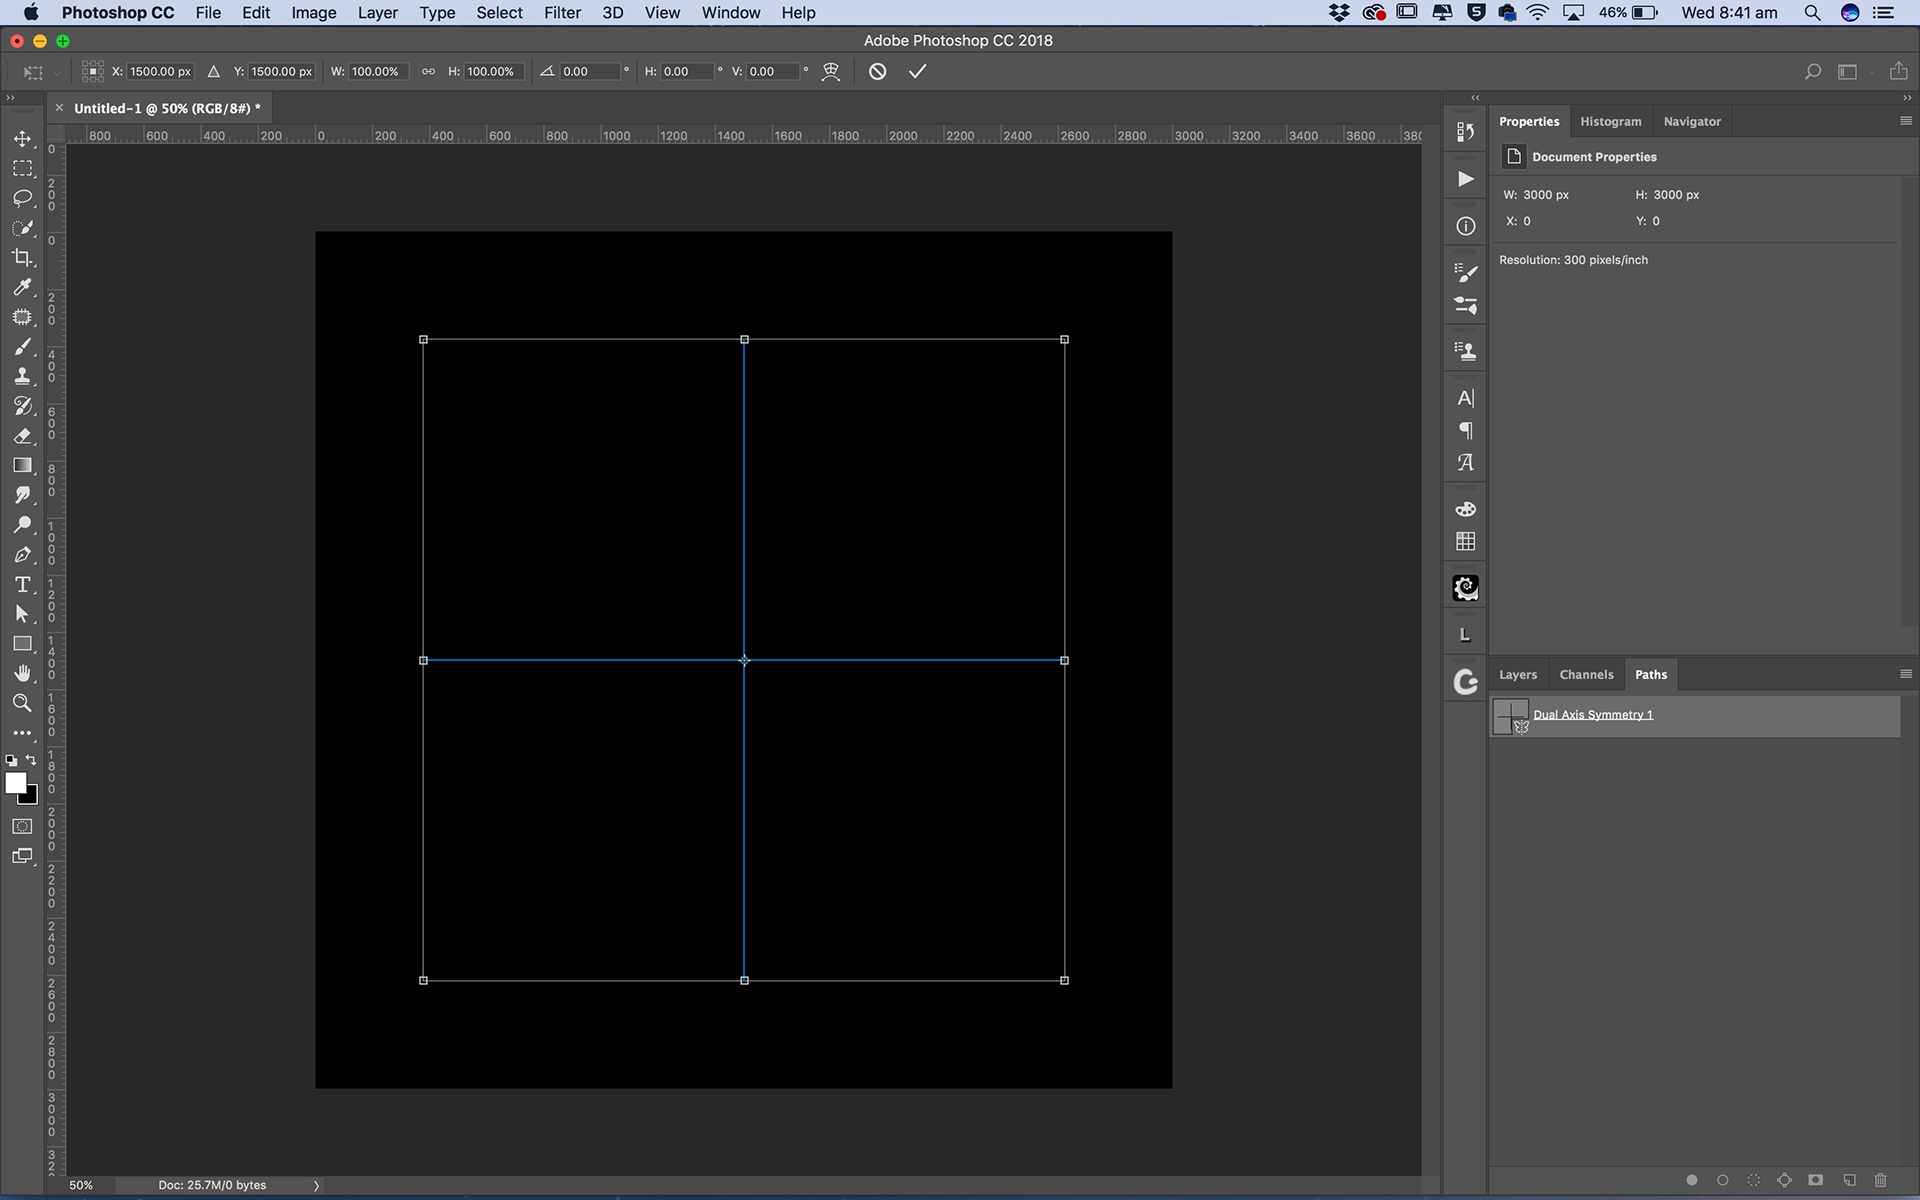
Figure 3 - New Dual Axis symmetry path
Notice in the Paths panel the new path has been created (in Fig 3 I chose the New Dual Axis symmetry painting option).
Now whenever I paint with the Brush tool, my paint strokes will be duplicated / reflected in the axis of symmetry defined by the path.
Just have a play with this – you need to try it to see how it works.
Please note that you can have multiple symmetry paths in any one document, and can choose which is active by selecting it in the Paths panel and then choosing Selected Path from the Symmetry Painting menu.
You can also turn symmetry painting on or off, hide or show the symmetry path and activate the transform handles for the active symmetry path using the other options in the menu.
You can use a normal hard/soft or painting style brush and paint freehand with this method, or my preference is to find a nice floral or fractal graphic brush and just use single-click strokes to make nice patterns with these.
There are two extra “hidden” modes that are fun to play with too. These are Radial and Mandala mode. Radial mode will duplicate your paint strokes in a radial pattern, Mandala does the same but also adds in an extra rotated stroke for extra effect.
To activate one of these hidden modes;
Step 1
Choose the New Dual Axis symmetry painting mode and press Enter to lock in the path.
Choose the New Dual Axis symmetry painting mode and press Enter to lock in the path.
Step 2
Go to the Paths panel and double-click on the name of the path to edit the name.
Go to the Paths panel and double-click on the name of the path to edit the name.
Step 3
Edit the name to either “Radial Symmetry x” or “Mandala Symmetry x” where x is a number that can be as high as 12.
Edit the name to either “Radial Symmetry x” or “Mandala Symmetry x” where x is a number that can be as high as 12.
In the example shown in Figure 4 I have used “Mandala Symmetry 8” and created the pattern shown with just 3 clicks of a free floral brush. The brush used is shown in Figure 5.
Have a play with Symmetry Painting if you have Photoshop CC 2018, I’m sure you’ll have fun.
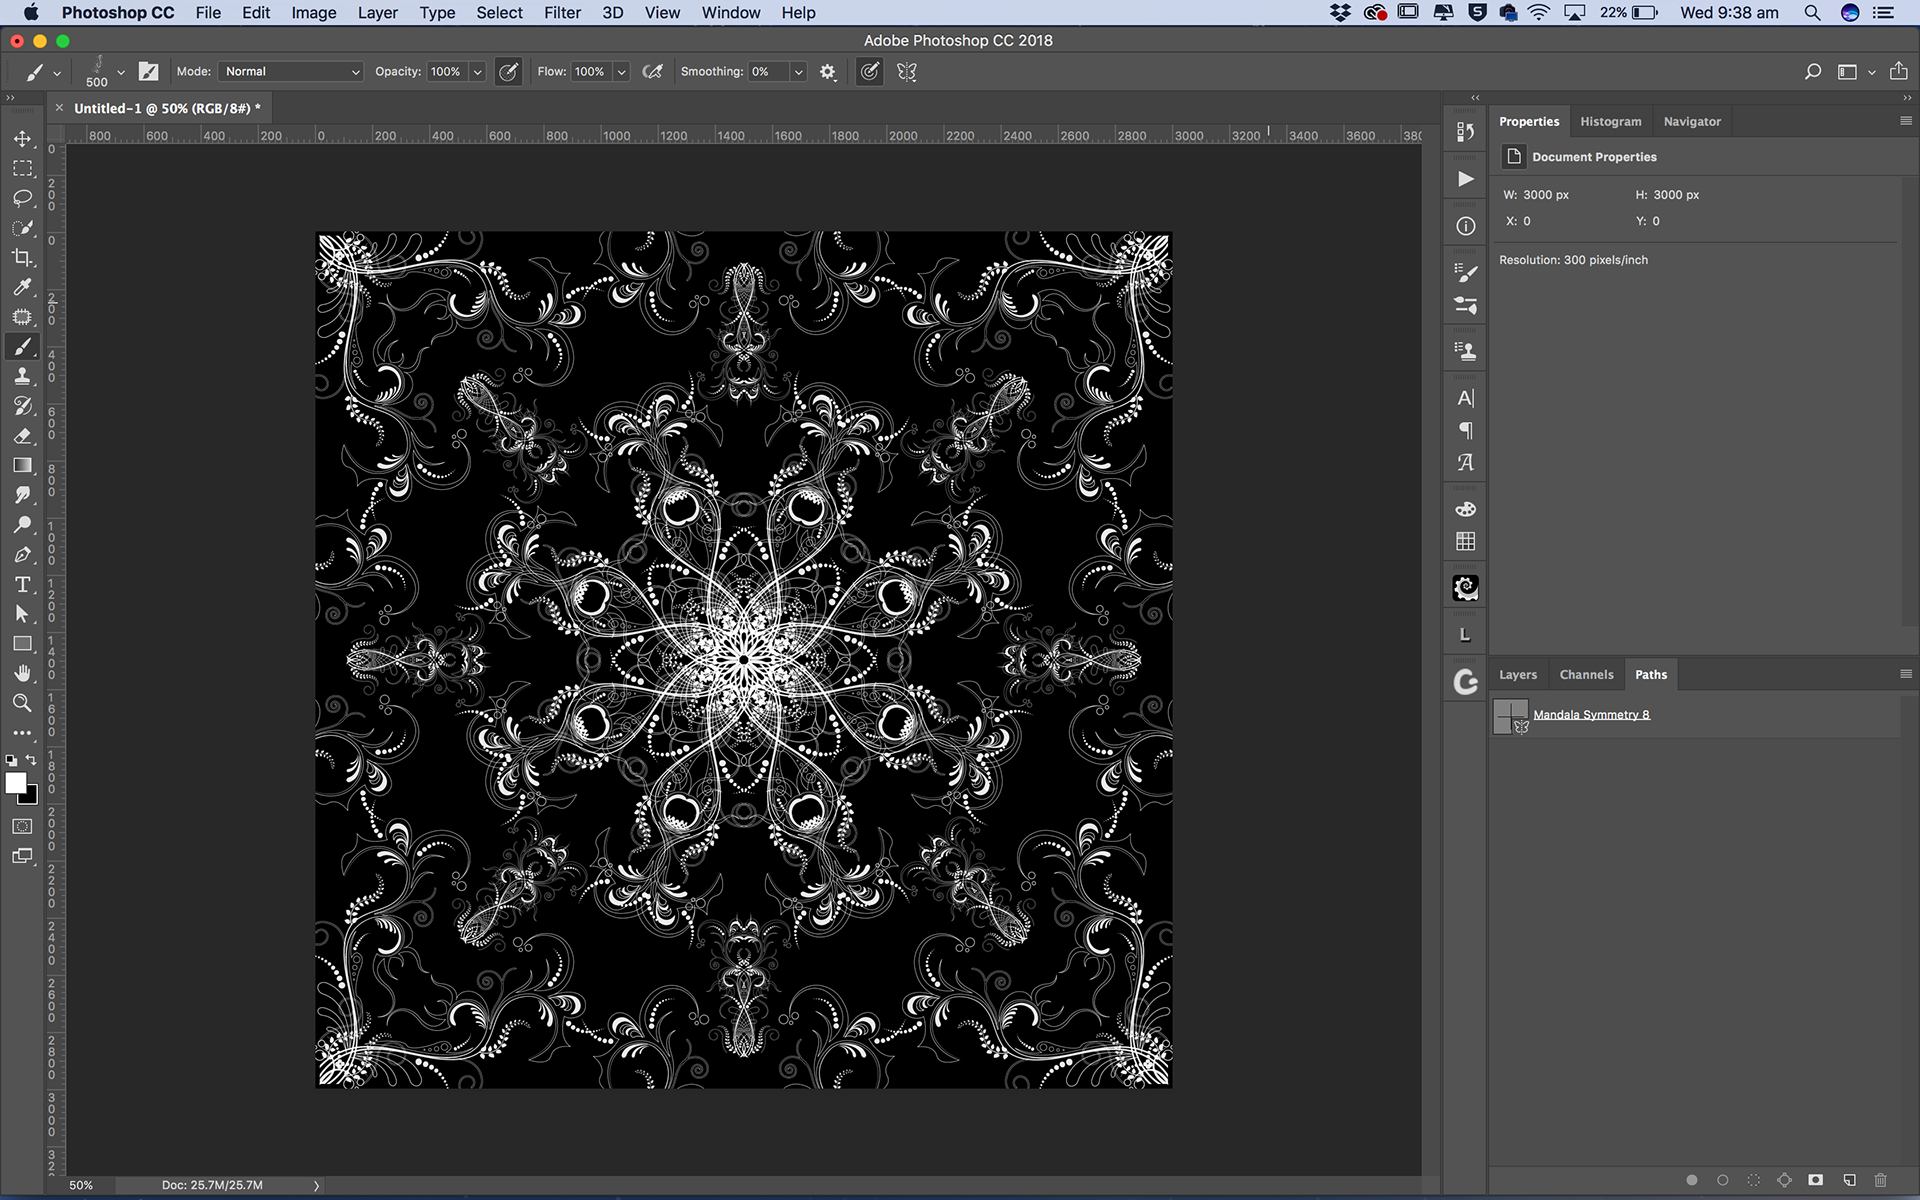
Figure 4 - Mandala example

Figure 5 - Floral brush
This article was first published in the April 2018 issue of Artists Down Under magazine.